Download
1 / 24
250 likes | 499 Views
11. VEHICLE LIFTING AND HOISTING. Figure 11-1 A hydraulic hand-operated floor jack. Figure 11-2 Safety stands are being used to support the rear of this vehicle. Notice a creeper also.

E N D
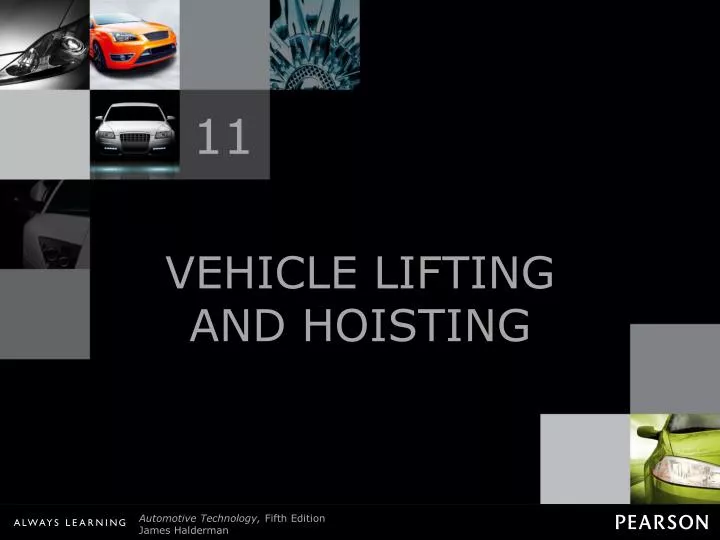
11 VEHICLE LIFTING AND HOISTING
Figure 11-2 Safety stands are being used to support the rear of this vehicle. Notice a creeper also.
Figure 11-3 Most newer vehicles have a triangle symbol indicating the recommended hoisting lift points.
Figure 11-4 (a) Tall safety stands can be used to provide additional support for a vehicle while on a hoist.
Figure 11-4 (b) A block of wood should be used to avoid the possibility of doing damage to components supported by the stand.
Figure 11-5 This training vehicle fell from the hoist when the pads were not set correctly. No one was hurt, but the vehicle was damaged.
Figure 11-6 (a) An assortment of hoist pad adapters that are often necessary to safely hoist many pickup trucks, vans, and sport utility vehicles.
Figure 11-6 (b) A view from underneath a Chevrolet pickup truck showing how the pad extensions are used to attach the hoist lifting pad to contact the frame.
Figure 11-7 (a) In this photo the pad arm is just contacting the rocker panel of the vehicle.
Figure 11-7 (b) This photo shows what can occur if the technician places the pad too far inward underneath the vehicle. The arm of the hoist has dented in the rocket panel.
Figure 11-8 Drive-on-type ramps. The wheels on the ground level must be chocked (blocked) to prevent accidental movement down the ramp.
HOISTING THE VEHICLE 1 The first step in hoisting a vehicle is to properly align the vehicle in the center of the stall.
HOISTING THE VEHICLE 2 Most vehicles will be correctly positioned when the left front tire is centered on the tire pad.
HOISTING THE VEHICLE 3 The arms can be moved in and out and most pads can be rotated to allow for many different types of vehicle construction.
HOISTING THE VEHICLE 4 Most lifts are equipped with short pad extensions that are often necessary to use to allow the pad to contact the frame of a vehicle without causing the arm of the lift to hit and damage parts of the body.
HOISTING THE VEHICLE 5 Tall pad extensions can also be used to gain access to the frame of a vehicle. This position is needed to safely hoist many pickup trucks, vans, and sport utility vehicles.
HOISTING THE VEHICLE 6 An additional extension may be necessary to hoist a truck or van equipped with running boards to give the necessary clearance.
HOISTING THE VEHICLE 7 Position the pads under the vehicle under the recommended locations.
HOISTING THE VEHICLE 8 After being sure all pads are correctly positioned, use the electromechanical controls to raise the vehicle.
HOISTING THE VEHICLE 9 With the vehicle raised one foot (30 cm) off the ground, push down on the vehicle to check to see if it is stable on the pads. If the vehicle rocks, lower the vehicle and reset the pads. The vehicle can be raised to any desired working level. Be sure the safety is engaged before working on or under the vehicle.
HOISTING THE VEHICLE 10 If raising a vehicle without a frame, place the flat pads under the pinch weld seam to spread the load. If additional clearance is necessary, the pads can be raised as shown.
HOISTING THE VEHICLE 11 When the service work is completed, the hoist should be raised slightly and the safety released before using the hydraulic to lower the vehicle.
HOISTING THE VEHICLE 12 After lowering the vehicle, be sure all arms of the lift are moved out of the way before driving the vehicle out of the work stall.