Download
1 / 9
90 likes | 168 Views
Because of the availability of several home improvement tips and instructions online, I was motivated to give some do-it-yourself home projects a try. Since I think it is already time for my hardwood flooring to get rewarded with a facelift, I started my home improvement project with refinishing.

E N D
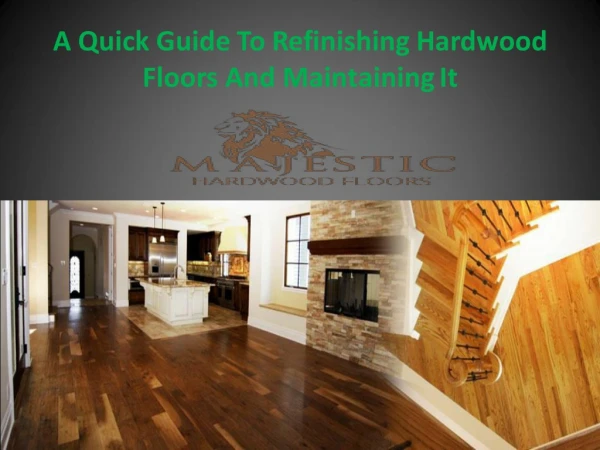
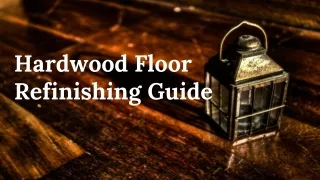
Do-It-Yourself 6 Steps Hardwood Refinishing Instruction Ottawa Diamond Flooring Inc
Because of the availability of several home improvement tips and instructions online, I was motivated to give some do-it-yourself home projects a try. Since I think it is already time for my hardwood flooring to get rewarded with a facelift, I started my home improvement project with refinishing. Before I started with home improvement project, I tried to ask Google first about hardwood refinishing Ottawa. After reading a couple of articles from different websites, I found out that no single site posted a full list of tips and instructions on the process of staining. And so I tried to condense everything that I have read and made my own list of instructions. Now, I am sharing with you the complete list that I also followed in sanding and staining my hardwood floor.
1. Clear out everything from the room Prior to sanding, you will need to clear out everything from the room first. If you are using a carpet, carefully remove it. Like I did, you will also surely be surprised to see the amount of sand and dirt hiding underneath your carpet. Transfer all your stuff and furniture to another room.
2. Take away the shoe molding You do not have to take away the baseboards unless otherwise, you want to replace them. Before you start, make sure to cover items on shelving, as well as your light fixtures, vents, electrical outlets, and switches with plastic and secure it a masking tape to prevent dust particles from getting stuck in these items. Also, attach a plastic drop cloth to any adjacent door jams so that the clouds of dust particles will not enter the other rooms. Then clean the floor by sweeping away dust and particles. And don't forget to protect yourself as well by wearing a respirator mask.
3. Sand the floor Although it takes time, sanding the floor is quite easy. Start in the central part of the room and then work you way out to the sides. With the help of a drum sander with no less than 120-grit sandpaper, sand the floor in sections as well as in smooth, and slow back-and-forth motions. Be sure to move with the grain of the wood and avoid going in circles. Sand the floor until the old varnish is thoroughly removed and the bare wood is already visible. But do not stay in one portion too long because you might also sand through to the subfloor. If you are already done with the entire floor, use an edge or hand sander to sand the portions that can't be reached by the drum sander.
4. Clean up the area Sweep or vacuum the floor to remove the particles then check if the wood is already uniform in texture and if it feels soft. If everything is smooth, wipe the entire floor with a clean dry cloth. Be sure the floor is thoroughly clean before staining to prevent blotchy and uneven finish.
5. Apply the stain Open all the doors and windows first before opening the stain so that you will have a good ventilation and then wear a pair of disposable plastic gloves to protect your hand. Thoroughly shake the stain and pour enough amount into the paint tray. Apply the stain using a brush and then go over it using a rag within 5 minutes. Do it at a consistent speed and be sure that you follow the wood's grain to avoid streaks from forming. After staining the entire floor, let it sit for at least 4 hours and then apply the second coat and leave it overnight.
6. Seal your floor The following day, apply an enough amount of polyurethane using the method you use in staining. Polyurethane will make your floor extra shiny and it will as well provide an added protection. For best result, apply at least three coats.
CONTACT US 42 Colonnade Road North Ottawa, ON, (ontario)K2E 7J6, Canada Tel. 613-274-3535 http://www.ottawadiamondflooring.com info@ottawadiamondflooring.com