Download
1 / 14
140 likes | 145 Views
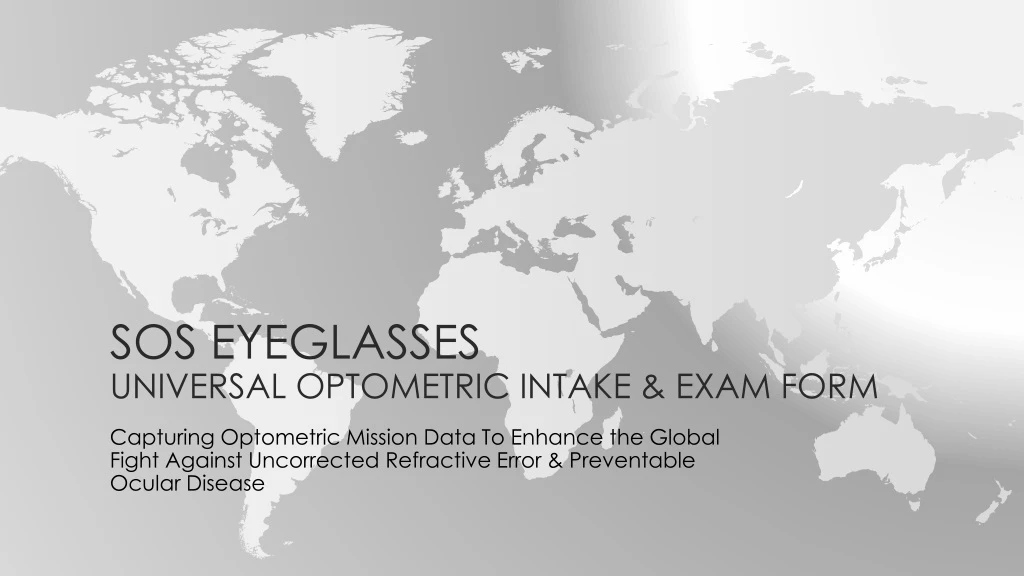
SOS Eyeglasses Universal Optometric Intake & Exam Form. Capturing Optometric Mission Data To Enhance the Global Fight Against Uncorrected Refractive Error & Preventable Ocular Disease. Universal Optometric Mission Intake & Exam Form. Why use this form vs. other existing forms

E N D
SOS EyeglassesUniversal Optometric Intake & Exam Form Capturing Optometric Mission Data To Enhance the Global Fight Against Uncorrected Refractive Error & Preventable Ocular Disease
Universal Optometric Mission Intake & Exam Form • Why use this form vs. other existing forms • The goal of a universal exam form is to create a consistent process that can support multiple global mission goals • Collecting exam data that can be analyzed and shared across the Optometric & Opticianry communities • The specific format allows for the scanning and data conversion of large amounts of information collected during the screening, exam and visual acuity or refractive error solution process • The forms are mailed to a central processing facility where they are scanned, analyzed by conversion software and turned into exam and encounter data • When completed the mission leader is emailed a report detailing the results of their mission trip Note: This presentation will advance automatically, you only need to click to advance to the next slide
Universal Optometric Mission Intake & Exam Form • How is the data used • The data is secured by stripping away the names of the patients upon export • The available data can be used for the following • University research projects • Allowing for improved mission preparation • Determining what prescriptions to bring inventory for • Pre-made glasses and readers • Pre-cut lenses for Ready to Clip or assemble on site eyeglass solutions • Stock lens inventory if the mission has edging capability • Better understanding of the level of Men’s, Women’s, Adult and Children’s frames needed to fit the population that will be at the mission • All data will be captured in a manner that allows for analysis and review by country or region • This is an important step in addressing the issue of uncorrected refractive error on a global basis
The process • The form itself can be printed from the downloadable PDF file • When printing, make sure that you select the “Actual Size” option as the data conversion rate will decline if you shrink the pages. • The form follows the most common steps in an optical mission and is meant to be completed as the patient progresses through the process • When the mission is complete, carefully package all of the forms and send them in to: Bob Stein at 20/20 Quest c/o National Vision, Inc. 2435 Commerce Avenue Building 2200 Duluth, GA 30096 • Make sure you fill out and include the processing cover sheet so all of your mission information is properly categorized and so that you are emailed you mission summary report
Getting started • On the surface, it seems like a tremendous amount of information, but it is really no more than you collect today • The key is to assign responsibility to each mission station to fill in their part of the form and to have that form travel with the patient • The form is laid out to follow the screening & exam process in these steps • Demographic & Basic Health Information Capture • Current Rx (if available) • Autorefracted or Retinoscopy Rx • Visual Acuity (Aided & Unaided) • Intraocular Pressures, Blood Pressure, Blood Sugar Levels • Doctor Rx • Ocular Health, Diagnosis, Treatment & Referrals
Station 1 - Demographic & Basic Health Information Capture 1 7 1 2 3 0 Jr. • The information that goes into each of the areas is self explanatory, but there are some rules about filling out the form so the computer can scan it later • Each box can contain only one letter or number. The scanning and conversion system looks in each of the narrower boxes for one letter or number, while in the wider boxes it looks for more than one letter or number • It does not matter if you use a pen or pencil, but pencils are better as you can make corrections • Note that the date is in the international format (YYMMDD) • “Bubbles” are used frequently throughout the form as they are very accurate when converting this paper form to data (as shown in the Urban / Rural section) • Penmanship does matter as the better the handwriting the better the conversion to data • These basic rules of completing the form apply throughout, please make sure everyone understands them • It is highly recommended that you have everyone complete a practice form on themselves prior to seeing patients 15-06-24
Station 1 - Demographic & Basic Health Information Capture 1 7 1 2 3 0 3 2 0 O D 0 M Jr. Y B N O N G E • There are some specific areas that are important to getting the best data capture • The Country ID is uses the United Nations Country Codes to identify where the mission is taking place • In this example, if the mission was in the Dominican Republic, you would record DOM H J O O D 15-06-24 • The Patient # has a dual role; it serves as the intake number so you can sequence the patient flow, but it is also the unique ID number that identifies the patient when the form is converted to data. • In this example, the patient is the 23rd patient of the mission, so you would write in 0023 • For Patient names, addresses and phone numbers, just remember to write one letter per box, and write clearly
Station 1 - Demographic & Basic Health Information Capture 9 8 1 0 6 0 • It is recommended that this section also be completed at the point of original intake • Due to the nature of the health questions, you may need a more knowledgeable person to ask these questions • Due to space restrictions on the form here is one more area that needs to be completed on the middle of the form on the right side. We do want to know if the patient speaks English, and if they are literate. • Both of these pieces of information help streamline the rest of the process • We want to capture as much information as possible to allow for future data analytics, and improved mission support
Station 2 – Recording Current, Auto or Retinoscopy Rx 5 8 1 1 0 1 • The process of recording Rx results is basically identical for the Current Rx, Auto or Retinoscopy Rx, and Doctor Rx’s • The Plus or Minus bubble must be filled in to record a valid Rx • Any Sphere Power up to 8.75 can be recorded using the bubbles • If the Sphere Power is 9.0 Diopters or greater, you will write it in the (>= 9D) box • Add .25, .50 or .75 to the Sphere Rx by filling in the appropriate bubble • For Cylinder Power, simply write in the number, and bubble in the quarters if needed • Write in the numbers for Axis and Prism • Bubble in the appropriate Add Power and quarters • Write in the PD • The OD Rx shown would be captured as: Sphere -3.50, Cylinder -1.50, Axis 110, Prism None, Add +1.25, PD 58 • The only difference between the Current Rx and the Auto or Retinoscopy Rx is the need to fill in
Station 3 – Visual Acuity, Intraocular Pressure, Blood Pressure & Sugar 110/80 15 60 40 20 30 18 4.3 60 40 20 30 • The results of Visual Acuity, Intraocular Pressure, Blood Pressure & Blood Sugar levels are all hand written in • Again, clear handwriting is essential to getting high levels of clean data conversion • Note that the Blood Pressure and Blood Sugar charting area is on the bottom left of the form Station 4 – The Doctors Exam, Rx & Glasses use recommendation 58 105 1 • As you can see this works like any other Rx entry • The difference is you need to bubble in the recommended use of the glasses • In this case, both a near and distance pair will be given to the patient • The Doctor Rx 1 is for the distance pair in this example, so the appropriate bubble is filled in
Station 4 – Let’s Try An Rx With a sphere power of 9.0 or greater 58 10 105 1 1.0 BU 1 110 1.0 BU • As you can see most of this works like any other Rx entry. BUT…. • In this example the Sphere Power is 10.50D and the bubbles only go up to 8 • In this case you don’t bubble in the Sphere Power, but write it down in the (>= 9D) section • The system will use the handwritten Sphere Power to record the integer portion of the Sphere Rx • Use the bubbles for the Sphere Power quarters as usual, only handwrite whole (integer) numbers • As you can see in the example the OD and OS Sphere Powers are recorded independently of each other (OD: -10.5D and OS -8.75D) • Now let’s add in some Prism • Prism is a tight fit on the form, so when it is necessary, make sure you write clearly • Prism will be one of the data elements captured for subsequent analysis, but primarily as it being present in the prescription or not • Of course, it needs to be legible at the mission for the manufacture of custom eyeglasses
Station 4 (continued) – Ocular Health, treatment & referral • The doctor (or their scribe) will bubble in all of the areas that are appropriate • This area covers a wide span of issues, but all are clinical in nature Severe Dry Eye 3 4 • For the PERRLA section, write in the size and bubble Normal, Slow or Fixed • Sign the form • Write in any notes. The Notes section is captured an as image or picture so as long as you write within the box your notes will be captured.
What to do with the forms • Collect up all of the forms and prepare them to be sent in for processing and data capture • If forms are too wrinkled or torn they probably won’t scan, so at some point, have one of your newbies copy over the damaged forms • This activity goes well with friends and beverages……. • The original forms need to be sent in for processing (not copies) • Make sure you fill out and include the processing cover sheet so all of your mission information is properly categorized and so that you are emailed you mission summary report • The Processing Cover Sheet allows the system to tag each patient record with the Chapter, mission leader, date, location etc.. To enhance future analysis • When the mission is complete, carefully package all of the forms and send them in to: Bob Stein 20/20 Quest 2435 Commerce Avenue Building 2200 Duluth, GA 30096
Complete the Master Data Import Information sheet, package and ship