Download
1 / 16
160 likes | 335 Views
ZelPrint LT 300. Manual Fine-Pitch Stencil Printer. ZelPrint LT 300. STEP-BY-STEP USER’S GUIDE. Put the frame with attached stencil to the frame holder of the LT300. Don ' t fix the frame. Check if the fixing clamps push the frame profiles. Position the PCB with use of fixative

E N D
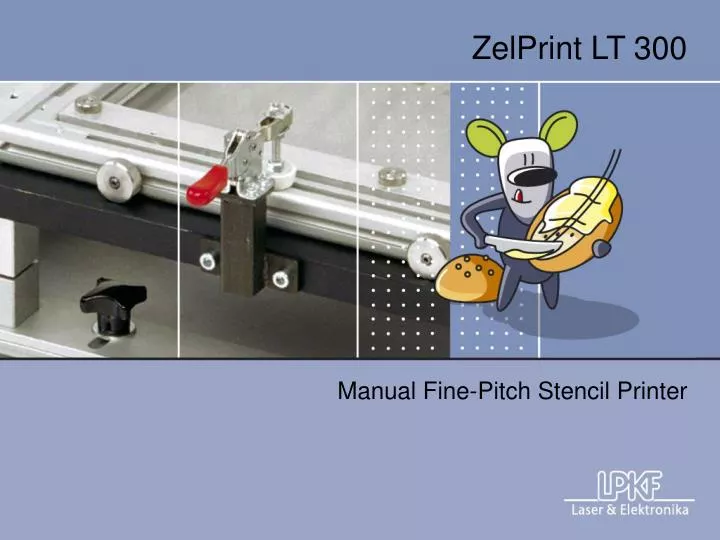
ZelPrint LT 300 Manual Fine-Pitch Stencil Printer
ZelPrint LT 300 STEP-BY-STEP USER’S GUIDE
Put the frame with attached stencil to the frame holder of the LT300. Don't fix the frame.
Position the PCB with use of fixative • supplementary for PCB. • Pay attention, that PCB is bind in the • same plane level as stencil perforation.
Use PCB supplementary to • hold up bigger PCB's.
Push the table into working • position under the frame.
Settle the frame through the • stencil perforation so, that it's • covered with pads on the PCB.
Put the test frame on the table. Push the table into working position and make the test print. • Let down the table and pull it out.
Pull out the table into the service • position. • Settle pads on PCB with print on • the foil of the test frame with micro • placing of X, Y and Z axes.
General Description • The LPKF ZelPrint LT300 is a precision manual stencil printer. • This tabletop model can be utilized for both prototypes and small batches • of fine pitch SMT boards. • Precise vertical separation between stencil and circuit board is guaranteed • to meet the specifications of contact printing. • This unique solution allows printing of 0,3mm (12mil) pitch.
Main Specification • On-contact fine-pitch printing • Parallel stencil perforation • Screen printing • Printing of populated double-sided boards • Compatible with various stencil frames • Test print screen included
Technical data • Frame dimensionswidth up to 430mm (16.92”) • length adjustablefrom 420mm to 520mm (16.54” x 20.47”) • height adjustable from20 to 40mm ( 0.78” x 1.57”) • Maximum printing area 300 x 300mm (11,8“ x 11,8“) • Print strokeManual • Print table adjustmentX and Y ±10mm (0.4”/400 mil); ± 5° • Max. height of printing items5mm/2” (optionally more) • Squeegee type:Rubber • Accuracy (machine)± 0,025mm (9.8 mil) • Accuracy (printing)± 0,04mm (1.57 mil) • Double side printingmax. height of components 15 mm (0.59”) • Dimensions ( W x L x H ) 740 x 530 x 180mm (29,1" x 20,9" x 7,1" ) • Weight30kg (66 lb) • Ambient conditions:Temperature: 20 –35°C • Humidity: 30-95%