Download
1 / 18
310 likes | 729 Views
Raise the pistol, align the sights so that the front post if the same height as the rear blade and there is equal space on either side of the front sight as it floats in the notch in the rear sight. Squeeze the trigger. That’s all there is to it.

E N D
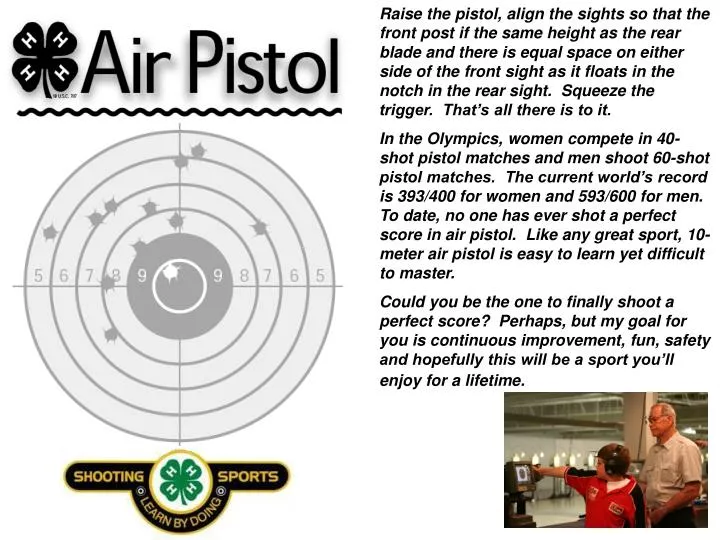
Raise the pistol, align the sights so that the front post if the same height as the rear blade and there is equal space on either side of the front sight as it floats in the notch in the rear sight. Squeeze the trigger. That’s all there is to it. In the Olympics, women compete in 40-shot pistol matches and men shoot 60-shot pistol matches. The current world’s record is 393/400 for women and 593/600 for men. To date, no one has ever shot a perfect score in air pistol. Like any great sport, 10-meter air pistol is easy to learn yet difficult to master. Could you be the one to finally shoot a perfect score? Perhaps, but my goal for you is continuous improvement, fun, safety and hopefully this will be a sport you’ll enjoy for a lifetime.
Shot Plan Stance • Stance • Natural Point Of Aim – NPA • Grip • Breath Control • Sight Alignment • Sight Picture • Trigger Control • Follow Through • Write It, Read It & Act On It! Shooter’s Journal. Feet shoulder width apart. Open Stance – body parallel to firing line. Inline Stance – body perpendicular to firing line. Combination of the two is the most effective. Slight backward tilt to offset pistol weight is o.k., but only a little. Look for extreme stances; too narrow or too wide. No twisting of the spine, shoulders rotating out of alignment with hips.
IntensityTraining • Creating Training Situations Where The Athletes Care About the Outcome • How Man 10’s In Five Shots – Effective in group & solo training scenarios, the athlete is given five shots and strives to get as man 10’s as possible. Highly advanced athletes can expand this to ten shots or more. Athletes who merely go through the motions gain no benefit, just as in any other type of training when they do not strive for improvement. Those who do strive and push themselves obtain great benefit. • First To Five 10’s – After a short sighting period, a “Go!” signal is given and athletes must shoot until they have five 10’s. Each time they shoot a 10, they loudly call out their count of 10’s: “One”, then “Two” and so on. The race is on to see which athlete reaches five 10’s first. The loud count serves to increase the pressure. One of the most effective ways to use this drill is to evenly match pairs of athletes so they have head-to- head competition. This can be expanded into a single elimination tournament where the winners of each pair advance to the next round until an eventual champion is determined. 10’s In a Row – This drill has no upper limit! That’s the point! Count how many 10’s in a row are shot. When a shot scores less than a 10, start the count over. Athletes must learn to shoot long strings of 10’s…and expand the upper limit of their comfort zone to match. Shoot An X – After a sighter/warm-up period, the athlete’s ammunition is removed. One pellet is provided with the instructions to shoot and X with this one shot. 10’s are not acceptable! Athletes notice quite a boost in intensity! This is repeated as the coach monitors the athletes state of mind and assists the athlete in working into the appropriate mindset.
Save Your Partner – Competitors first sight in, then as a group, shoot one match at a time. Instead of having the low shooter immediately sit out, their partner, the person to the left of the low shooter, can attempt to save him or her. {The competitor on the far left of the firing line should be saved by the competitor on the far right}. To save the low shooter, the partner shoots one shot while all other competitors must wait. In order for the low shooter to be saved, the shot must be a 10 or an equally challenging score based on the competitor’s skill level. When only two shooters remain, a shoot off will determine the winner. Shot Calling Exercise – This drill may be completed individually or as a group. Shooters will shoot 10 shots for record, recording each individual shot. After each shot before looking through a scope, the shooter should record their “call” both for that shot in score and shot direction. For example, a shooter could record a 9 at 7 o’clock or a 9 low and left. The shooter may then look through their scope and check the accuracy of their call. If the shot is a 9, as called, the shooter receives 1 point. Additionally if the direction was guessed correctly the shooter receives another point. This drill highlights the hold, follow through, natural point of aim and consistency. IntensityTraining • Continued • Guts Match –Shot like a final, all competitors are given 75 seconds to shoot one shot at a time. Any shot not completed within the allocated is recorded as a zero. After each record shot, shooters should be prompted by a coach or range officer to yell out their scores in order down the line. The shooter with the lowest score is out of the competition and may step off the line. This continues until there is one match champion. If there is a tie for the lowest score only the lowest score competitors will participate in a shoot off to determine who will remain in the competition. The Guts Match helps impress the importance of treating each shot as a single shot match. • Shooting Ping Pong – This two player game is best described as a point based target shooting duel. After sighting in, shooters of comparable skill level may shoot one shot at a time, comparing scores after each shot. The shooter who fires the highest score receives one point. The games will continue this way until one competitor reaches 5 points to win the game.
NPA Natural Point Of Aim With your head forward, (not turned), close your eyes and raise your arm to aiming height, as if hold a pistol. Perform air circles, slowly decreasing the size of the circle until arm comfortably to rest. Turn you head toward hand, open eyes and look over web of hand. The target is in front of your gun; you’re not pointing the gun toward the target. Arm should raise naturally to the center of the target. Change position by pivoting on front foot, by moving rear foot in direction of the error. Look at the sights! Your concentration must always be on the front sight.
Grip Non-shooting hand places pistol deep into web of shooting hand. Center sections of middle & ring finger apply pressure to pistol grip. Pinkie, thumb & fingertips do not exert control. They should only touch the grip. No Pressure. Grip Pressure – Like a firm handshake, consistent pressure. No trembling, a sign of too much pressure, or whitening of fingernails. Pistol forms a natural extension of the arm. Trigger finger must not be in contact with the grip.
Breath Control Breath Control Breathing Causes Movement Ensure that you have lots of oxygen in your blood. Breathing pattern must be consistent for each shot. Breathe between each shot (2-3 inhales) and on breaks. Over the course of a 40 – 60 shot air pistol match, you’ll have held your breath a lot. Develop a routine, follow the pattern faithfully and this will become natural when you shoot You must fire the shot within 6 to 8 seconds. After a longer period of time your body begins to feel the effects of oxygen depravation and movement begins to increase.
Sight Alignment & Sight Picture Sight Picture 6 O’clock U.S. Olympic team members fire their shots in the first 5-10 seconds. Let the shot happen; don’t force it. Consistency Not Perfection!! The basic function of the sights is the align the eye with the barrel. The sights must be consistently aligned with the eye before they can be adjusted to align properly with the barrel. Your concentration must always be on the front sight. Center Hold
Sight Picture Front & Rear Sight work together Focus is on the… Correct Sight Picture For Center Hold • Front Sight!!!
6 O’clock Center Hold
Trigger Control SLOWLY – apply pressure to the trigger bringing it straight back to fire without disturbing the sight alignment. Press the trigger with only the trigger finger moving. Commit to the shot or put the gun down. “Do or do not. Trying there is not.” Yoda, Star Wars character Dry firing is one of the best exercises to improve your trigger control. Sub Six
Trigger Control Follow Through The Shot Breaks Maintain your hold, sight alignment & sight picture for a count of 1 or 2 seconds. Allow the pistol to recover from the recoil and settle back into your natural point of aim. # What did the sight alignment look like? # Did your natural point of aim return to your aiming point on the target? # How did your grip feel? # How did the trigger action feel? Maintain your concentration as part of your follow through. STAYINTHEMOMENT!!! Finger Isolation Exercise – With an empty hand, position your fingers & thumb as if you were holding an invisible air pistol. While watching your fingers & thumb carefully, flex your index finger as if you were applying pressure to the trigger. Did other fingers move? Was it hard to make them all stay still?
Name: ________________________ Name: ________________________