Download
1 / 43
440 likes | 2.26k Views
Explore the world of Arduino with this beginner-friendly class covering history, purpose, programming rules, unique features, and project examples. Learn how to code for Arduino and create exciting projects!

E N D
Arduino 101 Class For those new to programming and the Arduino Version 3.2
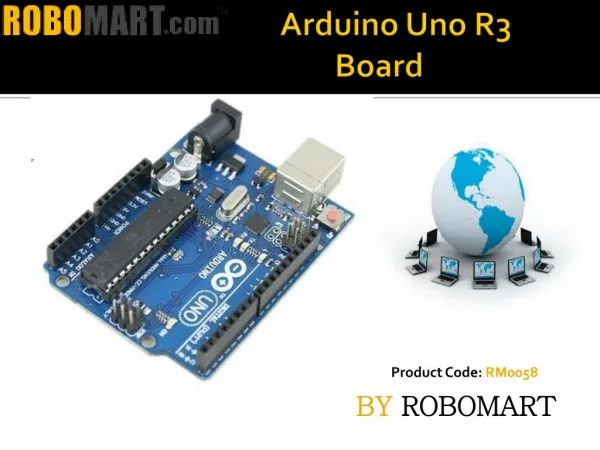
Other Arduinos And Compatibles Circuit Playground Express Adafruit Flora Adafruit Gemma (also LilyPad) Arduino Tiny (also Atom X1) Arduino Nano Adafruit Huzzah Feather Arduino Pro Mini Sparkfun Uno clone
What Can Arduinos Do? They have full processors to run any kind of general processing you want, though they are relatively slow, single threaded, and not good at floating point math and don’t have lots of memory They run “near real time”, which means they are good for exact timing and predictable execution speed They draw very little power compared to full computers They are great at controlling many kinds of devices They are great at getting input from many kinds of devices They have serial ports and USB to communicate with other devices, including your PC. They have other communication interfaces like I2C and SPI, and even more can be added with small add-on boards like CAN and DMX.
Conditionals if( col > MAX_COL) { col = MAX_COL); } if( col == MIN_COL) { // == is comparison col = 17; // = is assignment } if( col >= MAX_COL) { // Increment col if within range col = MAX_COL; } else { col++; } “if()” is the main conditional, but there are others new_col = col > MAX_COL ? MAX_COL : col+1; // ternary operator Switch statements can be used to branch based on different possible values
Loops // Loop the integer x through all the digits // for(setup ; conditional ; iteration) { } for(int x=0; x < 10 ; x++) { Serial.println(x); } // while(conditional) { } int x = 0; while(x < 10) { Serial.println(x); x++ }
The Blink Example, Annotated /* < ------- Anything between /* and */ are comments, and not executed. Blink Turns an LED on for one second, then off for one second, repeatedly. … */ // the setup function runs once when you press reset or power the board void setup() { < ------- setup() is a function called at the startup // initialize digital pin LED_BUILTIN as an output. pinMode(LED_BUILTIN, OUTPUT); } // the loop function runs over and over again forever void loop() { < ------- Arduino programs don’t have an end. They loop forever. digitalWrite(LED_BUILTIN, HIGH); // Turn the pin on, turning the LED on delay(1000); // wait for a second digitalWrite(LED_BUILTIN, LOW); // Turn the pin off, turning the LED off delay(1000); // wait for a second }
lightblink.ino const int sensorPin = A0; // Select the input pin for the light sensor const int ledPin = 13; // Select the pin for the LED void setup() { Serial.begin(9600); // Set up the serial port to talk to the PC pinMode(ledPin, OUTPUT); // Declare the ledPin as an OUTPUT: Serial.println("Starting"); } void loop() { // Read the value from the sensor, 0-1024, but generally over 600 int sensorValue = analogRead(sensorPin); // map() takes a value in an expected input range and scales it to // a different output range. Here I am also reversing the low and // high so the higher the resistance, the lower the delay, the // faster it blinks int delayValue = map(sensorValue, 600, 1024, 1000, 200); Serial.print("Sensor: "); Serial.print(sensorValue); Serial.print(" Delay: "); Serial.println(delayValue); digitalWrite(ledPin, HIGH); // Turn the ledPin on delay(delayValue); // Pause for <delayValue> milliseconds: digitalWrite(ledPin, LOW); // Turn the ledPin off: delay(delayValue); // Pause for for <delayValue> milliseconds: }
Arrays #define COINS_MAX 4 int coins[COINS_MAX]; coins[0]=1; coins[1]=5; coins[2]=10; coins[3]=25; for(int x=0; x < COINS_MAX; x++) { // x should go from 0 to 1 to 2 to 3 but not 4 Serial.println( coins[x]); }
Reference Arduino website: https://www.arduino.cc/ Espressif ESP32https://en.wikipedia.org/wiki/ESP32 Esspressif ESP8266https://en.wikipedia.org/wiki/ESP8266 Adafruithttps://www.adafruit.com/ Sparkfunhttps://www.sparkfun.com You Do It Electronicshttp://www.youdoitelectronics.com/ Microcenterhttps://www.microcenter.com/
Thank you all! I look forward to your questions and feedback david@thekramers.net You can download my presentations at http://www.thekramers.net/r/arduino/