Download
1 / 23
230 likes | 332 Views
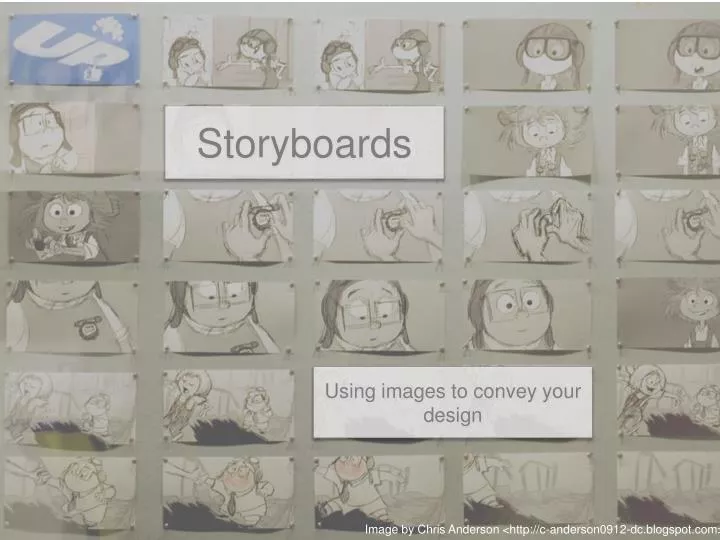
Storyboards. Using images to convey your design. Image by Chris Anderson <http://c-anderson0912-dc.blogspot.com>. The Power of Storytelling. If asked what you did two weeks ago Thursday, or asked to remember any story you’ve heard in the past two weeks, which would be easier to recall?.

E N D
Storyboards Using images to convey your design Image by Chris Anderson <http://c-anderson0912-dc.blogspot.com>
The Power of Storytelling If asked what you did two weeks ago Thursday, or asked to remember any story you’ve heard in the past two weeks, which would be easier to recall?
The Power of Storytelling If asked what you did two weeks ago Thursday, or asked to remember any story you’ve heard in the past two weeks, which would be easier to recall? Why?
The Power of Storytelling • We are drowning in information: Good stories cut through that noise.
The Power of Storytelling • We are drowning in information: Good stories cut through that noise. • Stories feel “real” compared to abstract concepts, statistics, or logical arguments.
The Power of Storytelling • We are drowning in information: Good stories cut through that noise. • Stories feel “real” compared to abstract concepts, statistics, or logical arguments. • Stories can capture people on an emotional level, creating a deeper or more intimate bond.
The Power of Storytelling • We are drowning in information: Good stories cut through that noise. • Stories feel “real” compared to abstract concepts, statistics, or logical arguments. • Stories can capture people on an emotional level, creating a deeper or more intimate bond. • Stories are memorable. People can forget facts, but tend to remember stories. Ivey, Mark. “Steve Jobs and the Power of Storytelling.” <http://www.socialmediaexplorer.com>
Why Utilize Storyboards? • An example is better than an explanation • People can see your design in “action” • Can help clarify misconceptions or misunderstandings about your design, core or intent
The Basic “rules” of a Story • Be interested in the story you’re telling • (For good examples, watch Ginger, Candace or Ryan present something some time) • Bring the story alive: • Body language, volume of voice, facial expression • Be careful with the details: • Too much or too little can distract or detract from your design • Don’t be afraid to show your feelings • If you’re passionate about your design, show it and it’ll attract others • Make eye contact • “Don’t look at the board” sound familiar to you guys? You hold a person’s attention if you look at them. • Have fun! • If you don’t, why should we? Bellingham, Darryll. “The Art of Storytelling. <http://www.storytell.com.au>
Creating Storyboards Step 1: Have at least 1 character “Persona” This should be the easiest step. You should already have at least one, if not more, personas, and they generally have stories already that flesh them out a bit. This persona will be the character of your story, which will then build into your storyboard.
Creating Storyboards Step 2: Know what message you’re trying to convey You should have a specific goal in mind for what your storyboards should be telling. Storyboards are meant to be brief visual explanations, in a way, and if your message is all over the place, they could actually hurt the understanding of your design.
Creating Storyboards Step 3: Write out the story first Once you have the idea, it is not uncommon to want to just jump into sketching out the storyboard and trying to keep things on topic. If you’re good at that sort of thing, go you! If not, write out the (brief) story first. If it helps, sit down with your project partners and do it out loud, everyone contributing to the story. If that becomes difficult, assign the task to one person. When you’re done writing it out, do read it out loud, though. Reading things out loud helps a lot, and is worth the few minutes of feeling silly. It also helps you get a handle on how long your storyboard presentations may turn out.
Creating Storyboards Step 4: Section out the story into blocks Probably the easiest and hardest step at the same time is finding good breaks in the story to section it out into blocks. Doing this lets you know what the main action in each panel should be, but also fills in any other minor actions that may have happened in between panels for the person reading through your storyboard. Easiest because, well, it should be easy, right? Hard because sometimes the breaks, or the major actions, are not always as obvious as we think they should be. If you skipped step 3, you’ll probably skip this one, too.
Creating Storyboards Step 5: Sketch out each panel Regardless of the final media used to create each panel of your storyboard, it is always good to have a rough sketch of what should go in that panel. This step is useful so that when you are drawing, photographing, or otherwise creating your final storyboard image, you don’t forget what your intent for that specific panel was. Also, sketches don’t have to be drawings. You can sketch things out with words, stick figures, whatever will help you remember what you originally planned to put in that box.
Creating Storyboards Step 6: Finalize the storyboard Whatever medium you’ve chosen as your final storyboard (drawing, photography, claymation…), it will be easier to finish if you’ve taken the time to plan out your steps along the way. When you’re done, do one last read through just to make sure you haven’t done anything (be prepared for face-desking if you have), and then pat yourself on the back. You’re done!
Tools You don’t have to be an artist to do storyboards. Yeah this looks cool… But that doesn’t mean that you have to be able to draw like that to convey a good story. There are many different tools you can utilize to do your storyboards. http://www.tritaurus.com “Time Soldiers” http://habitualfilms.files.wordpress.com “Nathan Saving Peter”
Tools You can use Photography, for instance http://acrossthemilesphotography.com
Tools Or other types of physical media http://www.ttauri.org/ “Claymation” http://www.e-junkie.com/ “Felt paper dolls”
Find Your Style Find what type of storyboarding works best for you. Look at examples done by others in the field, or ask around to other students to show you theirs, but don’t judge your storyboards by how theirs look. It sounds cheesy and cliché, but everyone has their own style. Figure out what yours is and improve on it.
Find Your Style Even if your style is stick figures, make them the most bitchin’, kick-ass stick figures anyone’s ever seen (sorry, Marty). So long as your storyboards convey the message that you and your team wants, they can be made out of macaroni glued to cardboard for all anyone cares. The story is the important part of the storyboard. Actually, someone might care about the macaroni and cardboard…
Improving your Storyboards You already know how, you have been told how your entire life. Practice. When you figure out what your style is, or what you want your style to be, practice. Not only with the medium you’ve chosen (photography, pen and pencil, digital, etc), but with the writing of stories in general.
Improving your Storyboards Join a writing group online, look for weekly/daily writing prompts, do whatever you can to improve your grasp on the written and spoken art of telling stories. Most importantly, don’t forget that you can ask for help, or for someone to review your storyboards/story while you’re here. Take advantage of the people around you to improve, and you can help them improve as well. The people are the most important part of the storyboards, after all.