Download
1 / 23
230 likes | 409 Views
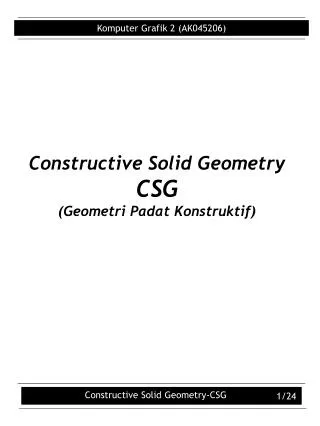
Constructive solid geometry concepts. Inventor Tutorial D3. Locator. This is the object we are going to work on There are always several different ways to create the 3D objects. Think ahead about the different additions, and cuts you will make. Do 1. Start a new METRIC part

E N D
Constructive solid geometry concepts Inventor Tutorial D3
Locator • This is the object we are going to work on • There are always several different ways to create the 3D objects. • Think ahead about the different additions, and cuts you will make.
Do 1 • Start a new METRIC part • Click on Metric under templates • Then choose Standard(mm).ipt
Do 2 • Make the Origin Components Visable • Start a New Sketch on the XZ Plane • We are going to make the base feature • This is the primary solid feature of the model • Make a two point rectangle, the base should be aligned to the X axis
Do 3 • Add the dimensions • You can always go back and edit dimensions • If you don’t have a tool selected you can move dimensions around • Set the dimensions as shown
Using the measurement tool • Change to the Inspect tab of the ribbon • Choose Area • Click the closed shape, and you can see the area of that shape • We can use loop to find the perimeter
Do 4 • Extrude the Shape 15mm DOWN • Look at the bottom of the Shape, it should look like mine (your yellow work planes might look different) • Create a new 2d Sketch based on the bottom face
Do 5 • Draw a circle from the mid point (your cursor will turn green), to the outside edge of the rectangle • Finish your sketch
Do 6 • Go to the home view, your view should look like mine, if it doesn’t, use the cube to fix it, so that it does match • Extrude it up 40, but don’t click OK yet
Do 7 • Finish the extrude • Create another 2d Sketch on the top face of the cylinder
Do 8 • Draw a circle based on the cylinder’s center point • Add a Dimension, and set the diameter to 30mm • Finish the Sketch
Do 9 • Extrude the shape down and cut the circle • Set the Extents to ALL • Finish the Extrude
Do 10 • Now we are going to add a Placed Feature • Instead of creating a new sketch to add a hole, we are going to use the hole tool • Click Hole Tool
Required Geometry • A linear hole needs three pieces of geometry • Face • Reference 1 • Reference 2 • To set them, click the arrow, then pick the geometry
Do 11 • Pick Face, then select the horizontal top face shown
Do 12 • For reference 1, choose the top edge • Set dimension to 25
Do 13 • For reference 2, choose the right edge • Set dimension to 30
Do 14 • Set the drill size to 20mm and make sure Termination is set to through all • Click OK
Do 15 • Create a new 2D Sketch on the Right vertical sketch as shown
Do 16 • Make a rectangle as shown, and add the required dimensions • Finish the sketch
Do 17 • Extrude the rectangle • Cut towards the hole • Set the Extents to To Next, that will make it go until it hits something different (like the hole • Finish the Extrusion • Save the file as d3.locator
Two Exercises • Ask me for the two exercises for this assignment, they are on a separate sheet.