Download
1 / 20
200 likes | 322 Views
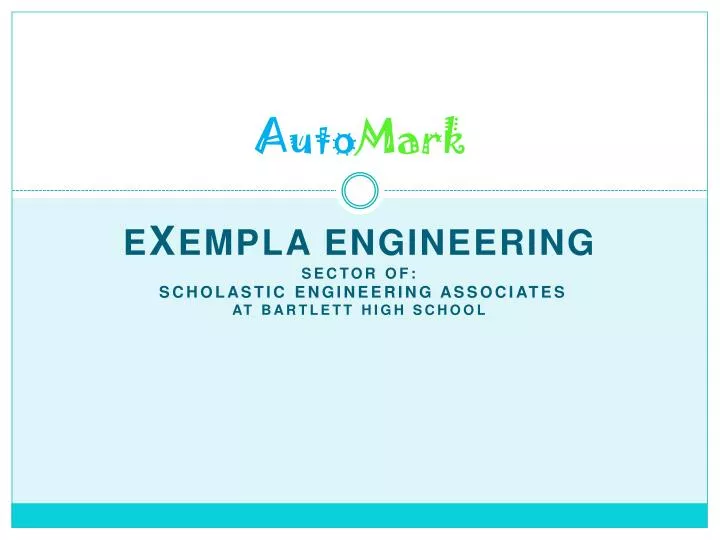
Auto Mark. e X empla Engineering Sector of: Scholastic Engineering Associates at bartlett high school. Crayola Marker Sealant . Top View. Isometric View.

E N D
AutoMark eXempla Engineering Sector of: Scholastic Engineering Associates at bartlett high school
Crayola Marker Sealant Top View Isometric View The Blue is the inside sponge (wick) and nib of a standard Crayola Marker. The outer Grey area is the 3 piece sealant we plan to put around the wick to reduce the nib’s surface contact with air (the main reason why nib’s dry out. Top Piece Top/Bottom Connector Side View Bottom/ Nib Protector Front View
The Blue is the inside wick of a standard marker. The Gray is the outer shell of our marker, which includes the reservoir that contains the wick. The grey is also the connector piece that connects the reservoir to the piece that holds the nib. Top View IsometricView Side View Top Piece Top/Bottom with Connector Bottom/nib holder Enlarged View
Top View Full Marker Assembly Isometric View Assembly view of the marker with the outer shell made translucent for internal viewing. The grip is grey. This view is with the marker sealant protracted. Outer Shell Grip Side View Front View
Top View This is with the marker sealant retracted. The idea of this marker is that the aluminum wire between the reservoir and the outer shell is pulled down when the grip is pushed in. The wire is connected to a two pulley system that will, when the grip is pushed in, pull down the marker reservoir so the nib is exposed for writing. When the child lets go of the grip, the nib will automatically retract. Side View Front View Isometric View
Outer casing THE OUTER CASING IS WHAT THE CUSTOMER IS GOING TO SEE AND USE. When the two sides are put together along with the grip, it makes up the outer appearance of the marker.
Nib protector This component secures the marker nib from slipping out.
Nib connector The nib connector connects the reservoir and the nib holder, with the marker nib in between. Together with the nib protector, reservoir, it creates an airtight seal
Grip The grip is what the customer pushes in to operate the marker. When pushed in, it applies tension on the wire and force the nib and reservoir to protract.
Airtight seal This is the subassembly of the reservoir, nib protector, and the nib connector that automatically creates an airtight seal, protecting the nib from air and keeping it from drying out.
Wick reservoir The reservoir protects the wick from any bleeding. Along with the nib protector and holder, it makes the airtight subassembly, protecting the nib from contact with air when retracted
Marker assembly Full marker assembly. This is what the customer will see and hold.