Download
1 / 20
280 likes | 618 Views
HTML Frames. Introduction to Frames Simple Frame Example Frame Layout Excercise. Why Frames?. Able to present documents in multiple views Views can be in independent windows/subwindows Information can be varied in different windows while navigation is controlled in one window.

E N D
HTML Frames Introduction to Frames Simple Frame Example Frame Layout Excercise
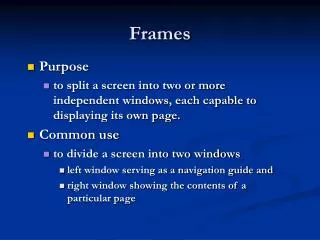
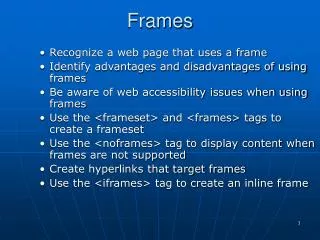
Why Frames? • Able to present documents in multiple views • Views can be in independent windows/subwindows • Information can be varied in different windows while navigation is controlled in one window
Frame Layout <FRAMESET rows/cols=“x(%),y(%)| pix x, pix y” frameborder=[yes,no] > <FRAME src=“html file” name=“string” scrolling=“yes/no/auto” noresize > <NOFRAMES> <P> If you have a non-frame compatible browser, this message will show up instead of the frames. Usually you use it to tell users to go get a frame- compatible browser and come back. </P> </NOFRAMES> </FRAMESET>
Simple Frame Example This is an example of a simple frame document : <HTML> <TITLE> Simple Frameset document </TITLE> <!-- Column --> <FRAMESET cols=“20%, 80%” frameborder=“no”> <!-- Contents of 1st column is 2 Rows --> <FRAMESET rows=“100, 200”> <!-- Row --> <FRAME src=“row1.html” name=“ rcoltrow”> <FRAME src=“row2.html” name=“rcolbrow” scrolling=“auto”> </FRAMESET> <!-- End of 2 Rows --> <!-- Contents of 2nd column --> <FRAME src=“col2.html” name=“lcol”> </FRAMESET> </HTML>
Create 7 FILE as follows..! Index.html
atas.html Note : File headersmaga2.jpg harus berada 1 lokasi dengan file htmlnya
bawah.html • Name=“isinya” adalah untuk mendefinisikan nama frame • Untuk memanggil frame tersebut nantinya cukup dengan • memanggil nama framesnya saja yaitu “isinya”
menu.html Target=“isinya” adalah frame tujuan dimana file isi.html harus diletakan, tetapi terlebih dahulu framenya harus diberi nama seperti pada slide sebelumnya
Tag <A HREF>…..</A> is used to link the document or URLExample : Script above used to link text Home to isi.html document If we’ll link image, use script like this : < A HREF=“isi.html” target=“isinya”><img src=“gambar.jpg”></A>
isi.html File di atas adalah file yang dibuat pada pertemuan I