Download
1 / 40
430 likes | 770 Views
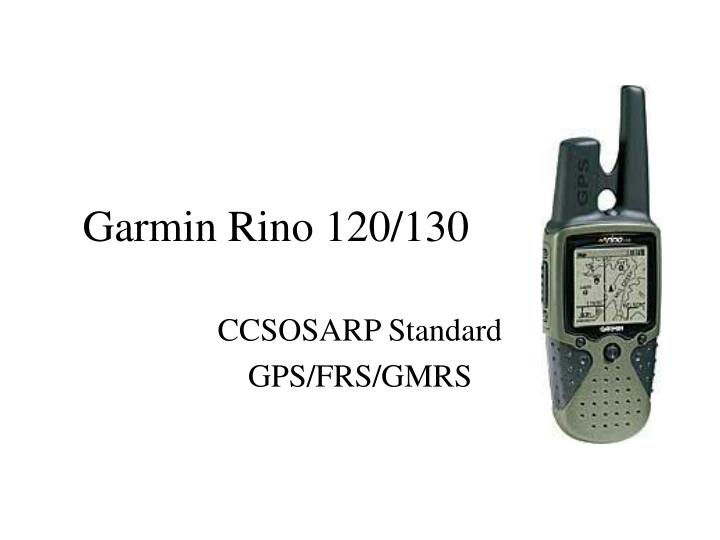
Garmin Rino 120/130. CCSOSARP Standard GPS/FRS/GMRS. Objectives. After this class you should be able to: Power on a Rino Set the radio channel & code Set the unit name/ID Enable Send/Poll Location Poll a contact Send location Understand radio user interface basics. Objectives (cont.).

E N D
Garmin Rino 120/130 CCSOSARP Standard GPS/FRS/GMRS
Objectives • After this class you should be able to: • Power on a Rino • Set the radio channel & code • Set the unit name/ID • Enable Send/Poll Location • Poll a contact • Send location • Understand radio user interface basics
Objectives (cont.) • After this class you should be able to: • Mark GPS Waypoints on Rino • Goto a Waypoint, Contact, or Place • Clear & Save Tracks & Trips • Determine distance and direction to a “Contact” • Navigate with the Navigation Screen • Understand GPS user interface basics
Rino Overview • Power on • Menu System • Radio • Map • Nav • Trip • Main menu Zoom Page/Quit Button Volume Joystick/Enter
Main Page Rotation Scheme, by Page/Quit Button or Main Page Menu (upper right status bar)
Radio Page Option Menu Page Rotation Menu Battery Meter Send/Poll Location Enabled Radio On Channel # 1-14 FRS 15-22 GMRS Code
Key Radio Functions • Communicate • Auto-location/Polling (enable) • Setup channel/code • Setup ID • Contacts: accept, review, poll
Radio Controls Headset Connector Call Button Push to Talk Microphone port Volume button Pops up menu
Radio Auto-location • Sends location on Xmit (PTT) or Call • FRS (or GMRS w/license) • Must be on correct channel # w/correct code Send/Poll Location enabled Radio on Channel Code
Radio Auto-location • To set channel/code: • Select channel/code box (turns black), w/joystick, press enter, select channel,code Battery Meter Option Menu Channel Code
Radio Auto-location • FRS (or GMRS w/license) • Must have correct ID (Assigned according to CCSOSARP S.O.P TBD) ID set like channel/code select & edit w/joystick
Radio setup to enable Auto-Location • Setup from Radio Page Menu Select options menu here Select Setup Radio here
Radio set up page • Send location & Allow polling- must both be ON • Many other radio options are here too • VOX level • GMRS on/off ( GMRS requires license) • Headset type • Microphone sensitivity
Contacts Map display Bearing to Contact Name/ID Distance to Contact Contact Bar Map Centered on selected contact
Selecting Contacts • When a new contact is received, “New contact page” will appear, selecting “OK” will add new contact Icon to list on Map page
Review Contact • To review a Contact, Highlight the desired contact on the contact bar • Map page will center on contact • Display-name, direction, distance Or • From Find ‘N Go Menu- select “Contacts”, select contact
Poll a Contact • Polling a Contact is requesting that Contact’s Rino send you it’s location (with out Contact intervention). • From the contacts detail page (accessed by Find ‘N Go or map page Icon) select the “option menu” • Select “Poll Location”
Top Level Menus - Radio • Many ways to get there • Nested menus • Joystick navigation • Page/Quit button • Shortcut menu, zoom button
Key GPS Functions • Set Waypoint • GoTo • Clear Trip & Tracks • Navigate • Determine distance & direction of “Contacts”
GPS Controls On/Off Screen illumination contrast “Click Stick”tm Joystick w/enter MAP Zoom/return to MAP
Setting Waypoints & Goto • From any menu pressing the joystick/enter and holding for 1-2 seconds brings up the Shortcut menu • This menu allows you to Mark (current location as a) Waypoint. • Find & Go ( Goto) menu • Enable Disable keylock (keyboard can be locked/unlocked
Setting Waypoints & Goto (cont.) • Set Waypoint & Find ‘N Go can be set from Main Menu as well
Top Level Menus - GPS Screen shots • Map • Navigation • Trip • Main
Option menu Map Page rotation Status Bar Cont Dir/Dis Battery Contacts Ready to Send Poll Location Satellite Status Bk cntr rdy Wht not rdy Selected Contact Location Selected Contact Name (ID)
Key Sub menus from Main Proximity alarms Satellite page Setup menu
Top Level Menus (cont.) • Many ways to get there • Joystick • Select Rotation Icon in status bar drops a list of selectable pages
Top Level Menus (cont.) • Many ways to get there • Page/Quit button Page/Quit
Top Level Menus (cont.) • Many ways to get there • Shortcut menu • Zoom From any page other than MAP, Zoom returns to MAP Press & hold joystick/enter for Shortcut menu
Summary • GPS & Radio functions follow nested menus • Menus are accessible by: • Sub-menu/joystick • Page/Quit button • Enter hold (shortcut) • Radio operations require proper setup to allow location ID • Garmins Controls and displays are redundant with many paths to the same information