Download
1 / 7
70 likes | 80 Views
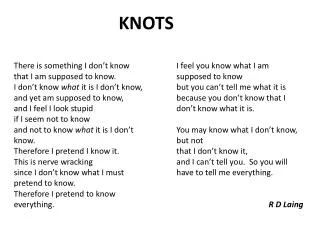
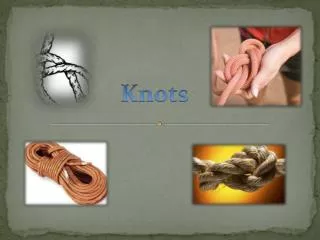
Bantu Knots also known as Zulu knots originated and were popularized by the Zulu people, a Bantu ethnic tribe of Africa. Though originally a style exclusive to this ethnic group, it didnu2019t take too long before globalization got to it. The Bantu knots hairstyle features lovely small, coiled buns sprinkled throughout the hair and believe us when we say that any hair type can opt to go up in knots to get this style.

E N D
1. Step 1 – Wash It • Cleanse your scalp gently to remove any product build-up, then condition the lengths of your hair as usual. • Detangle using Cleanse & Condition Leave-in Conditioner, that protects your hair as you style it. • You will need smooth hair to begin with before you start wrapping the Bantu knots.
2. Step 2 – Part It • Bantu knots require your hair to be parted in sections all over. • With the help of a rat-tail comb, divide your hair into sections depending on how thick you would like your knots to look. • Remember, the smaller the knots, the more defined your curls will be once unravelled. • Go crazy and part your hair in different patterns – zigzag to interlocked diamonds, triangles to squares! • TIP: Hair that is well moisturized is the best canvas for Bantu knots.
3. Step 3 – Twist It • Use a curl cream or a similar setting product and twist the product into each section of your hair with your fingers. • No stressing them roots, please! • Once your hair is twisted enough, wrap it into a knot.
4. Step 4 – Hold It • This by far is the trickiest part of the process. • As you see your twists start to coil, give them a little tug to make sure no stubborn hair is sticking out. • Secure each of the twisted knots firmly in place with tiny elastic bands and use 3-4 hairpins as backup reinforcement to make sure your Bantu knots behave all day long.
5. Step 5 – Repeat It Repeat the process for each section, keeping the thickness of each Bantu knot consistent.
6. Step 6 – Finish It • The perfectionist in us would finish these Bantu knots with some hairspray to keep them neat once all done. • Garnish with some accessories like hair cuffs, coloured elastic bands, fun temporary colour or yarn threads.