Download

1 / 12
120 likes | 324 Views
SIC Simulator and Assembler. How to convert your source program to Object program. Place the SIC folder in directory C: Make sure the SIC folder contains a folder, possibly empty, called “files”. The “files” folder is the target folder for the assembler.

E N D
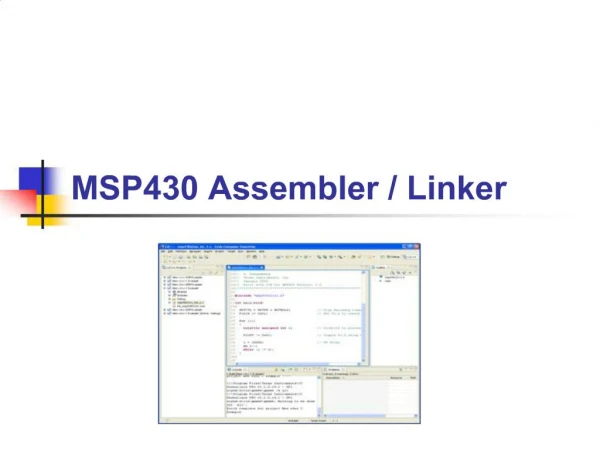
How to convert your source program to Object program • Place the SIC folder in directory C: • Make sure the SIC folder contains a folder, possibly empty, called “files”. • The “files” folder is the target folder for the assembler. • The program assembler.exe contains a text editor, the assembler, the loader and a shortcut to simulator as well. So, it is All-in-One :)
How to convert your source program to Object program (cont.) • Write your source code in any text file. • Run assembler.exe and open your source code file from File->Open (or you can use the editor embedded in it. • If your program contains macros, select “ExpandMacro” command from the “MacroProcessing” menu, then proceed to the next step. • Choose “Assemble” command from the “Assembling” menu.
How to convert your source program to Object program (cont.) • If successfully assembled, you will get a message saying so, and 3 files will be created in the “files” folder. • Output: • LISAFILE.txt (program listing) • OBJFILE.txt (object program) • INTFILE.txt (just contains a specially-formatted version of your source code) [not important]
How to convert your source program to Object program (cont.) • Next step is to load your object code and run it on the simulator. • From the “Load” menu, select “Load” command. A new file “LISLFILE” is generated, which is the loader's output list file. • Run the simulator by either selecting “SIC Sim” from the assembler or explicitly run sim.exe in the SIC folder.
How to run your program • Run sim.exe • The following screen appears
Simulator commands(1) • F1: enter data to registers/memory: • You select the name of the register or the starting memory address, and you can enter the data manually. • F2: dump conentes of registers/memory • You can view the current data written in the registers/memory • Very useful for tracing your program during execution.
Simulator commands(2) • F3: Execute the loaded program, you have 4 options: • F3->F1: Execute till break point. You'll get to enter the address of the break point. You can continue execution after the break point by selecting one of the four options again. • F3->F2: Halt after executing a user defined number of instructions. You can continue execution after that by selecting one of the four options again. • F3->F3: Execute instruction by instruction • F3->F4: Execute till “J *” instruction is reached!
Simulator commands(3) • F4: Rest machine and reload program (refresh)
I/O Devices • The simulator supports six simulated SIC devices for use by the program • Devices F1, F2, and F3 (file names DEVF1, DEVF2, and DEVF3) can be used only for input • Devices 04, 05, and 06 (file names DEV04, DEV05, and DEV06) can be used only for output. • In any of these files, each byte of data is represented as one character. • On input, an end-of-line is read as hexadecimal 00; an end-of-file is read as hexadecimal 04. \ • On output, writing a hexadecimal 00 causes an end-of-line to be inserted. • An attempt to execute an RD or WD instruction before the device is ready will cause an error message.