Download
1 / 19
190 likes | 201 Views
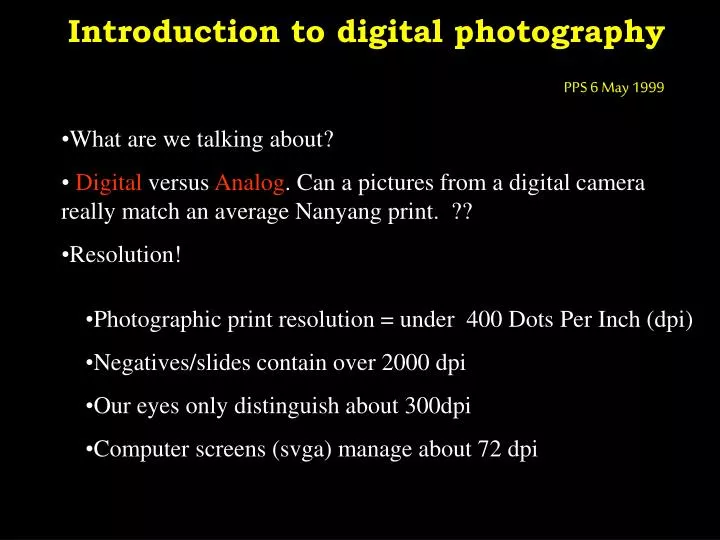
Introduction to digital photography PPS 6 May 1999. What are we talking about? Digital versus Analog . Can a pictures from a digital camera really match an average Nanyang print. ?? Resolution!. Photographic print resolution = under 400 Dots Per Inch (dpi)

E N D
Introduction to digital photographyPPS 6 May 1999 • What are we talking about? • Digital versus Analog. Can a pictures from a digital camera really match an average Nanyang print. ?? • Resolution! • Photographic print resolution = under 400 Dots Per Inch (dpi) • Negatives/slides contain over 2000 dpi • Our eyes only distinguish about 300dpi • Computer screens (svga) manage about 72 dpi
Introduction to digital photographyPPS 6 May 1999 • File Formats? • Large .gifs versus lossy .jpegs and difficult Kodak .pcd files. • Most common formats! • .tif or .gif bitmaps formats which reproduce the full picture information. Disadvantage large files and .gif only works in 256 colours. Advantage portable • .jpeg files are a factor 10-20 smaller (for average photographs) however the format loses picture information mainly in colour gradation that is not observed by the human eye. • Kodak photocd .pcd is a lossless format but only Kodak is allowed to produce the files. Mainly used for professional work.
Introduction to digital photographyPPS 6 May 1999 • What are digital files anyway? • 8, 16 bit resolution 24 bit colours what are they. • Colour resolution! • 8bits=1byte, 1000byte=1Kbyte, 1000Kb=1Mbyte, 1000Mbyte=1Gbyte • With 8 bits you can specify upto 256 levels, 16 bits more than 65000 colours and 24 bits can grade in millions of steps. • An 300*300dot .tif scan in 256 colours takes about 300*300*8=90Kbyte • a similar full 10E6 colour scan wil need 300*300*24=360Kb • The same full colour picture in jpeg would compress to 20-30Kb
Introduction to digital photographyPPS 6 May 1999 • What options are there for digitizing files ? • Printscans • Filmscans • Digital camera’s • Print scanners, affordable and reasonable resolution (600dpi) (B$140-900) • Film scanners, expensive (for high quality) (2700dpi) only option for slides and good option for negatives. (B$ 600-4000) • Digital cameras. Lower resolution not comparable to film emulsion, yet. Easy to use and cheap to operate. (B$ 500-1800) The multi megapixel cameras now hitting the market are approaching point and shoot quality. (2.1 million pixels = 1600*1200)
Introduction to digital photographyPPS 6 May 1999 • Example resolutions ? • 75dpi • 150dpi • 600dpi • 300dpi
Introduction to digital photographyPPS 6 May 1999 • What can we do with a simple scan ?? • Steve Holyoak shows some digital image manipulations he applied to one of his Sipadan Underwater photographs. • First an A4 print was scanned at 150DPI, in 10e6 colours and loaded into Adobe Photoshop for further manipulation • The original 6 Mbyte image was cropped to 4 Mb and than corrected as the subsequent slides will show.
Full scale scan First optimise the layout C r o p p I n g :
cropped scan Now Get rid of some background noise 1 Pixel de-speckle :
Despeckled scan Sharpening introduces to much noise so the Turtle body is selected separately and sharpened separately Sharpen specific area :
Sharpened turtle body Next the red that is lost underwater will be added again +30% and Blue recuced 15% to give more natural colours Colour correct (gamma correction) :
Red / Blue correction Heavy correction of background and clone some background over blemish along fin Despeckle background and clone :
Corrected background and blemish on fin Improve contrast in white of body -15% brightness over selected polygon optimise contrast locally :
Brightening and edge correction For the final picture add some text finish with conversion to .jpeg =.35Mb
Comparison pictures 190% size Original 150dpi scan Corrected 150dpi scan Original 300dpi scan
Some simple filters explained Original 200dpi scan Edge enhance light Edge enhance heavy
Some simple filters explained Buttonised Horizontal edge enhance gamma correction
Some simple filters explained Gamma correction embossed Vertical edge
Introduction to digital photographyPPS 6 May 1999 • Last word on digital cameras • Can a pictures from a digital camera really match an average Nanyang print. ?? • Judge for yourself! • Example from Michiel de Groots Fuji MX700 camera (B$1000) • Resolution is limited by screen resolution (1280*1024*10E6col)