Download
1 / 10
100 likes | 213 Views
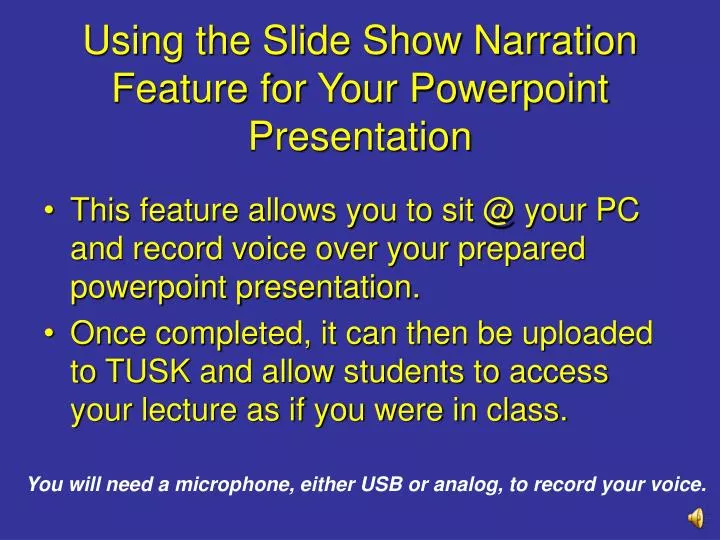
Using the Slide Show Narration Feature for Your Powerpoint Presentation. This feature allows you to sit @ your PC and record voice over your prepared powerpoint presentation. Once completed, it can then be uploaded to TUSK and allow students to access your lecture as if you were in class.

E N D
Using the Slide Show Narration Feature for Your Powerpoint Presentation • This feature allows you to sit @ your PC and record voice over your prepared powerpoint presentation. • Once completed, it can then be uploaded to TUSK and allow students to access your lecture as if you were in class. You will need a microphone, either USB or analog, to record your voice.
After completing your presentation and being deliriously happy with it, you can start practicing your lecture. • You will probably want to practice it a couple of times before you start so that you are comfortable when you actually start recording the lecture.
When you are ready to record, while your presentation is still open, click on Slide Show in the taskbar.
In the drop down menu, click on Record Narration. If this option doesn’t appear, click on the downward double arrows ( ) That appear on the bottom of the drop down menu which indicate that there are more choices.
When you click “OK”, Powerpoint will go directly to Slide Show and it’s time to talk. • If you are not on the first slide, a dialogue box will appear asking if you want to start recording from the current slide or from the first. More on this later. • I recommend that when you finish narrating a slide, give it a second or two, go to the next slide, wait a second or two and then start. This gives the system enough “reaction” time. • Another recommendation is to practice a few slides and then press “ESC”. Click First Slide
After pressing ESC, this dialogue box will appear, • You will notice that the presentation will now have a sound icon ( ) on the bottom right hand corner indicating sound on the slide. • This also appears if you add a sound effect. Click Save
Now that you have practiced a few slides, play your practice session by clicking the slide show icon as you would normally. • Listening will give you an idea of how sensitive your mic is and you can make adjustments accordingly. • If you want to re-record your narration, or simply start over, follow these steps. • In the edit mode, simply click on the sound icon ( ) and press delete. • This will remove the sound/narration from that slide and that slide only. This will come in handy later if you are unhappy with one slide or flub one slide – you don’t have to start from the beginning.
“Editing” Your Slide Narration • If you start your narration and stutter, the phone rings, you have a coughing fit, have no fear. It is simple to delete and re-record. • For that matter, if it suits you, you can narrate each slide one at a time. • Go to the slide you want to re-record in edit mode. Click on the sound icon ( ) and click delete to remove the narration. • Follow the steps mentioned previously; click Slide Show, click Record Narration, Click OK and when this dialogue box appears, Click Current Slide
When you done, click ESC to stop recording. • This dialogue box will appear, Click Save When you are satisfied with your presentation, it is then ready to be uploaded to TUSK.