Download
1 / 13
130 likes | 151 Views
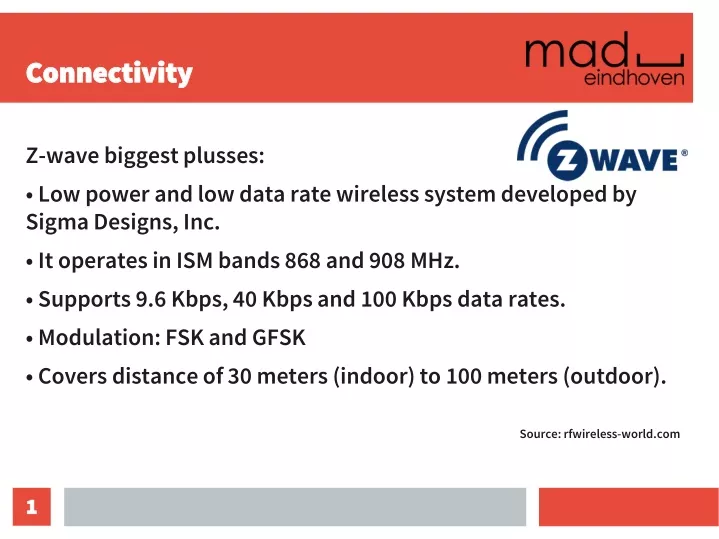
Connectivity. Z-wave biggest plusses: • Low power and low data rate wireless system developed by Sigma Designs, Inc. • It operates in ISM bands 868 and 908 MHz. • Supports 9.6 Kbps, 40 Kbps and 100 Kbps data rates. • Modulation: FSK and GFSK

E N D
Connectivity Z-wave biggest plusses: • Low power and low data rate wireless system developed by Sigma Designs, Inc. • It operates in ISM bands 868 and 908 MHz. • Supports 9.6 Kbps, 40 Kbps and 100 Kbps data rates. • Modulation: FSK and GFSK • Covers distance of 30 meters (indoor) to 100 meters (outdoor). Source: rfwireless-world.com 1
Connectivity The z-wave network Source: rfwireless-world.com 2
Connectivity Advantages • User friendly, nice for end-users (although you still need to know what you are doing) • Easy installation and configuration, including adding devise • Low power consumption • Plays ‘nicely’ with other Z-wave brands and products (due to licensed standard) • Secure using AES-128 encryption • Backwards compatible with previous Z-wave standards Source: rfwireless-world.com 3
Connectivity Disadvantages • Limited reach (but you can mesh!) • Limited nodes, max 232 nodes per z-wave network • Limited speed, max 100 kbps • Not always secure due to backwards compatibility (search on “EZ-Wave” if you are interested) 4
Connectivity Brands in the market Currently 300+ manufacturers working with Z-wave, including: 5
Connectivity Connecting with Domoticz Using the Aeon Labs Aeotec Z-Wave Z-Stick, Gen5 (ZW090).Add hardware in Domoticz: 6
Connectivity Connecting with Domoticz Under hardware in Domoticz, click on Setup: 7
Connectivity Connecting with Domoticz Overview of devices ‘linked’ to your Z-wave stick (the controller): 8
Connectivity Node Management • Include of Exclude node = adding or removing a node • Group & Networks = Graphical overview of the network • Control Panel = Management interface of the Z-wave stick itself. 9
Connectivity Connecting a node, option 1:(with the Fibaro Motion sensor)1. In Domoticz, under setup of the Z-Wave stick, click on Include node. 2. Put the device in learn mode. 3. Its connected! 10
Connectivity Connecting a node, option 2:(with the Fibaro Motion sensor)1. Fibaro Motion sensor. Remove battery paper Klick 3 times (blue light = learn mode) 2. Z-Stick Switch on (blinks blue = learn mode) and put it next to the device. 3. Put the stick and the new device near each other. 4. Plug it back into your Raspberry Pi (reboot could help) 11
Connectivity Connecting a node:Whoop there it is under hardware, z-stick setup: 12
Connectivity Connecting a node, devices are ready: 13