Download
1 / 11
110 likes | 261 Views
MACRO photopgraphy. Getting close to a subject. What is macro photography. Macro describes photography that is extremely close-up. It used to produce negatives (film) where the subject on film appeared larger than in real life.

E N D
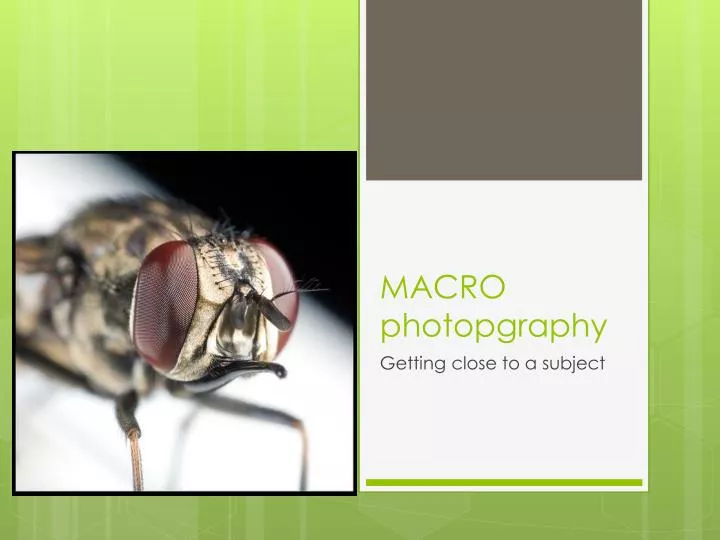
MACRO photopgraphy Getting close to a subject
What is macro photography • Macro describes photography that is extremely close-up. • It used to produce negatives (film) where the subject on film appeared larger than in real life. • This is referred to as <1:1; 1:1 produces actual size, or reproduction ratio of one to one.
Standard lens & getting close • Our cameras have a macro setting which allows for getting close, but the lenses also have a minimum focal distance, as all lenses do. • This describes the closest the lens can be to the subject and still maintain/obtain a focus. • If you are closer than this, the lens will not focus. • One way to compensate is to move further back, then use a zoom to get closer. • In macro setting, the camera takes control of exposure setting aperture to its narrowest and extending the shutter length.
Specialty lens and getting closer • Special macro lenses are designed to take excellent extreme close-ups • Some of the common focal lengths of these and their purposes are: • Continuously Variable Focal Length — suitable for virtually all macro subjects • 45–65 mm — product photography, small objects that can be approached closely without causing undesirable influence, and scenes requiring natural background perspective • 90–105 mm — insects, flowers, and small objects from a comfortable distance • 150–200 mm — insects and other small animals where additional working distance is required
Exposure consequences • For macro shots you need a steady camera and subject, a small lens aperture and a slow shutter speed. Then you need more light to cope with the slower shutter speed. • In macro mode, you lose exposure control. What happens with the specialty lens? Let’s see. • Narrow aperture=longer shutter length=camera shake • Narrow aperture=longer shutter length=more light needed. • Close proximity=possible shadow on subject
Keeping it still and uncomplicated • Because of the long exposure, your subject must remain still. • Also, the camera must remain still, so you need a tripod. • The focus should be on the tiny details, therefore background matters very much. • Aim for dark backgrounds for light subjects and light backgrounds for dark subjects.
Keeping your distance • In macro shooting the optimum camera-to-subject distance is a long one. • Place the camera too close to the subject and there’s a good chance you’ll throw a camera shadow onto it. • At too close a distance you may distort the subject. • Using the macro mode it’s most likely you’ll move the lens to the widest angle/shortest focal length setting. This also presents the possibility of optical distortion. • Macro lenses for DSLRs are best chosen in the longer focal lengths: many lens makers market a 100mm macro — ideal for the task.
DOF • This is possibly the core factor in successful macro shooting. When you focus, the depth of field includes the plane you focus on plus an area in front of and behind that plane. Half of the sharpest area will be in front of the plane and half will be behind it. • Depth of field varies with the lens aperture, focal length and the camera-to-subject distance. Competent use of it will give you a subject in pin-sharp focus with the background in soft focus: a soft focus background isolates a subject, making it stand out sharply.
Focus points & flash • Manual focus is typically more desirable in macro photography since it allows you control over the focus. • Also, using the focus points allows you specific control over the exact location or drop of focus. • Flash is useless at a close working distance — it would overexpose the shot. • If you’re working in filtered daylight (light through window, for example) you can help by scattering small reflectors around the subject. But in most cases you’ll have to live with the existing ambient light level.
Timer or cable release? • Cable release is preferred with macro lenses. • We don’t have them, so instead, you will use the timer. • This allows for less camera shake at exposure time, making for a sharper image. • Use the two second or ten second timer.
Techniques and tips • In macro photography you should aim to capture a sharp image of your tiny subject with all — or nearly all — of the subject in sharp focus. • Pay attention to angle and background – both of which can have enormous influence on your images. • Pay careful attention to detail – it’s the point of macro. • At macro 1:1 distances you just won't be able see all the bits of hair, dust and other unwanted artifacts through the camera viewfinder. Therefore it is crucial that you take a couple of test shots first, then zoom in to get a close-up look at exactly how the shot will look