Download
1 / 3
30 likes | 31 Views
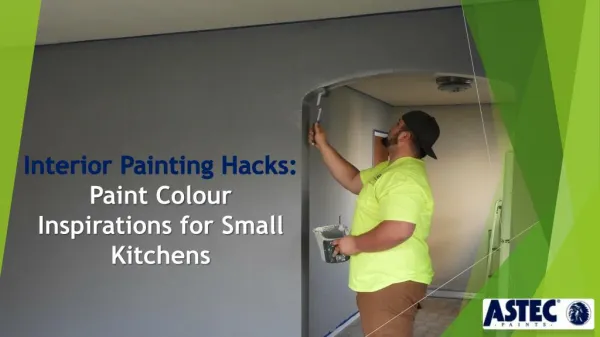
If you find your kitchen cabinet dark and dated, it may be the time for repainting them. A fresh coat of paint can transform your space and lend a great outlook. Although, brushing is time taking process and can go on for days, the reflecting glistening finish at the end, makes the process worth to go for.

E N D
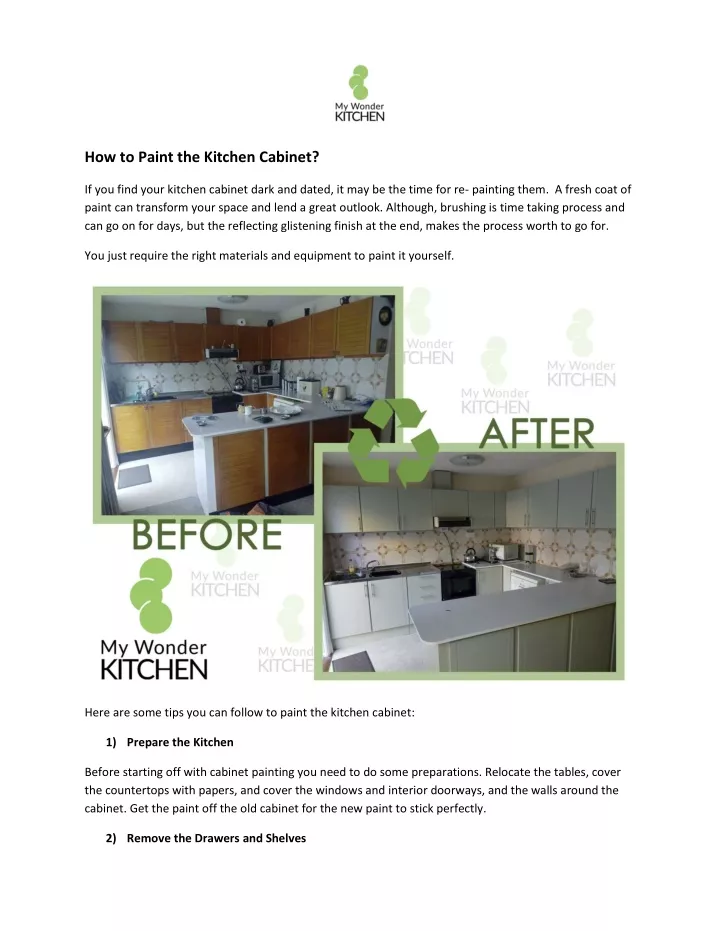
How to Paint the Kitchen Cabinet? If you find your kitchen cabinet dark and dated, it may be the time for re- painting them. A fresh coat of paint can transform your space and lend a great outlook. Although, brushing is time taking process and can go on for days, but the reflecting glistening finish at the end, makes the process worth to go for. You just require the right materials and equipment to paint it yourself. Here are some tips you can follow to paint the kitchen cabinet: 1)Prepare the Kitchen Before starting off with cabinet painting you need to do some preparations. Relocate the tables, cover the countertops with papers, and cover the windows and interior doorways, and the walls around the cabinet. Get the paint off the old cabinet for the new paint to stick perfectly. 2)Remove the Drawers and Shelves
Remove the drawers and the shelves and label each with a numbered piece of tape. Remove the Doors and number it to expose the tape from one hinge. Cover it with fresh tape. 3)Clean up the surface Scrub down all the doors, drawers and shelving with an abrasive cloth dipped in deglosser. Before the deglosser evaporates, wipe away he residue with a clean cloth. 4)Fill the holes Before painting, fill the holes with the paint and remove the excesses with a sharp paint scraper. After it hardens completely, smoothen it with sand. 5)Time for the Primer Prime up all the boxes, the oil based coating fills up the grains if applied with a good quality nylon- polyester brush. Tip off in a single stroke and left it to dry. Level it up with the sand paper. When you are done, watch the glossy and smooth finish. 6)Fill the dents Fill the dents with caulking with vinyl spackle and smoothen it with putty knife. After an hour sand the primer lightly. Vacuum the entire surface and wipe it up with a cloth. 7)Paint the boxes Apply the paint from top to bottom with a mini roller and tip off the rest with the sand paper. When the final coat is dry, replace the shelf hangers. 8)Prime up the Doors and Drawers Follow the similar procedure for Priming up the doors and the drawers. Clean with deglosser; fill up the holes and two coats of brushing putty. Smooth up the surface with the sand paper and apply elbow grease. 9)Dry Primer Apply the fast dry primer on any spot where there are scratches by the sand paper. Wait an hour before sanding and then apply the finish coat. 10)Reinstall the doors and the cabinets
Put the cabinets back after the final coat dries up. Re-install each door, shelf, drawer and cabinet according to the numbering in its original place. This is how you can paint up your cabinet. But it is advisable to hire professional Kitchen Cupboard Re- spray Service professionals for getting the flawless finish without engaging in the complicated process.