Download
1 / 41
430 likes | 568 Views
Figure Drawing. How to Videos. http://www.metacafe.com/watch/2679358/figure_drawing_from_memory/. http://video.about.com/drawsketch/Draw-People-Portraits.htm. http://www.ehow.com/video_4979525_draw-female-figure.html. The Skeleton.

E N D
How to Videos http://www.metacafe.com/watch/2679358/figure_drawing_from_memory/ http://video.about.com/drawsketch/Draw-People-Portraits.htm http://www.ehow.com/video_4979525_draw-female-figure.html
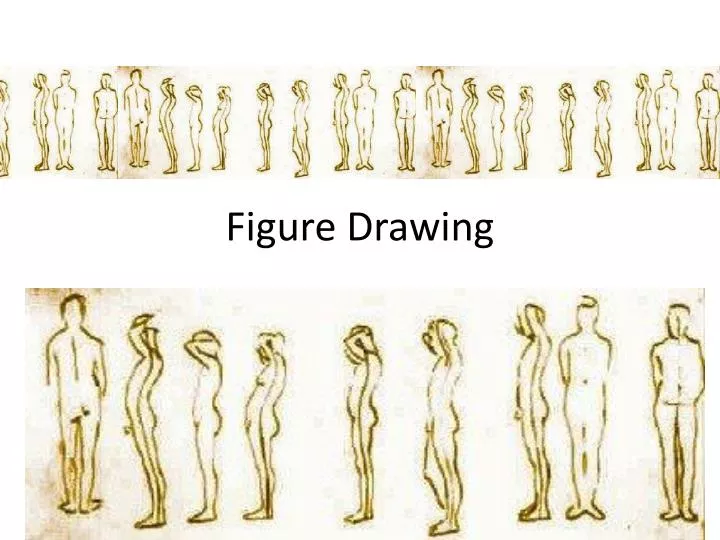
The Skeleton • The first step in learning how to draw people is to break the human figure down to its most simple element - the skeleton. There are a whole lot of bones in the human body but fortunately with a good understanding of the skull you can use that as a measurement tool for defining most other bones of the body. An example of this is that your average male figure is 6-8 "heads" tall.
Begin by drawing the basic frame. Draw an oval for the head, a curved rectangular shape for the chest and "W" like shape for the hips. The arms and legs can be blocked out with simple lines. Add circles for the shoulders, elbows and knees. Add hands and feet with oblong oval shapes. Add the spine with a line between the chest and hips. Add the jaw with a rectangular shape attached to the bottom of the face.
Begin adding details to the skeleton's frame. Draw a cross or "T" shape in the face to mark out where the eyes and nose will go. Add parallel lines around the neck bone and spine. Create guidelines for ribs with curved lines extending from the middle of the chest. Add a sternum with a long thin oval shape in the center of the chest. Create the bones for the arms and legs with lines around the guidelines that bow out at the top and the bottom. Draw a hole in the center of the hips.
Erase all of the guidelines. Begin adding depth and shadow to the skeleton for a more realistic look. Darken under ribcage, inside the mouth, nose and eye sockets. Darken the tail bone in the middle of the hip bone. Add shading around the hip bone with a parallel line inside the hips and shading down to the center. Now, you have your own human skeleton drawing. Use it as a basis for your anatomy and figure drawings.
Joints and Range of Motion • Along with understanding the proportions of the bones it's also very important to understand the range of movement that each bone and capable of. The joints are really flexible but if you're drawing people in extreme poses, for example in comic books, you will want to know just how far you can push the limits before things start looking strange. This info is also really great if you are drawing any kind of "people in motion" like in sports.
THE-DRAWING-ORDER OF A STICK FIGURE, IN ACTION • 1. Start with the center balance line from top to bottom.2. Divide it in half, showing the top of the bend-line triangle.3. Define the head, legs, shoulder line and arm lines.4. Finish the torso triangle and the bend-line triangle.5. Now add the hands and feet.
That's it. These simple steps include the lines that can catch any action, fast! • Now, to finish the form, put the trunk triangle in, the shoulder balls, knee caps and rib cage. • From the bottom of the bend-line triangle which is the space between the legs, connect a line to the bottom of the knee cap for the inside of the leg. Connect another line from the outsides of the top of the bend line triangle to the bottom of the knee caps. The bottom of the knee cap is two heads up from the bottom. • Add the calf lines, and the stick figure is finished. It's accurate, balanced, and ready for the muscles.
The Muscles • From there it's important to start understanding how the muscles attach to the different bones. Learning about the muscles fits in nicely with knowing the skeletal range of motion because the muscles expand and contract depending on the pose of the skeleton. The skin sits on top of the muscles, but it’s the muscles that give the shape to the skin.