Download
1 / 103

E N D
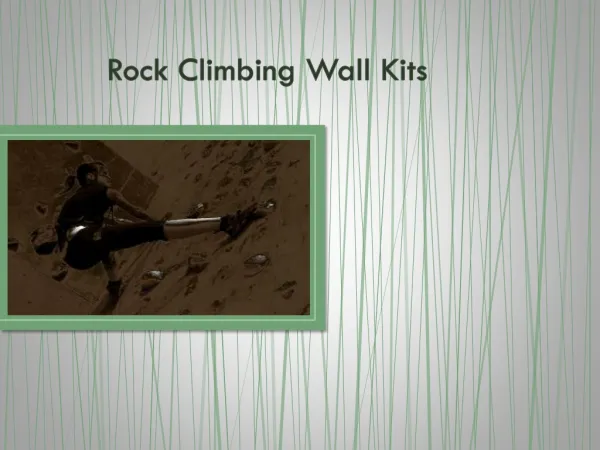
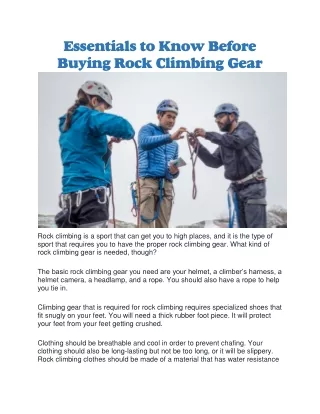
What is Rock Climbing? • Climbing can be described as the act of going up a mountain, hill, any steep terrain, or artificial wall.
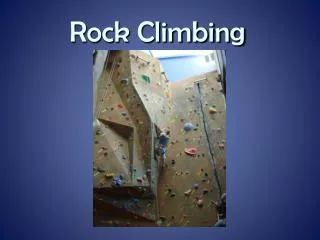
Styles of Climbing • Mountaineering or Mountain Climbing, Ice Climbing, Ice Climbing, Bouldering, Indoor Climbing, and Rock Climbing. • Though it is generally a risky sport which demands physical strength and endurance, it poses a different kind of challenge, excitement, and adrenaline rush. This is probably one of the many reasons why a lot of people are so enthusiastic about this activity.
Why go Rock Climbing? • Rock Climbing is never boring. There are so many routes to climb, and if you got enough from the crags (or the weather) in your country, there are many more challenging and beautiful walls and crags elsewhere.
It offers an ultimate physical challenge. Each day on the rock is an opportunity for you to go beyond the skills you already have. You should push yourself each time (yes, again and again, and again) on the rock. Explore new and more difficult routes. Depending on your physical ability and on your own level of risk acceptance, you will see that no grade is tough enough.
It gives a different sense of adventure and freedom. Most climbers get going because of the great feeling they get when scaling rocks. Moreover, with this sport, you are able to go wherever and whenever you want.
You will have a breath-taking view of the beautiful nature and sceneries. When looking for new routes, the climber will come across unexpected and beautiful sceneries. In addition, keep in mind that once you've reached the top, you have a breathtaking view of the surroundings that not many people can see.
Equipment • Climbing Ropes • Climbing Harness • Belay Devices • Climbing Carabiners • Active Protection- Spring Loaded Camming Devices • Passive Proctection-Slings, Hexes, Nuts, Tricams • Rock Climbing Quickdraws • Climbing Helmet • Climbing Shoes • Rock Climbing Chalk and Chalk bag
Types of Climbing Ropes • Single RopesSingle ropes are the most common type of ropes used and can be used for most conditions. The main advantage of using this type is the simple rope handling. However, it can only be used on routes up to a half rope length high, with subsequent Lowering or Rappelling.
Twin RopesTwin ropes must only be used in pairs and are clipped together into each piece of protection, as with single rope technique. The two ropes offer redundancy and thus, increased safety in the case of shock loading over a sharp edge. They are especially suited for alpine climbing or in routes where retreat may be necessary. They offer the highest safety margin and allow full length rappels
Half (double) RopesAs far as strength and weight are concerned, Half Ropes lie between Single and Twin Ropes. They only offer standard safety when they are used as a pair. In Half Ropes, you have the choice between twin rope technique, where both ropes run parallel through the protection, and half rope technique, where the "left" and "right" ropes run separately through different protection points.
This technique allows friction to be reduced in the case where protection points are widely spread and reduces impact force. This is of benefit when climbing traditionally protected routes. A belay method which enables the independent control of each rope must be used.
Climbing Ropes – Care and Maintenance • Here is a list of the many things that you can do in taking care of your Climbing Ropes: • Check your rope regularly. Just like the rest of your Rock Climbing Gear, ocular inspection is very important. Check your rope for signs of wear and tear such as damaged sheath, fraying, and abrasion before and after each climb.
Use your rope only to where it is designed for. In other words, Climbing Ropes should be for climbing purposes only. • Make sure that your rope is always clean. Wash it with water and non-detergent soap. Avoid using bleach and other chemicals that can weaken the nylon rope. Air dry your rope away from direct sunlight.
Do not step on the rope. Dirt particles can go deeper and damage rope fibers. • Keep your rope away from direct sunlight, acids, and oxidizing agents that can weaken your rope and shorten rope life. • Store your Climbing Rope in a Rope Bag if you are not using it.
It does not necessarily mean that if your rope does not have any signs of wear and tear, you can still use it. Its use depends on the number of times you climb in a certain season, as well as the number of falls (or hard falls). For instance, replace your rope after a couple of years of weekend climbing. If you are into Sport Climbing, buy a new one every six months.
How to Buy Climbing Ropes • DiameterRope diameters range from 7.5mm to 11mm. In general, a thicker diameter means a stronger and more durable rope, but it is also heavier.
Generally speaking, you will be on the safe side with a rope diameter between 10mm and 11mm. These ropes are appropriate for rock, ice and glacier travel. • Ropes with a diameter lower than 9mm are used in pairs and clipped to separate protection pieces to reduce rope drag on circuitous routes. These ropes should not be used singly!
Lightweight 9mm single ropes are used for simple glacier travel but are too thin for holding falls on vertical rock.
LengthChoose a rope length depending on the types of routes you typically climb. Longer ropes allow longer pitches and rappels. Shorter ropes weigh less and take up less space. The standard rope length of 50 meters has been supplanted in many areas with 55 and 60 meter cords, and now, some climbers are stretching it out to 70 meters.
A longer rope means more to coil, carry and manage, but the extra utility is often worth it. In some areas, a longer rope might allow you to lower or rappel with a single cord, so you can leave the second rope at home.
StrengthThe strength of a rope is measured by the rating of static elongation and maximum impact force. • The elongation measures the amount a rope stretches when weighted with a standard load (80 kilograms/176 pounds). Ropes with low static elongation stretch less. Higher static elongation means ropes have more stretch (cushioning the impact of a fall).
Maximum impact force refers to the amount of force transmitted to a climber during a fall. Low maximum impact force means the rope (not the climber or the protection) absorbs more of the energy generated in a fall. However, such ropes stretch more, increasing your chances of hitting the ground or a ledge.
Dependent on these two variables, a rope can be called semi-static or dynamic. A semi-static rope is one with low static elongation and high impact force. This is designed for caving and canyoning and is also useful in aid climbing. A dynamic rope has a high static elongation and a low impact force and is useful in climbing and Mountaineering.
Dry or Non-dryRope will get wet when ice climbing or mountaineering. Wet ropes are heavier and less able to absorb falls. In addition, the absorbed water can freeze and make a rope weak and unmanageable. Therefore, it is important to choose a rope that is dry-treated to keep it from absorbing water.
This lasts longer than a non-dry rope and is easier to handle when wet. However, dry ropes are not completely waterproof, and treatments do wear off over time. Take care of your dry rope by using wash-in products that are available for re-waterproofing your rope. Non-dry ropes are less expensive and ideal for use in dry conditions.
Belay LoopAn optional feature for Climbing Harnesses is a belay loop. This sewn loop connecting your waist and leg loops makes clipping into anchors a snap, whether you're anchoring into cold shuts at the top of a sport climb or trying to put your partner on belay while wearing thick mittens.
The belay loop is not meant to be used as a tie-in point for your Climbing Rope (it creates a high center of gravity). Always tie in by threading the rope through both your leg and waist loops. Regardless of what outing you choose, a belay loop is a handy extra that is worth the additional money.
Gear LoopsAlmost all Climbing Harnesses have gear loops in a variety of numbers, sizes, and positions. Ultra-light Sport Climbing Harnesses have only two gear loops, while a big-wall harness may have as many as eight. Choose a model with enough gear loops to comfortably accommodate your rack, but not so many that they become cumbersome. Big-wall harnesses, for example, sometimes have double-decker gear loops around the waist.
While this is handy for carrying lots of gear on an aid climb, it can obstruct a quick grab for gear on a difficult free climb. The number of gear loops you choose depends largely on where you like to carry your gear. If you prefer to use a shoulder sling when lugging a large trad rack, you can get away with only two or three loops. But if you like to keep your gear on your waist, you'll want four.
Leg LoopsIf you climb under the same conditions every time, go for loops without adjustment as you save money and weight. Otherwise, get a Climbing Harness with adjustable leg loops as you can use it on a sunny day and wear it over cushy clothing on the next climb.
Choose padded leg loops for everything except in Mountaineering. Harnesses used in mountain climbing often have detachable leg loops, a nice feature for those inopportune calls of nature coming when you can't unbuckle the rope on the glacier, and for putting on your harness without removing skis or crampoons.
The elastic portion that holds up the back of the leg loops can be detached if the harness has plastic buckles or velcro. This feature is mandatory for big-wall climbing or when you'll be in the saddle for long periods of time.
PaddingThe amount and composition of padding vary widely between Climbing Harnesses. For summer Rock Climbing, when you're in skimpy attire, you'll want a padded harness. In winter, you can get away with seat-belt material because you'll probably be hanging less and your clothes will act as padding.
Over the years, closed-cell foam padding has all but replaced fleece, creating a sleeker, lighter fit. Even some alpine harnesses now use waist-belt padding; the extra comfort and support costs only an ounce or two. Most Sport Climbing designs seek to save weight and obstruction by opting for scantily-padded legs and waist, and using narrower webbing.
Most trad harnesses have full padding, which give comfort while hanging at belays and carrying heavy racks. In reality, the difference in weight and mobility between sport and trad harnesses is minimal. Most trad harnesses are now cut trim enough to be almost unnoticeable when climbing.
Haul loopsMany harnesses come with a haul loop. It is a loop of webbing sewn at the back of the waist belt. It is useful for clipping on trail ropes, approach shoes, or chalk bags. Some are runner strength, some aren't, so be wary about how much trust you put on this point.
TaperAll Climbing Harnesses have a slightly different cut, and if the leg loops do not taper correctly to your thighs, even the most expensive models will chafe and hinder your mobility. When you try on a harness, make sure the leg loops taper enough at the inside of your thighs so they don't bunch up or rub your crotch. Moreover, look for waist belts that taper at the front so the webbing does not push against your thighs while high stepping.
One last comfort tip:Even with a well-padded harness, pants that have bulky inseams along the inside of the legs will slowly dig into your thighs. Similarly, side-zip pants or jackets with low-placed zippers can form divots in your skin and make hanging belays a nightmare. Avoid this unnecessary discomfort by wearing clothing with smooth or no seams at the harness' pressure points.
Rock Climbing Harnesses vary from ropes-course models with plain webbing that fit like a trenchcoat to those with diaper-like cushion. Ice Climbing and alpine models generally have no padding in the legs, and may or may not have a padded waist.
Sit HarnessesA Sit Harness has a waist belt and leg loops, and it is worn around the hips. This type of Climbing Harness provides security and at the same time, allows enough room for movement of climbers.