Download
1 / 47
470 likes | 601 Views
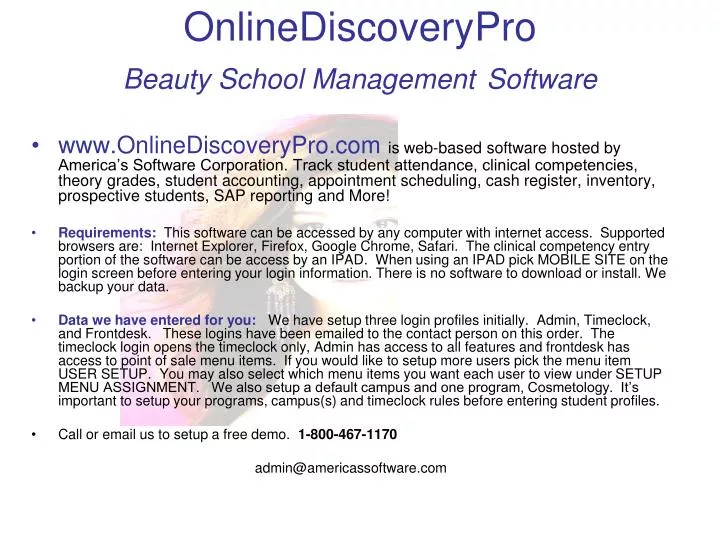
OnlineDiscoveryPro Beauty School Management Software.

E N D
OnlineDiscoveryProBeauty School ManagementSoftware • www.OnlineDiscoveryPro.comis web-based software hosted by America’s Software Corporation. Track student attendance, clinical competencies, theory grades, student accounting, appointment scheduling, cash register, inventory, prospective students, SAP reporting and More! • Requirements: This software can be accessed by any computer with internet access. Supported browsers are: Internet Explorer, Firefox, Google Chrome, Safari. The clinical competency entry portion of the software can be access by an IPAD. When using an IPAD pick MOBILE SITE on the login screen before entering your login information. There is no software to download or install. We backup your data. • Data we have entered for you: We have setup three login profiles initially. Admin, Timeclock, and Frontdesk. These logins have been emailed to the contact person on this order. The timeclock login opens the timeclock only, Admin has access to all features and frontdesk has access to point of sale menu items. If you would like to setup more users pick the menu item USER SETUP. You may also select which menu items you want each user to view under SETUP MENU ASSIGNMENT. We also setup a default campus and one program, Cosmetology. It’s important to setup your programs, campus(s) and timeclock rules before entering student profiles. • Call or email us to setup a free demo. 1-800-467-1170 admin@americassoftware.com
Theory Grading Setup your own list of theory grade types first (chapter test, final, homework) then setup classes (Milady) then assignments (Chapter 1, Chapter 2 etc. Each program can have it’s own list of classes. Track and print theory grades separately or on a student transcript.
Student List Students appear in a list format for easy viewing. To view additional student Details pick SELECT on the left of the student. The student list can be sorted by clicking on any of The underlined column headings or by using the filter at the top of the form. To add a new student pick ADD NEW STUDENT at the top. Students appearing in RED are within 30 days of their graduation date.
Student Profile Click on the dark blue tabs across the top of the student profile to access additional student information. Required fields are shown in red. The last date of attendance and Hrs to Date fields are read only.
Student Time Clock Scan the student’s barcode ID number or manually enter. Software can take a picture of the student when they clock in and out, if desired. The student’s name, hours to date and timeclock action (clock in or clock out) will appear on the screen for 5 seconds for privacy then disappear. If allowed, students can view their timeclock details by giving the student login access to the software.
Manual Attendance Student attendance can be modified and/or entered manually through this form. If you are using the web-cam feature an icon of a camera will appear in the IN and OUT fields on the left of the attendance record in section 2. Click on the icon to view the picture of the person who clocked in our out. If you saved a picture of the student in their profile it will show you that photo also for visual comparison to minimize buddy punching.
Using the Web-Cam Feature If you want the timeclock to take a picture of the student when they clock in and out activate the web-cam feature in Setup School Settings. The software activates your web-cam whenever the student clocks in or out and saves a photo image in their attendance record for comparisons to the photo you saved in the student profile to minimize buddy-punching..
Setup System Messages If you wish your users to see a message when they logon to the software, set the message up here. Specify the date to start displaying the message and the date to stop. Also indicate who the message should be seen by, admins, instructors and/or students.
Upload Documents If you have documents you want to make available to users, use the Manage document utility. You can create and name up to 20 folders. Browse on your computer to pick the document and then indicate which folder You want to store it in. Last, specify if instructors and/or students should be able To view the documents. FYI: Only pdf documents can be uploaded.
Batch SAP Utility Running this utility will cause an attendance record to be added to any Student who has more than 100% attendance in an attempt to lower The attendance to 100%. Please use caution when using this utility. It cannot be reversed.
SAP Summary Report Track student progress including Offered Hours and Attendance Percentages.
Create your own Report Using fields from the Student Profile
Product Inventory Products at or below their reorder level appear in orange. Click on a product name to view product details. Click ADD NEW PRODUCT to add a new product.
Setup Menu Assignment Main Menu items appear across the top of the software when you login. These are sub-menu items and they appear when you click on a main menu item. Indicate which menu items are visible to each type of user. You can also specify read-only if you wish the user to be able to view but not make changes. Enter a sort order to specify the order in which the items should appear on the menu.
Setup Menus for Students These menu items apply to students only: My SAP report, Student Timeclock Detail and Personal Information. All users can be allowed to view school documents. Timeclock Detail shows all students currently clocked in. Student Timeclock Detail only shows the timeclock records for the student currently logged on.
User Setup There are 5 types of users. To create a new user specify the type then type in the first and last name of the user. Then enter the user name (email) and password the user will use to login. FYI: You do not have to use an email address . If the user is a cash register user specify the shift. You must specify the campus and the programs the user is associated with. Users can only see students from that campus and the programs selected. To specify the menus you wish the user to be able to view, go to setup menu assignment. Please do not delete the Admin login we created. It is not necessary to assign any menus to the Time Clock user type. When you login as this user the software automatically opens the time clock.
Menu OptionsSetup and Student Login Options Setup onlinediscoverypro to meet your needs using the SETUP menu. If desired, students can login to view their progress, school documents, calendar and more. Give them menu options to many features.
Cash Register - 1 View previous transactions here. To modify a transaction you must setup and enter a register password under SETUP SCHOOL SETTINGS Pick a client then a student. Pick one or more services and then pick ADD. Pick a product and then pick ADD. Changes to prices can be made in the Manage shopping cart section. The next slide shows how to apply the payment.
Cash Register – 2Apply Payments Pick the payment method and enter the amount tendered under APPLY PAYMENTS. Next pick APPLY PAYMENT. The payment will now appear under the SUMMARY section. If the SUMMARY is correct pick COMPLETE then Select NEW CLIENT to start a new ticket. Cash register reports, including End of Day reports are located on the REPORTS menu.
Setup Campus The software will keep each school location’s data separate. Make sure you assign your users to a campus in user setup. Enter the name of each campus and press ADD CAMPUS. Then pick the programs offered at each campus.
Setup School Calendar The school calendar is visible to all users upon login. Control which events users see through the SETUP form above. Enter the date for the event or school closure in the start and end date fields. Then type a description. The description will appear on the calendar. If you are entering a school closure, enter the dates of the closure in the start and end date fields. Specify who should see the calendar entry in the target users section. If entering a closure, specify the programs affected by the closure.
Setup Programs - 1 Specify the campus the program is offered at. Section 1 used when the same time clock rules apply for each day of the week. Section 2 used when time clock rules change from day to day Automatically clock out the student at this time. Add unlimited Programs at each Campus. Setup timeclock rules for each program.To add a new program enter the program name and pick the program type. If the program type does not appear at the top press add/modify types to add them. Pick the campus(s) the program is offered at.
Setup Programs - 2 Hours offered is used on the SAP report. Clock Hour levels are used to remind you when a student reaches these levels. Breaks can be automatically deducted by the time clock. Program types are described in the previous slide.
Setup Competencies Track student competencies by setting up your own list for each program.
OnlineDiscoveryPro.com Pricing: $1,995.00 One time Licensure Fee $ 995.00 per year hosting/support Fee. Hosting/Support fee includes training, technical support, data warehousing on our secure servers. We provide all data backups and automatic updates. Never pay for another upgrade. Each time you open the software you will be using the most current version. OnlineDiscoverypro.com is accessible from any computer with internet access. No software to download or install. 1-800-467-1170 - Telephone 1-866-302-3905 - Fax admin@americassoftware.com www.americassoftware.com