Download
1 / 25
431 likes | 985 Views
Total Knee Replacement. (Total Knee Arthroplasty ). Why Perform a TKR?. Relief from… Chronic pain Deformities Stiffness Decreased ROM Loss of ability to perform daily tasks Considered when non-surgical attempts at pain relief have failed Physical therapy Cortisone shots.

E N D
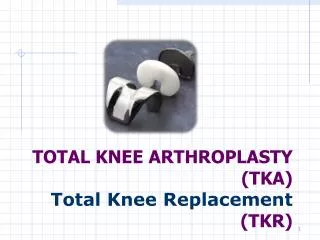
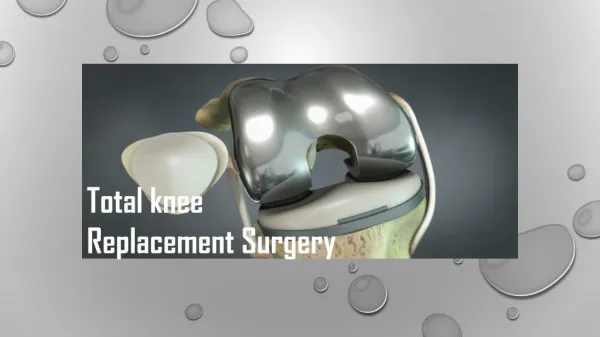
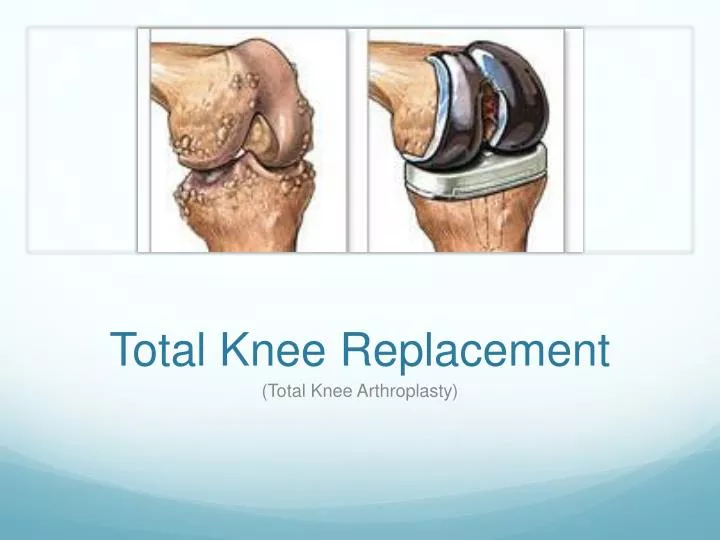
Total Knee Replacement (Total Knee Arthroplasty)
Why Perform a TKR? • Relief from… • Chronic pain • Deformities • Stiffness • Decreased ROM • Loss of ability to perform daily tasks • Considered when non-surgical attempts at pain relief have failed • Physical therapy • Cortisone shots
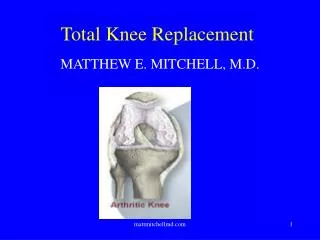
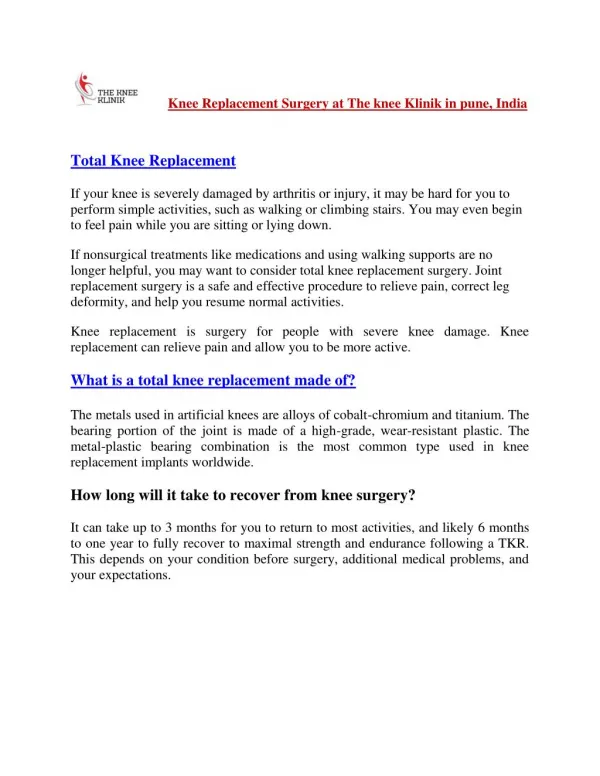
Arthritis • Inflammation, pain, and stiffness of the joints • Main cause of chronic knee joint pain and disability in patients • Over 100 various types • 3 most commonly result in in a TKR • Osteoarthritis • Rheumatoid arthritis • Post-traumatic arthritis
Forms of Arthritis Rheumatoid Arthritis (RA) Osteoarthritis (OA) Post-Traumatic Arthritis Most common after a serious injury Fracture and ligament tear damage the articular cartilage over time Results in pain and limited function • Age related (50+) • Cartilage softens and wears away • The bones rub together causing the pain • Bone spurs may form • Synovial membrane becomes inflamed • Damages cartilage • Results in pain & stiffness
1. Making the Incision The incision is cut along the top of the knee joint. Minimally invasive 4-6 inches long Normal 6-10 inches long
2. Exposure of the Knee Joint Patella and patella tendon are exposed They are rotated outward to the side of the knee joint A full view of the knee joint is obtained
3. Removal of Bone Spurs The area of the knee, which will not be removed is checked for bone spurs. The spurs are removed with a rongeur, if present. Bone spurs are due to bone on bone rubbing over time.
4. Preparation of the Femur Jigs are secured to the femur Damaged bone is removed from femur with the bone saw Femur is shaped to fit properly with the femoral component
5. Preparation of the Tibia Jigs are secured to the tibia Damaged bone is removed from tibia with the bone saw Tibia is shapedto fit the tibial plateproperly
6. Preparation of the Patella It is only sometimes necessary to cut the patella If it is necessary… The top of the patella is cut with the bone saw It is cut to fit the plastic patella component If it is not necessary The patella is left alone
7. Fitting of the Femoral Component The femoral component is hammered into the femur Bone cementis used to secure the prosthesis
8. Fitting of the Tibial Tray The tibial tray is hammered into the tibia Bone cementis used to secure the prosthesis to the flattened tibia
9. Fitting of the Patella Component The patella component is secured to the prepared patella with bone cement
10. Hardening of the Cement Any cement left surrounding the prosthetic components is cleared away The cement is left to dry for about five minutes or until the leftover portions are ensured to have hardened.
11. Placement of the Polyethylene Component Polyethylene medial component is snapped into the top of the tibial tray Serves as a replacement for the missing cartilage
12. Knee Trial Alignment and fit are confirmed Flexion and extension are tested Leg lengths are compared
13. Closing of the Incision A drain is placed if necessary Muscles are sewn with absorbable sutures Skin is fasted with either Absorbable sutures Normal sutures Derma-bond Staples
14. Bandaging and the CPM The leg is wrapped with an ACE bandage Removed 24 hours post-op CPM is placed on the patient Prescribed for 6 hours a day
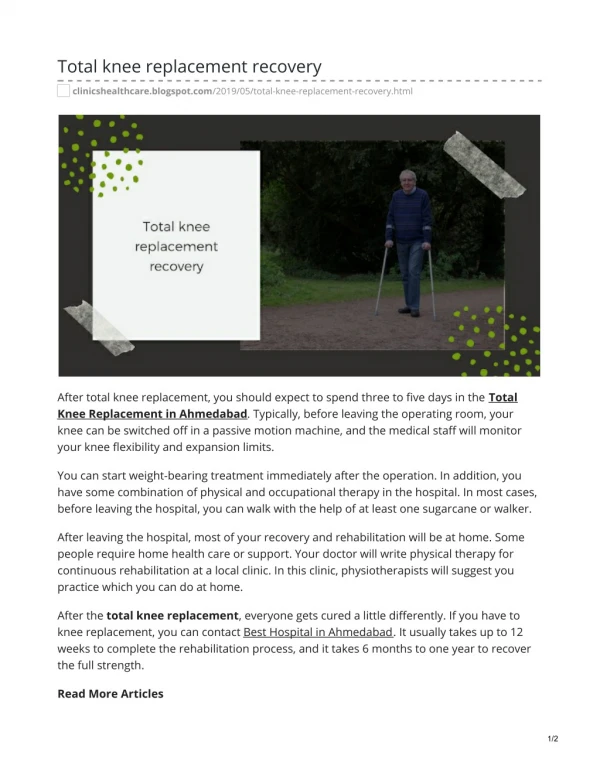
Recovery Wound Care • Swelling and drainage must be watched carefully • Keep incision site clean and dry • If staples or non-dissolvable sutures are used they must be removed 10-14 days post-op
Recovery Pain Management • PCA prescribed for 24 hours via • Spinal epidural • IV injection • Oral pain killers are prescribed to manage painwhen PCA is removed • Wean the patient from narcotic analgesics to non-steroidal anti-inflammatories
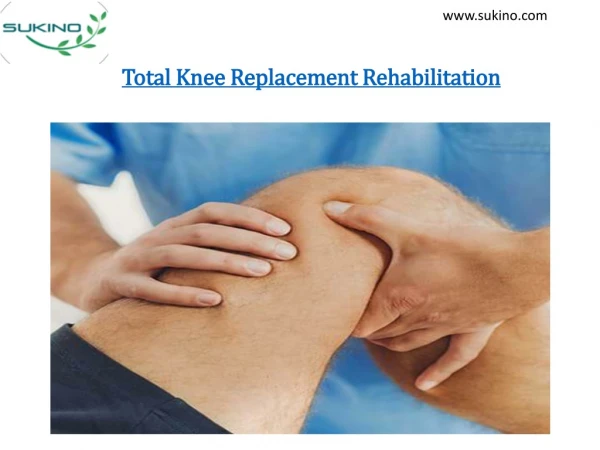
Recovery Rehabilitation • Post-op hospital setting addresses: • Bed mobility • CPM • Walking with assistive devices • Increasing ROM • Post acute care addresses: • Muscle strengthening • Flexion and extension exercises • Return to sport/activities
Recovery: FollowUp • Appointment is held 6-8 weeks post-op • Review the incision and healing process • Check for infection • Ensure increase in ROM • Continue follow ups appointments periodically for 1 year post-op
References Greengard, Samuel. "Step-by-Step Explanation of Knee Replacement Surgery." Medical Information & Trusted Health Advice: Healthline. N.p., n.d. Web. 10 Oct. 2013. <http://www.healthline.com/health-slideshow/total-knee- replacement-surgery-step-by-step#1>. “The Surgical Procedure for Total Knee Replacement.” Stryker – About Stryker Web. 10 Oct. 2013. <http://www.aboutstryker.com/pdfs/ knee_replacement.pdf>. “Total Knee Replacement-OrthoInfo - AAOS ." AAOS - OrthoInfo. N.p., n.d. Web. 10 Oct. 2013. <http:// orthoinfo.aaos.org/topic.cfm? topic=A00389>.
Reflective Letter This PowerPoint presentation was created in order to educate members of the healthcare team, including residents, nurses, etc. on the total knee replacement procedure. Having a background of the procedure can enhance the post-operative care given to the patient by the nursing staff. The overview of the procedure also serves as a suitable refresher for the resident, physician assistant, or operating room nurse that will be aiding in the procedure. The audience consisting of fellow healthcare professionals allows the PowerPoint to use medical terminology and abbreviations without explanation, keeping the text concise and to the point. The presentation could be accessed through a learning portal, requiring these individuals to review the PowerPoint, or through an in-service presented to the audience. The design was chosen to reflect the hospital atmosphere of whites and light blues, while preventing the background from becoming distracting. Pictures were placed generously throughout the presentation in order to compliment the text and appeal to both visual and verbal learning styles. In order to enhance the ability of the audience to effectively follow the information, the content is structured chronologically. Brevity was used in the content of the presentation, omitting all unnecessary information to keep the attention of the medicinal professional audience addressed.
Note This piece fits into my professional portfolio, because it shows future employers my ability to communicate effectively with fellow professional colleagues. By showcasing my aptitude to write with brevity and clarity addressing these professional colleagues I am further enabling potential employers to better understand my skills in writing and communication with these professionals.