Download
1 / 15
150 likes | 345 Views
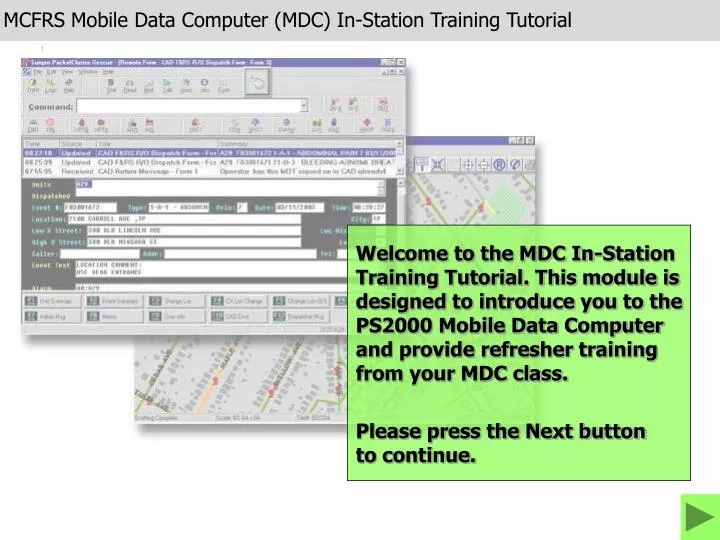
MCFRS Mobile Data Computer (MDC) In-Station Training Tutorial. Welcome to the MDC In-Station Training Tutorial. This module is designed to introduce you to the PS2000 Mobile Data Computer and provide refresher training from your MDC class. Please press the Next button to continue.

E N D
MCFRS Mobile Data Computer (MDC) In-Station Training Tutorial Welcome to the MDC In-Station Training Tutorial. This module is designed to introduce you to the PS2000 Mobile Data Computer and provide refresher training from your MDC class. Please press the Next buttonto continue.
MDC Dispatch Message A29, you have received a dispatch message. It’s recommended you get in the habit of looking at a few places with each dispatch: Event Type, Location, Event Text, Location History Info and Location Info (Hazards). Click the Next button to continue.
MDC Dispatch Message The system will remember the event number and location if you hit the Enter key. Whenever you receive a dispatch message, read it and then hit the Enter key on the keyboard. Hit the Enter key now.
MDC Dispatch Message Jump over to AltarisView (the map) by clicking once on the AltarisView application on the Windows taskbar. Click the AltarisView application now.
AltarisView Map Running Route The system should automatically show you the running route from your current position to the event. Point A to Point B – some people have called it the Yellow Brick Road, others the Green Mile. Return to PacketCluster Rescue (PCR) by clicking the Sunpro PacketCluster application on the Windows taskbar.
MDC Dispatch Message Time to go Enroute. Click the ENR button once.
Enroute Status A29, the system recognizes that you’re enroute. Time passes and you’ve arrived onscene. Press the ON button.
Onscene Status A29, the system recognizes that you’re onscene. Time to go and handle the situation. First, though, inform ECC you’ll be away from the apparatus by clicking the Out-of-Vehicle button. You’ve been on the scene and decide that the patient should go to the hospital. While she is being treated in the rear of the ambulance, the driver returns to the MDC. While the patient is being tended to in the rear of the apparatus, you should quickly fill out the Transport Begin form. Click the XPTB button.
Transport Begin Form There are four fields with which to be concerned. You can use the Tab key on your keyboard to jump to the next one each time. First, decide: Emergency or Routine? Choose the appropriate option and you would hit the tab key. In our case, we’ll keep it on Emergency. Since this is only a demo and Tab won’t do much, click the word Emergency below.
Transport Begin Form Next up is the Starting Location. Since you hit the Enter key at the Dispatch screen, it automatically filled in here. In the field, you would hit Tab again and end up in the Destination field. To put it simply, you just need to pick the hospital where you’re going. You found Washington Adventist Hospital. Again, in the field, you would hit Tab. For now, though, just click the hospital name.
Transport Begin Form If you’ve been asked to record mileage or if you feel the need to, input it in the Beginning Mileage box. Otherwise, Tab would take you down to the Comments field. By policy, you will type in the Comments field what you’re carrying. In this case, a 36 year-old female with severe abdominal pain. Press the Enter key to process the form. Hit the accelerator and you’re on your way to the hospital.
Transport Status A29, the system recognizes that transporting. Yes, this screen identifies that you’re on your way to the hospital. Please do not try to read the screen while you’re driving to the hospital. You arrive at WAH. Before jumping out of the vehicle, please click the XPTA button to mark yourself as having arrived at this hospital.
Transport Arrive Form Same approach here as with the XPTB button – Tab will take you from one field to another. The Location will fill in automatically. Tab takes you to the mileage. Fill in the ending mileage if you recorded the beginning mileage. Tab takes you to Comments. Record comments if there are any changes. Note: For many transports, then, you will only need to get to this form and then hit the Enter key on your keyboard; little else is needed. Press the Enter key and take your patient into the hospital.
Transport Arrive Status A29, the system recognizes that you’ve arrived at the hospital. You probably won’t ever wait to see this screen. You’re more likely to see it on the MDC when you’ve come back to the vehicle from the hospital. You’ve saved the day for another citizen again. Well done. Time to hit the road. Mark yourself Available on Radio by clicking the AOR button.
Available on Radio Status A29, the system recognizes that you’re available on the radio. You’re now able to receive another dispatch when needed. At this time, you may end this scenario program by pressing the Esc (escape) key on your keyboard. If you’re viewing this on-line, simply click the Back button in your browser.