Download
1 / 18
180 likes | 320 Views
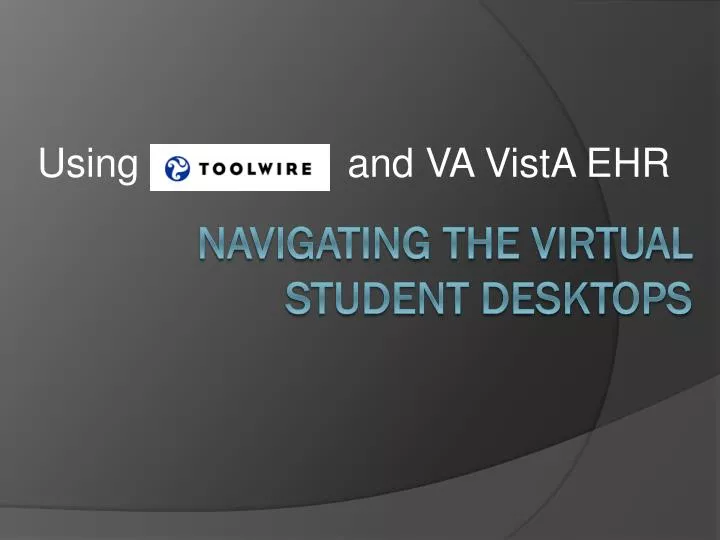
Using and VA VistA EHR. Navigating the virtual Student desktopS. Getting Started. Once your labs have been activated, click on the name of the lab Component you’d like to work on. Note that the number of days remaining in your subscription is listed above the Component link.

E N D
Using and VA VistA EHR Navigating the virtual Student desktopS
Getting Started • Once your labs have been activated, click on the name of the lab Component you’d like to work on. Note that the number of days remaining in your subscription is listed above the Component link.
VistA – Component 7 & 11 You are now on the LiveLabsOnDemand page. At the top is a description of the lab(s) you have selected. At the bottom right you should see the words “Lab Status” in red and “Available” in green. This means that you are ready to move forward. To launch your session, click the ‘Lab Access’ link at the bottom of the page underneath the ‘Days Remaining’ reminder.
VistA – Component 7 & 11 continued It may take a few minutes for your session to load, so be patient! The OnDemand workbench will appear when the lab is fully loaded—it should look familiar because it’s set up like a Windows desktop. Each time you enter the lab environment, the timer in the upper right-hand corner of the screen will begin counting down from 60 minutes. When you reach the 10 minute mark, you will be asked if you wish to continue. If you choose yes, you’ll be given an additional 30 minutes before the system logs you out.
VistA – Component 7 & 11 continued ACCESS CPRS Let’s take a few minutes and take a tour of the desktop! The most valuable time you ever spent in your first trip to a Student Desktop will be to review the User’s Guide to Navigation. This 5 to 10 minute investment will give you all you need to be self-sufficient. Also, the folder containing the CPRS application shortcuts is highlighted for ease of access into the EHR environment. Also, please note that all your homework assignments are contained in these folders, sorted by Component then by the Lab or Activity. READ ME FIRST!
VistA – Component 7 & 11 continued Once you have familiarized yourself with the VistA User Guide you can log into CPRS. Page 4 of the User’s Guide contains instructions for logging in to the CPRS Chart and the VistA Terminal, two interfaces that you will use throughout the lab activities. Each of these systems require you to enter an ‘access code’ and a ‘verify code’ per role. You must type in these codes exactly as they are written in the guide, including all capitalization and punctuation.
VistA – Component 8 Now let’s take a look at the Component 8 Student Desktop. Click on the link for Component 8 as you might have done to launch Components 7 & 11. Again, note the number of days remaining in your subscription.
You are now on the LiveLabs OnDemand page. At the top is a description of the lab(s) you have selected. At the bottom right you should see the words “Lab Status” in red and “Available” in green. This means that you are ready to move forward. To launch your session, click the ‘Lab Access’ link at the bottom of the page underneath the ‘Days Remaining’ reminder. VistA – Component 8
VistA – Component 8 continued The first time you log in you should familiarize yourself with the VistA User Readme file, located on the left-hand side of the Toolwire desktop. This document contains instructions for logins and password combinations plus using the various client/server services which you have available to you in Component 8. The next 2 slides shows how to utilize this environment for a Backup and Restore operation as you might perform in a typical EHR client/server environment.
VistA – Component 8 continued Both the EMR and OpenVista configurations are installed and available in the Remote Desktops folder. Refer to the username and password information contained in the README.txt file to log in and enable these server environments. Additionally, PuTTY, WinSCP and all other services necessary to complete Component 8 Labs are available.
VistA – Component 8 Backup - Restore OpenVMAWith OpenEMR Student Desktop 10.10.10.3 10.10.10.2 1.) Student launches OpenEMR web management against 10.10.10.3 2.) Student uses the OpenEMR web management tool to save EMR data from 10.10.10.3 to the Student Desktop 3.) Student launches webmin against 10.10.10.4 4.) Student uses the webmin SQL tool to restore saved EMR data from 10.10.10.3 to 10.10.10.4 OpenEMR 10.10.10.4
Completing Lab Activities - Components 7, 8 & 11 • To begin a lab activity, click the icon for the component you’d like to work on—for instance, Component 7-Working with Health IT Systems. • Click the Activities folder and open the PDF for the activity you want to complete. We’ll look at activity 1 as an example.
Completing Lab Activities – Components 7, 8 & 11 Activity 1.1 requires you to view several videos. The Internet Explorer function has been disabled on your virtual desktop, so to watch the videos you must access these via your own browser. You will use the VA VistA CPRS interface for Activity 1.2. To launch CPRS, click the VistA_Apps folder on the desktop, then open CPRS_Chart. Log in using one of the access/verify code pairs from the user guide and follow the PDF instructions to complete the activity. Note: Just like on a regular desktop, you can switch back and forth between windows by clicking the file names at the bottom of the screen.
Submitting Your Answers • It is extremely important to save your work because the lab environment is not persistent—this means that your session is erased each time you log out. • First, copy and paste the questions from the PDF into a blank WordPad document. • To do this, click the Start button at the bottom left of the virtual desktop, then go to ProgramsAccessoriesWordPad. • You can type your answers right into the WordPad document. When you’re finished, click FileSave.
Submitting Your Answers - continued Select the Completed Homework folder, then click ‘Open’. Click on the folder for the component that you were working on (in this case, ‘Component 7 Activities_ Completed’) and save. Be sure to give your file a name!
Submitting Your Answers - continued Next, click the ‘File Transfer’ button at the top of the page. When the dialog box opens, do not click Browse. Instead, click VHIT (next to the word ‘Directory’), then ‘Completed Homework’, and finally the component folder where you saved your work. The file you just saved should appear. Click the file name and save it to your own computer. Note: The File Transfer Tool was created so that you do not need to switch back and forth between your own desktop and the virtual Toolwire Student Desktop. However, if you’d prefer to copy and paste the questions into a word processing document on your own PC, feel free to do so.
Troubleshooting • If you have trouble accessing the labs, click FAQ at the top left of the homepage to find solutions to the most common problems. • If you can’t find the answer you need, there are 3 different ways to reach the Toolwire Support Team:
Troubleshooting – continued • Send an email to Toolwire Support at support@toolwire.com • Call the Learner Advocacy Support Center at 1-866-935-8665ext. 200 • Chat with a live support representative (link located at the bottom of the FAQ page). • If your access code comes up as invalid, or you encounter any other issues unrelated to your PC connection, please contact: Chase Ford Educational Technologist email: chase.ford@bellevuecollege.edu phone: (206) 588-5699