Download
1 / 13
140 likes | 263 Views
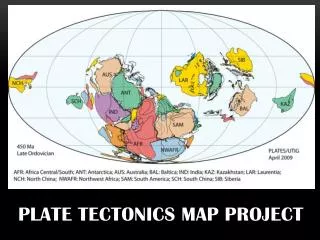
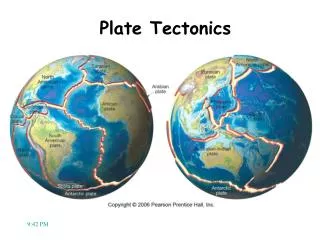
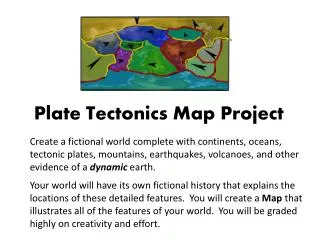
Your Own Plate Tectonics Map. 6 th Grade Science. Step 1. Each person will receive a copy of the “Moving and Shaking” Tectonic Plate Map. Step 2. With a ‘shoulder partner’, identify the following plates. Write the names of the plates on your map. Use the textbook (p. 202). Eurasian Plate

E N D
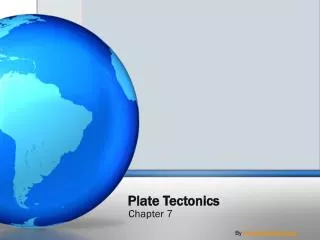
Your Own Plate Tectonics Map 6th Grade Science
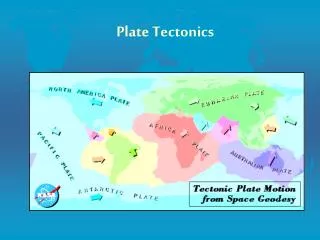
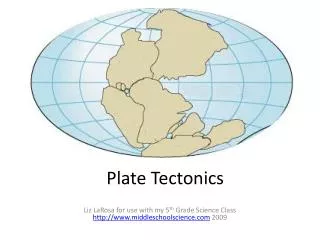
Step 1 Each person will receive a copy of the “Moving and Shaking” Tectonic Plate Map
Step 2 With a ‘shoulder partner’, identify the following plates. Write the names of the plates on your map. Use the textbook (p. 202). • Eurasian Plate • African Plate • North American Plate • Antarctic Plate • Nazca Plate • Pacific Plate • South American Plate • Indo-Australian Plate
Step 3 Notice on the map … There are lines of latitude and longitude marked. These will help you locate features on the surface of the Earth.
Step 4 Using a GREEN marker or colored pencil, draw a dot where 35N and 70E intersect. Draw another dot where 30N and 90E intersect. Connect the dots with a line and write “HIMALAYAN MTNS” as close to the line as possible. Draw two arrows pointing towards each other. Arrows should be on either side of your line.
Step 4 (cont.) HIMALAYAN MTNS
Step 5 Using a BLUEorPURPLE marker or colored pencil, draw a small square at the following coordinates: • 60N and 30W • 40N and 30W • 15N and 45W • 5S and 20W Draw a line to connect the squares. Label this the “MID-ATLANTIC RIDGE”. Draw ‘Y’s on either side of the line, showing the young crust. Draw ‘O’s to represent older crust.
O Y Y O O Y Y O O Y Y O O Y Y O Y Y O Y Y O O Y Y O O Y Y O MID-ATLANTIC RIDGE
Step 6 Using a RED marker or colored pencil, draw a triangle at the following coordinates: • 55N and 160W • 50N and 180W Connect with a line and label this the “ALEUTIAN ISLANDS” Draw small triangles along the west coast of South America, starting at 0 degrees latitude and ending at 50S. Connect the lines and label this the “ANDES MTNS”
ALEUTIAN ISLANDS ANDES MTNS
Step 7 Using a ORANGE marker or colored pencil, write the letter “F”, for fault, at the following coordinates: • 30N and 120W • 40N and 123W Connect the “F”s and label it “SAN ANDREAS FAULT”.
F SAN ANDREAS FAULT F
Step 8 Using a different marker or colored pencil, draw in the “Ring of Fire”. (see below)