Download
1 / 21
210 likes | 282 Views
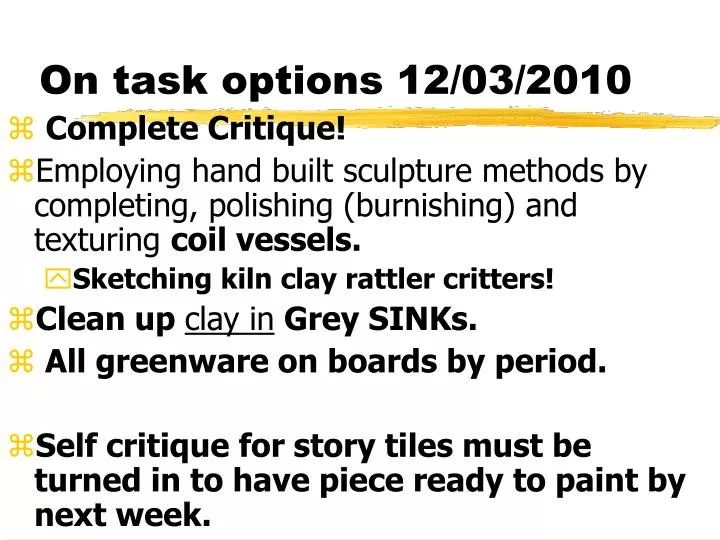
On task options 12/03/2010. Complete Critique! Employing hand built sculpture methods by completing, polishing (burnishing) and texturing coil vessels. Sketching kiln clay rattler critters! Clean up clay in Grey SINKs. All greenware on boards by period.

E N D
On task options 12/03/2010 • Complete Critique! • Employing hand built sculpture methods by completing, polishing (burnishing) and texturing coil vessels. • Sketching kiln clay rattler critters! • Clean up clay in Grey SINKs. • All greenware on boards by period. • Self critique for story tiles must be turned in to have piece ready to paint by next week.
AGENDA CHECK 12/06 • Have agenda open from Nov 29-Dec 6 show six entries for six points. • Pick up work if any in pick up folder • Have a piece of lined paper out for notes. • Writing utensil used to write name and period on top right of paper.
Notes on Kiln Kritters or Clay Critters • Expectations • Kiln Kritter must not blow up.(double check that air valve is open). • Kiln Kritter must have appendages that STAY attached. This is the relief. • Kiln Kritter must rattle. • Kiln Kritter must have no sharp edges. • Kiln Kritter must be completely and neatly painted • Kiln Kritter must be stable, able to stand flat.
Notes on Kiln Kritters or Clay Critters • Criteria for critique: • Appendages: Kiln Kritter must have appendages that STAY attached. This is the relief. • Craftsmanship: Kiln Kritter must rattle. Kiln Kritter must have no sharp edges. • Painting: Kiln Kritter must be completely and neatly painted • Stable: Kiln Kritter must be stable, able to stand flat.
Procedures: • Get a lump of clay. • Split lump of clay in half. • Take a little clay from the largest half of 2 clay lumps and make 1-8 equal sized spheres of clay. * • Wrap those spheres of clay carefully in tissue paper, keeping spheres round. • From the two lumps of clay not in tissue paper continue following steps: More spheres rattle higher, tinkly LESS means lower sounding rattle
Procedures: • Create TWO, SIMILAR 2 inch pots • Make both lumps of clay into two even sized spheres of clay. • Take one sphere and poke thumb into center leaving 1/4 inch between thumb and forefinger. • Slowly and gently pinch and turn with thumb only on the inside. • The goal is to create EVEN WALLS of clay while leaving the top edge rounded. Repeat with second sphere of clay
Procedures: • BE sure pinch pots have EQUAL CIRCUMFERENCE remember making TWO, SIMILAR 2 inch pots! • Score and slip the top edges of the pinch pots. * • Drop tissue covered spheres into one of the pinch pots. Remember to dab when score and slip DO NOT RUB THE EDGE
Procedures: • Starting from one point on each pot, match their edges up, working slowly around SLOWLY SQUISH AND WIGGLE the pinch pots together. • Marry the pinch pots together by moving a little clay from the side of one pinch pot onto the other, alternately up one, down other. Working all around rattle. • Smooth and Shape CAREFULLY by rolling and/or tapping. Remember air valve is important or will BLOW UP!
Procedures: • Poke a small hole in the hollow sphere. • Write your name on a small piece of paper towel and place in designated area. • End of day one work Remember air valve is important or will BLOW UP!
Clean up Both Days • Name and period on work, (in locker day 1, drying rack day 2) • Wipe off materials and little “clean”clay into ORANGE BUCKET, dirty clay in TRASH • All tools rinsed, wiped and returned. • Wipe off hands and wipe off tables. • Remember check air valve, do not touch others work!!
Day Two Procedures: • Create appendages and attach by: • Scoring and slipping any areas that will need to be attached. • Squish and wiggle all attachments; maybe with extra supports. • Attach feet last! • Tap feet after attachment GENTLY, but firmly • DOUBLE CHECK your air valve is open. Remember kritter has to stand flat, be stable!
Clean Up Both Days • Wipe tools and extra little clay into the trash • Rinse, wipe and dry tools over white low fire tools bucket. • Wash hands • Wipe table with sponge, leave NO CLAY ON TABLEs for next class. • Reminder name on clay critter and air valve, clay critter in locker!
On task 12/7/10 • Using painting techniques and elements of color to complete Clay Story Tile. • Making Clay Critter Rattles, using notes and best craftsmanship. (NAME ON WORK) • Clean up clay in Grey SINKs • CLEAN UPpaints atvent sink and counter • All painted work in lockers to dry and then TAKE HOME!!!
On task options • Using painting techniques and elements of color to complete Clay Story Tile. • Making Clay Critter Rattles, using notes and best craftsmanship. (NAME ON WORK) • Clean up clay in GREY SINKs! • Paints atvent sink and counters • All greenware on boards by period, all painted work in lockers to dry. TAKE HOME!!!
Michael Cooper “The Giant” 1996 Paper bags, elmer’s glue, water and oil paints. Contemporary American artist
Today, when masks have little importance to most people beyond Halloween or an occasional costume party, it is hard to understand that at one time they were among the most important objects a family or community could possess. Worn during ceremonial dances and story tellings, these elaborate "false faces" helped to celebrate the blessing a community had received, to pass on its history and beliefs, to coax and sometime scare young people into proper behavior, and to mark important events such as births, marriages, and the changing of the seasons. • ~ Cooper, Michael. History Masked Marvels. 2010 http://www.themaskedmarvel.com/-masks/masks_frameset.html
Clean up Both Days • Name and period on work, in locker • Wipe off materials and little “clean”clay into ORANGE BUCKET, dirty clay in TRASH • All tools rinsed, wiped and returned. • Wipe off hands and wipe off tables. • Remember check air valve, do not touch others work!!
Clean up 9th grade • Name and period on work, in locker • Wipe off materials and little “clean”clay into WHITE HIGH FIRE Bucket, dirty clay in TRASH • All tools rinsed, wiped and returned. • Wipe off hands and wipe off tables.
Artist: LeAnn Ash (American)Contemporary work LeAnne Ash lives and works in the mountains of Western North Carolina, and is a resident artist at the EnergyXchange. She makes wheel thrown and hand-built functional pottery fired in a landfill gas powered reduction kiln. The beauty of the mountainous landscape and its rich community of contemporary potters serve as great inspiration for her • . Eco-Friendly Ceramics Series Various sizes
Artist: LeAnn Ash (American)Contemporary work LeAnne Ash lives and works in the mountains of Western North Carolina, and is a resident artist at the EnergyXchange. She makes wheel thrown and hand-built functional pottery fired in a landfill gas powered reduction kiln. The beauty of the mountainous landscape and its rich community of contemporary potters serve as great inspiration for her • . Eco-Friendly Ceramics Series 2006
On task options • Plan coil vessel, draw a sketch • Employing hand built sculpture methods by completing, polishing and texturing coil vessels. • Using score and slip techniques to complete Clay Critter Rattlers. • Clean up clay in WHITE SINKpaints atvent sink and counter, work in lockers! • Wash hands and counters.