Download
1 / 19
200 likes | 275 Views
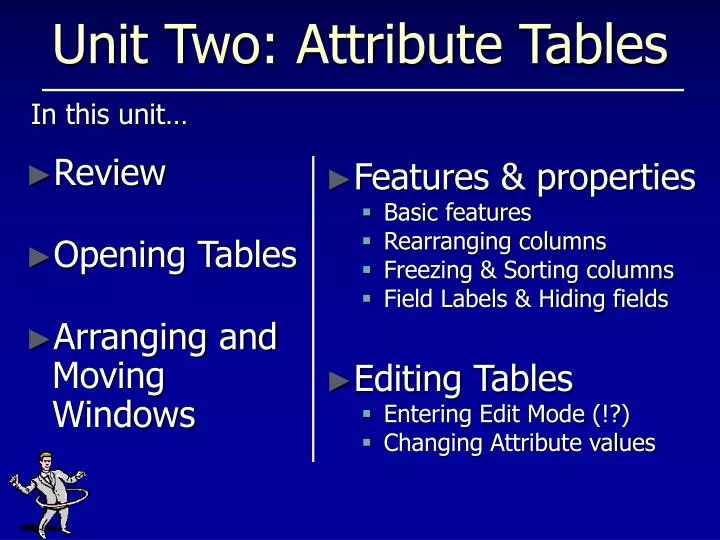
Unit Two: Attribute Tables. Features & properties Basic features Rearranging columns Freezing & Sorting columns Field Labels & Hiding fields Editing Tables Entering Edit Mode (!?) Changing Attribute values. In this unit…. Review Opening Tables Arranging and Moving Windows.

E N D
Unit Two: Attribute Tables Features & properties Basic features Rearranging columns Freezing & Sorting columns Field Labels & Hiding fields Editing Tables Entering Edit Mode (!?) Changing Attribute values In this unit… • Review • Opening Tables • Arranging and Moving Windows
Review – GIS Data Types • “Feature Data” • Data Structures: • “Shapefiles” • “Coverages” • “Geodatabases” • Examples: • Lakes • Houses • Roads • “Image Data” • Data Structures: • image e.g. “Digital Raster Graphic” (DRG) • “GRID” • “Digital Elevation Model” (DEM) • Examples: • Aerial photo • Image of USGS topo
THIS is the heart of GIS! Review Each “Record” in the table… …Connected to a “Feature” in the “Feature Data” a feature a record
Review Attribute Tables – Just Columns & Rows. When tables contain the attributes of geospatial features, the power of the data in the table is expanded… every value can be represented graphically on a map!
clik! Review Opening an Attribute Table We want “Attributes” of a “Layer”, so… Context is Layer …right click and select “Open Attribute Table”
Arranging and Moving Windows Big change for AV 3.x users! Learn to cope. Here’s the issue: windows that you open land on top and stay on top. The Window menu is unlike those you would find in most other Windows programs: • no tiling, • no cascading, • no switching between windows.
But look… both windows are “Active” • You can take action in both windows Arranging and Moving Windows You can always minimize windows… They go to the bottom of the screen. • Better: re-arrange the windows altogether • Just drag them using the title bar… …and • re-size them by dragging the corners or borders.
Make Column Active Select a Row Table Features and Properties Basics • Click HERE to… • and HERE to… Table Option Menu • Some window features: • Current record • Record advance • Show All / Show Selected toggle • Selected record counter • Options button
Table Features and Properties Rearranging Columns • Click AND DRAG to… Move Column left or right • Click and drag EDGES to… Change Column Width
clik! Table Features and Properties Freezing and Sorting • Context for Field or data actions is “Column” – right-click in header • “freezing” - “unfreezing” toggle: frozen columns stay on the left of the table and do not scroll. • You can sort the “Active” column from here as well.
clik! Table Features and Properties Field Labels and Hiding Fields Table context menus don’t set ANY table properties… Instead: “Layer Context Menu”… in the T.O.C. pane of the ArcMap window Population … to change the field’s label, enter a new alias here. … right-click on the Layer… and pick “Properties” This checkbox makes the field “4isible”.
Your turn… Chapter 2: Step 1 through 9
Editing Tables Warning: You are now leaving the safe, virtual ArcMap Environment.
Editing vs Data Definition Know what you want! Editing: • means changing attribute values. • requires “Edit Mode” Adding & Deleting Fields: • is not considered “Editing” • can’t be done in edit mode. • Delete a field: the context is an existing field, so right click the field’s header. • Add a Field: Options menu, (no context) and complete the field definition dialog. Table Option Menu
Adding Fields Field Type Guidelines: • Use ‘text’ for fields that contain alpha, or numbers that won’t be used for math • Like zip codes: you don’t want the text ‘03824’ to display as a number 3,824 • Use ‘short’ or ‘long’ for integers (numbers that will require no decimal places i.e. ‘scale’ = 0) • ‘Short’ for numbers between -32,000 and +32,000 • ‘Long’ for numbers between about -2 billion and +2 billion • Use floating point for fractional numbers (require decimal places) • Single floating point – aka ‘float’ – for precision < 7 • Double floating point – aka ‘double’ – for precision >6 Don’t worry too much: If you ask for the wrong kind of field, for the number of decimal places requested, ArcGIS will pick the right field type for you.
clik! Editing Tables Editor Bar appears here… Entering Edit Mode But can be “docked” here. • Add the “Edit Toolbar”. • CLOSE TABLES THAT YOU WANT TO EDIT FIRST! • Select EDITOR MENU • Use the Edit Icon or • Use the selection in the Tools Menu or • Right-click anywhere in the window margins & pick “Editor”
Editing Tables white=editable Changing Attribute Values Now that you’re in Edit Mode: What do you want to do? • Change one or two values? • Create new values that are calculated from existing ones? • Change values in a set of records that are all related by common attribute value? • Add a field? • Delete a field? • Edit Cells • Calculator • Selection • Get out of Edit Mode • Get out of Edit Mode pencil=edit mode
clik! Editing Tables Changing Attribute Values To edit single values, just put the cursor in the cell, and type. • Edit Cells To calculate based on other values in the table, right-click the header, select CALCULATE VALUES. and enter a formula. • Calculator • Selection With no selected records: formula calculates how many toes for every record... ..in this case there is one selected record so the formula calculates only for that record. BE CAREFUL WHAT IS SELECTED!!
Your turn… Chapter 2: Step 10 through END