Download
1 / 2
20 likes | 25 Views
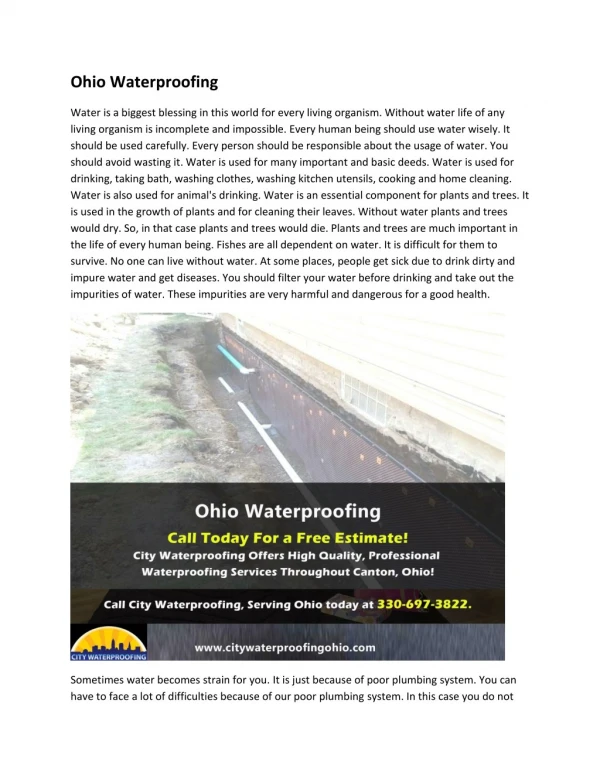
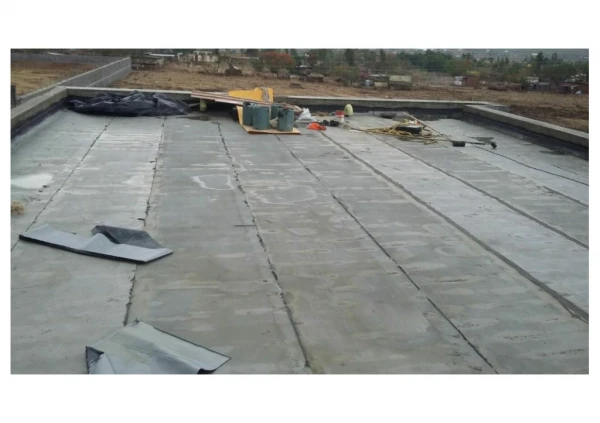
The Process of Shower Waterproofing<br>Wanting to try out your home handy man skills? Well shower waterproofing is a good place for the not faint hearted. Not only is it a difficult job, if done incorrectly it can cause costly damage to your home.<br>Read on if you are the MacGyver of home DIY!<br>With shower waterproofing there is no room for cost cutting or too long smokos and not enough time on the tools! Done incorrectly will lead to damp walls, paint peeling and even hugely costly structural damage to your home. Even the smallest leak, as it is out of site will lead to big problems over time. So read on if youu2019re prepared:<br>Clean the area:<br>Clean the entire area, ensure that all dust, dirt, and all debris are removed and the area is spotless. Think industrial style cleaning.<br>Apply Primer and Silcone:<br>Next step is priming which can be applied by using a roller across all areas of the floor and up to about 20-30cm on the wall, plus all of the areas where water will splash from your bath or shower.<br>Give it some time to dry and then you need to seal it using a silicone sealer and run it over the gaps in the floor, corner joints and anywhere between the floor and wall joints primarily.<br>Mask off the area and waterproof:<br>Keep the waterproofing where it should be by using masking tape to keep it all contained. If you're waterproofing a shower area, run it up to 1.8m. Apply the waterproofing using a roller and keep within the taped area of your shower.<br>Applying the membrane and waterproofing:<br>You'll need a roll a waterproof membrane across the walls and floor to cover any gaps. The rolls can be cut into strips that marry up with the length of the wall and ensure that they are covering half of the<br>wall and floor at the same time. Any areas you canu2019t cover with the strips, simply apply the waterproofing membrane onto it with a roller.<br>Next step is to apply the waterproofing itself, grab the roller again and paint in the remaining areas u2013 floors and walls. Allow approx. 12 hours to dry and then reapply the 2nd coat. This time wait for 48 hours and do a 3rd coat. This will ensure the longevity of the application.<br>Remember, this a is a pretty heavy-duty job. If you are unsure call in the professionals.

E N D
The Process of Shower Waterproofing Wanting to try out your home handy man skills? Well shower waterproofing is a good place for the not faint hearted. Not only is it a difficult job, if done incorrectly it can cause costly damage to your home. Read on if you are the MacGyver of home DIY! With shower waterproofing there is no room for cost cutting or too long smokos and not enough time on the tools! Done incorrectly will lead to damp walls, paint peeling and even hugely costly structural damage to your home. Even the smallest leak, as it is out of site will lead to big problems over time. So read on if you’re prepared: Clean the area: Clean the entire area, ensure that all dust, dirt, and all debris are removed and the area is spotless. Think industrial style cleaning. Apply Primer and Silcone: Next step is priming which can be applied by using a roller across all areas of the floor and up to about 20-30cm on the wall, plus all of the areas where water will splash from your bath or shower. Give it some time to dry and then you need to seal it using a silicone sealer and run it over the gaps in the floor, corner joints and anywhere between the floor and wall joints primarily. Mask off the area and waterproof: Keep the waterproofing where it should be by using masking tape to keep it all contained. If you're waterproofing a shower area, run it up to 1.8m. Apply the waterproofing using a roller and keep within the taped area of your shower. Applying the membrane and waterproofing: You'll need a roll a waterproof membrane across the walls and floor to cover any gaps. The rolls can be cut into strips that marry up with the length of the wall and ensure that they are covering half of the
wall and floor at the same time. Any areas you can’t cover with the strips, simply apply the waterproofing membrane onto it with a roller. Next step is to apply the waterproofing itself, grab the roller again and paint in the remaining areas – floors and walls. Allow approx. 12 hours to dry and then reapply the 2nd coat. This time wait for 48 hours and do a 3rd coat. This will ensure the longevity of the application. Remember, this a is a pretty heavy-duty job. If you are unsure call in the professionals.