Download
1 / 35
350 likes | 445 Views
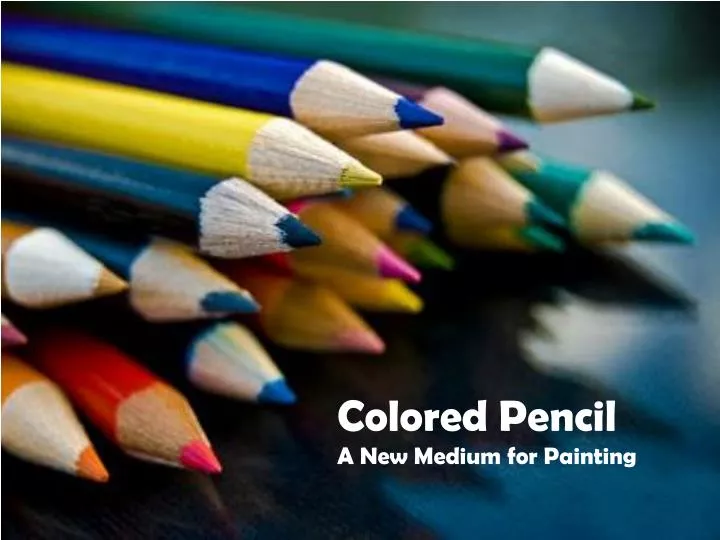
Colored Pencil A New Medium for Painting. Colored Pencil:

E N D
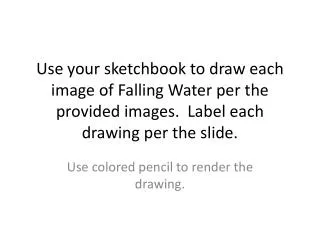
Colored Pencil A New Medium for Painting
Colored Pencil: For those of you who are not familiar with colored pencils you may have the preconceived notion that all you have to do is put pencil to paper and press down, or “color.” This idea may have come from childhood memories of coloring books and crayons.
Colored pencil, like any other artistic endeavor, requires a learning curve and practice, practice, practice in order to achieve mastery.
Definition of Colored Pencil Medium Dry drawing materials are made of coloring agents or pigments combined with a binder of some kind and come in a wide range of forms. It is helpful to view these materials as part of a broad spectrum of drawing media. The colored pencil medium is situated near the middle of a continuum that stretches from soft pastel on one end to oil pastels and oil bars on the other end. With the proliferation of new dry media, however, it has become much more challenging to define what is, in fact, colored pencil media.
There are characteristics that make colored pencil unique compared to any other medium and are specifically connected to everything colored pencil. These characteristics are: • Colored pencil is the only translucent medium. • Colored pencil is not a fast medium. • Colored pencil cannot be completely erased without damaging the painting surface. • Colored pencil is mixed directly on the art, rather than on a separate palette.
When working with colored pencil you must have a working knowledge of the basic color wheel. It is with this knowledge that you will be able to create the colors necessary to build your painting.
Over the next few slides you will see how various artists use colored pencils to create a wide variety of looks This artist used a mix of colored pencil products and a hot press paper to give a smooth and sophisticated look.
This artist used a mix of colored pencils and solvents to give a highly polished look to the painting.
These artists used colored pencils to give a natural feel and look to the animals in their paintings. The artist’s work on the left used a fairly smooth paper, while the artist’s work on the right used a soft textured paper.
This artist used a scrumbling process to create the textures of the rocks and to build the transitions of color across the rocks. A hot press paper allowed the artist to create the smooth and worn texture of the rocks.
Working with colored pencils allows the artist to work at a fairly quick pace or a slow and methodical pace, depending on the outcome the artist is striving for. Working with colored pencils allows the artist to work at a fairly quick pace or a slow and methodical pace, depending on the outcome the artist is striving for.
As the artist you can decide how fast you want to work on a painting. Because colored pencils are a dry medium you can take your time and work on a piece for an extended time, or you can work constantly until the painting is completed. The painting on the left was executed in one week. Whereas, the painting on the right, was executed in three months.
The nice thing about working with colored pencil is that you are in no way limited in your subject matter. Colored pencils are a most versatile medium with unlimited variations.
Colored Pencil Instruction: Utilizing colored pencils to create effects can be done with a variety of techniques. Just like any wet medium, each requires a different approach to the medium.
stippling - Stippling involves placing lots of tiny dots on your paper. The dots can be close together, far apart, or anywhere in between! Practice stippling by drawing dots that are close together and also by drawing dots that have more distance between them. Also, notice the difference between dots made when the pencil is sharp vs. when the pencil point is dull. Stippling is a great way to add some interesting texture to a drawing.
hatching - Hatching involves drawing a series of parallel lines. These lines all go in the same direction. The lines can be close together, far apart, or any variation in between. The pencil is lifted from the paper after each line and then placed down again to create a new line.
cross-hatching - Cross-hatching involves drawing a series of parallel lines (hatching) and then drawing another series of parallel lines going in another direction on top of the first set of lines. This is a great way to create shading in a drawing. You can create some interesting textures through cross-hatching.
back and forth stroke - The back and forth stroke is probably the most common of all the colored pencil techniques. This is probably how you drew with crayons as a kid! Basically, you just put your pencil on the paper and draw in a continuous back and forth motion, without lifting your pencil off of the paper. This is a good way to fill different areas of your drawing with a lot of solid color.
scumbling - Scumbling is another technique you probably used as a kid without even knowing that it had a name! Scumblinginvolves making continuous circular marks on your paper, without lifting your pencil. This is another good way to fill in different areas with lots of color. This process is also called the brillo pad technique.
These techniques can be used in various fashions to create different looks in your finished painting.
Color Pencil Drawing Techniques Tip #1: Color heavy, or at least build up your color gradually so that the colors are intense and complex (color mixes). Don’t rely on the value of the paper to make your tints and shades. Tip #2: Layer your colors – build up many layers of your colors. Do not rely on just one application of color to bring you success. Building up and layering your colors will make your colors more complex and realistic.
Tip #3: Mix your colors – when using any colored medium, you should always mix your colors. Colored pencils are no different, except with colored pencils you mix on your painted surface and not on a palette. For example, if you are drawing grass, don’t just grasp that manufactured green. Instead, use blue and yellow, and green. Tip#4: Outline last – if you like to outline, wait and do it when you are finished painting your subject. Colored pencils can overlap themselves very easily, enabling you to outline objects last (don’t use black to outline).
Tip #5: Take you time – colored pencils are a medium that demands time. You must work deliberately. It takes time to craft a well-painted color pencil image. Tip #6: Burnish - by taking a white colored pencil or a colorless blender, smooth the colors and values out to make a consistant texture and solid finish.
Surfaces for Colored Pencil You can pretty much use colored pencils on any surface that will accept them (as we will see later). You can be very creative with you choice. Traditional surfaces include drawing paper, colored paper, cardboard, tagboard, illustration board, rag paper, and watercolor paper. It is important to pay attention to the tooth, or texture of the paper when choosing the surface. The texture of the paper plays a huge role in how the colored pencils look on the surface. Experiment and find what papers work best for your creative needs. HOT PRESS COLD PRESS ROUGH
Now let’s look at how colored pencils can combine with other mediums to create even more excitement. The following selection comes for the winners of the CPSA Annual Explore This! 8 competition.
Begin today to explore this exciting medium. Being an artist is about stretching yourself and finding ways to express ideas.
I am firmly convinced that if you will try using colored pencils, you will find them an exciting medium. You will find enjoyment in their application and pride in your finished painting.