Download
1 / 13
130 likes | 134 Views
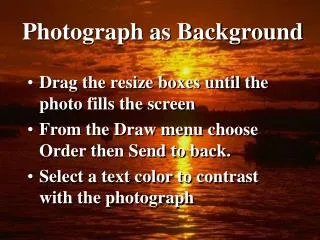
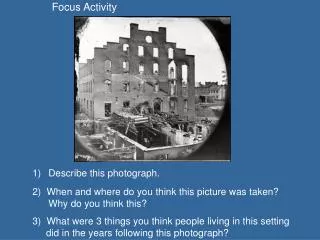
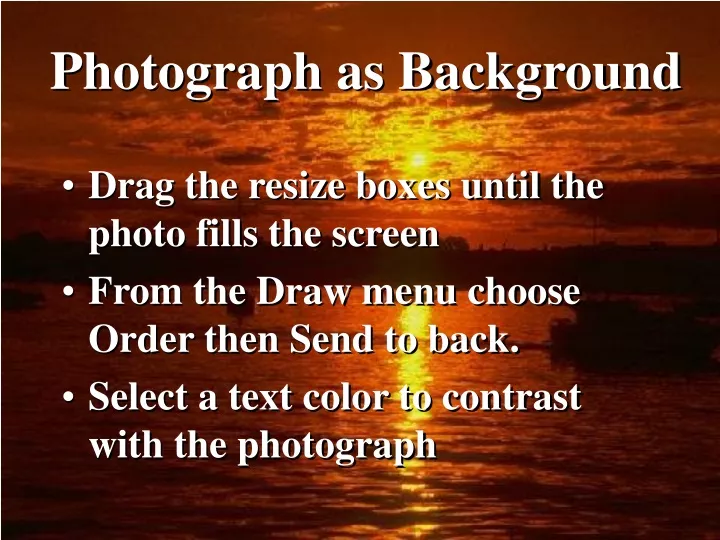
Photograph as Background. Drag the resize boxes until the photo fills the screen From the Draw menu choose Order then Send to back. Select a text color to contrast with the photograph. Re-coloring Clip Art. Any clip art image in PowerPoint can be re-colored. Click the image

E N D
Photograph as Background • Drag the resize boxes until the photo fills the screen • From the Draw menu choose Order then Send to back. • Select a text color to contrast with the photograph
Re-coloring Clip Art Any clip art image in PowerPoint can be re-colored • Click the image • In the picture toolbar, click the color adjustment button • Change the color
Un-grouping an Image Any clip art image can be broken into pieces and reassembled
One suggested use of un-grouped imagesis to animate them to create the grouped image. • To do this: • Choose Animation under Slide Show in the Main Menu • Select Custom • Set the effects, order and timing, and options for the object.
Using Hyperlinks Text can be used as a hyperlink Teaching and Learning Academy Images can be used as a hyperlink • Select the object to be linked • Go to INSERT in the Main Menu and choose Hyperlink • Hyperlinks can go to a web page or document Hyperlinks can also be created using Action Settings under Slide Show in the Main Menu.
Using Buttons Buttons can be used to navigate in a slide show. The buttons can be inserted by choosing Action Buttons under Slide Show in the Main Menu. Most buttons have pre-assigned navigational movements Click to go to a document Click to go backward Click for information Click to hear a sound Click to go forward Click to go to first slide Click to play a movie Click to go Home Click to go to last slide Click for Help Click to go to last slide viewed
Button Action Settings The buttons below react without a mouse click as soon as the mouse slides over the button. Choosing Action Settings under Slide Show in the Main Menu, you can customize the button actions.
Click to go backward Click to go forward See?
Using Custom Buttons Custom buttons can navigate to all of the action button settings using hyperlinks. Text on top of the button clarifies the destination. (The text box may need to be hyperlinked, rather than the object) Go to Slide 3