Download
1 / 8
80 likes | 88 Views
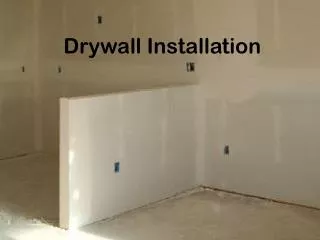
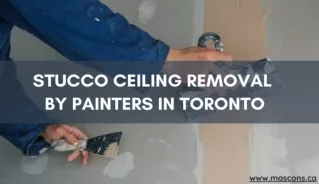
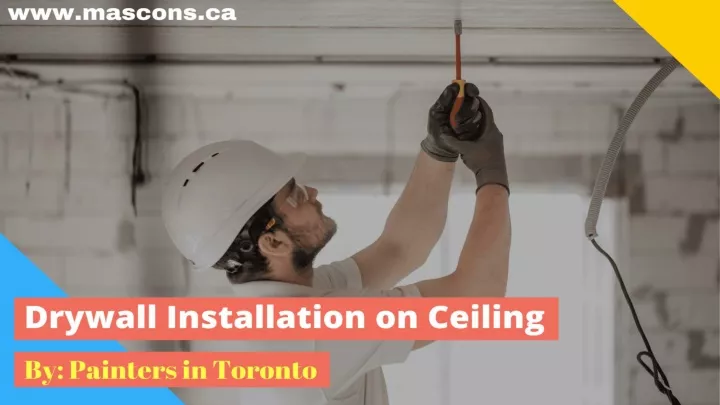
While it might seem intimidating, installing drywall on the ceiling is a skill that can be learned with a bit of practice. While drywall is versatile and can be installed in a number of different ways, there are some common practices that will help you along the way. For more Visit us at: https://www.mascons.ca/drywall-installation

E N D
Crate under the drywall on the ceiling installation The frame of the ceiling is set to 60 cm by general standards. Mounts do not necessarily need to comply with this level because they must withstand static loads (a 20-30% margin is desirable for speakers). Screw it directly into the profile. Assemble outdoor drywall installation is also possible, but so-called "chips" must be used. This is a screw with a plug on one level. Of course, this option is suitable only if the upper part of the Drywall Installation will be processed more plaster, mortar, or even whitewash, and all the connection points are simply hidden. Framework the ceiling consists of profiles that are used for fixing sheets of plasterboard.
Consists of Crate: • Profiles that are mounted on the perimeter, that is, on the wall • Transverse and longitudinal profiles which are connected to sleepers or crabs • Suspensions • Power beam • This simple illustration shows one layer of plasterboard ceiling. There are also more complex structures, where the land is much smaller.
So I need a profile for the Drywall Installation ceiling • A metal profile is required to secure the sheets of drywall. Made of aluminum to reduce the maximum weight of the structure. You can use metal profiles and adapters to connect, but we do not recommend them. • If possible, choose a profile of length that fills the cover on one side of the room (maximum length of profile - 3 meters). The beam has a system similar to these profiles and is attached to the perimeter (of course, there are no slots). But the cash register is a little less. • It is recommended to use a reliable and durable metal frame for fixing drywall. • It is because of the main function: • Suspension support sheets; • Prevention of full leaf deviations; • Wiring protection (as defined by the profile).
Tips on how to make the crate a drywall ceiling Standard distance between profiles - 60 cm. This is for drywall ceilings, even with additional loads - an ideal option. If in the future you plan to install a second additional level, it is better not to cut it to 40-50 centimeters. Beams are placed in the center of the room (it is possible - across). That is, an average of 1m2 is required 4 meters under the profile batten. How do you place plaster sheets? As a rule, the scheme remains the same fund. The location of the fixed sheet should be taken into account. 60-70cm when installing the optimal distance between profiles
How to calculate a profile for a drywall ceiling • Calculate the most practical rates using a special calculator often available on home center websites, or one devoted to repairing problems. It is enough to enter the parameters of the room, the type of drywall that needs to be fixed, and the output can get not only the consumption of metal but also its cost. • If you want to calculate manually, you will need a calculator and a pre-generated sketch. • It takes into account the following data: • The total width of the area occupied by the profiles; • Perimeter of the room; • Lathing step. • To calculate the necessary material on the plaster ceiling is recommended to make a sketch
How to install the profile under the drywall on the ceiling • For fixing the top layer of plasterboard on the profile is better to use screws with a drilling depth of up to 15 millimeters. More - too. Fixing is carried out indoors. It is possible and on the outside, all hats should be closed by means, for example, plaster. • What if you can use glue? As a rule, long since abandoned this technology, because: • Polyurethane substrate can be damaged by moisture; • The ultimate static load will be significantly lower; • On flooding or getting wet drywall simply bend; • The final design - is not stable. • We recommend that you use the traditional installation method. This means that each sheet is secured to the profile with screws. The spacing between connection points to adjust in the range of 20 to 40 millimeters. It should be less than the end of the drywall installation. If it's more than that, it may bend over time.
Hire Best Drywall Installer in Toronto Mas Construction Painting Contractor Amos Crescent, Toronto, ON City - NORTH YORK Zip - M3H 3X8 +1 647-835-0590 Info@Mascons.Ca www.mascons.ca