Download
1 / 28
370 likes | 892 Views
Keyboard interfacing. FINAL PROJECT Presentation. Group Members :. Muhammad Bilal 06020619-011 Zeeshan Akhtar 06020619-010 Usman Raza 06020619-001 Mujahid Sarfraz

E N D
Group Members: • Muhammad Bilal 06020619-011 • Zeeshan Akhtar 06020619-010 • Usman Raza 06020619-001 • Mujahid Sarfraz 06020619-017 • Umair Anwar 06020619-008
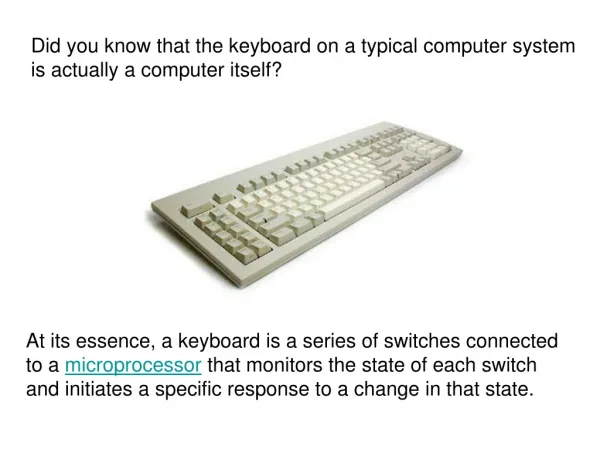
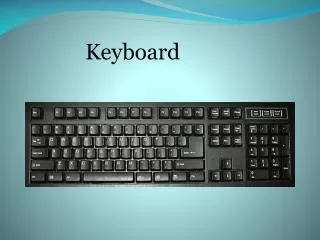
Keyboard Interfacing Explanation • The key board here we are interfacing is a matrix keyboard. • This key board is designed with a particular rows and columns. • These rows and columns are connected to the microcontroller through its ports of the micro- controller 8051.
Continued….! • We normally use 8*8 matrix key board. • So only two ports of 8051 can be easily connected to the rows and columns of the key board. • When ever a key is pressed, a row and a column gets shorted through that pressed key and all the other keys are left open. • Whenever a key is pressed only a bit in the port goes high.
Continued…..! • Which indicates microcontroller that the key is pressed. By this high on the bit key in the corresponding column is identified. • Once we are sure that one of key in the key board is pressed next our aim is to identify that key. • To do this we firstly check for particular row and then we check the corresponding column the key board.
Matrix Keyboard • To check the row of the pressed key in the keyboard, one of the row is made high by making one of bit in the output port of 8051 high . • This is done until the row is found out. • Once we get the row next out job is to find out the column of the pressed key. • The content of the input port is rotated with carry until the carry bit is set.
Continued….! • The contents of the counter is then compared and displayed in the display. • This display is designed using a seven segment display and a BCD to seven segment decoder IC 7447. • The BCD equivalent number of counter is sent through output part of 8051 displays the number of pressed key.
Key board Types • Standard: Standard keyboards, such as the 101-key US traditional keyboard 104-key Windowskeyboards, include alphabetic characters, punctuation symbols, numbers and a variety of function keys. • Laptop-size: Keyboards on laptops and notebook computers usually have a shorter travel distance for the keystroke and a reduced set of keys
Key board Types • Multimedia: • Keyboards with extra keys, such as multimedia keyboards, have special keys for accessing music, web and other oft-used programs, a mute button, volume buttons or knob and standby (sleep) button. • Numeric: Numeric keyboards contain only numbers, mathematical symbols for addition, subtraction, multiplication, and division, a decimal point, and several function keys (e.g. End, Delete, etc.).
Algorithm For keyboard interfacing • The 8051 has 4 I/O ports P0 to P3 each with 8 I/O pins, P0.0 to P0.7,P1.0 to P1.7, P2.0 to P2.7, P3.0 to P3.7. The one of the port P1 (it understood that P1 means P1.0 to P1.7) as an I/P port for microcontroller 8051, port P0 as an O/P port of microcontroller 8051 and port P2 is used for displaying the number of pressed key. • Make all rows of port P0 high so that it gives high signal when key is pressed. • See if any key is pressed by scanning the port P1 by checking all columns for non zero condition. • If any key is pressed, to identify which key is pressed make one row high at a time. • Initiate a counter to hold the count so that each key is counted. • Check port P1 for nonzero condition. If any nonzero number is there in [accumulator], start column scanning by following step 9. • Otherwise make next row high in port P1. • Add a count of 08h to the counter to move to the next row by repeating steps from step 6. • If any key pressed is found, the [accumulator] content is rotated right through the carry until carry bit sets, while doing this increment the count in the counter till carry is found. • Move the content in the counter to display in data field or to memory location • To repeat the procedures go to step 2.
Program to interface matrix keyboard to microcontroller 8051 Start of main program: to check that whether any key is pressed start: mov a,#00h mov a,#0fh mov p1,a ;making all rows of port p1 high press: mov a,p2 jz press ;check until any key is pressed
Continued …! • after making sure that any key is pressed mov a,#01h ;make one row high at a time mov r4,a mov r3,#00h ;initiating counter next: mov a,r4 mov p1,a ;making one row high at a time mov a,p2 ;taking input from port A jnz colscan ;after getting the row jump to
Code…. check column mov a,r4 rl a ;rotate left to check next row mov r4,a mov a,r3 add a,#08h ;increment counter by 08 count mov r3,a sjmp next ;jump to check next row
Continued …..! After identifying the row to check the column following steps are followed colscan: mov r5,#00h in: rrc a ;rotate right with carry until get the carry jc out ;jump on getting carry inc r3 ;increment one count jmp in out: mov a,r3 da a ;decimal adjust the contents of counter before display mov p2,a jmp start ;repeat for check next key.