Download
1 / 31
310 likes | 320 Views
At the end of this unit you should: 1. Be able to identify the parts of the scanning electron microscope. 2. Be able to identify parts of the light microscope and understand their functions. 3. Be able to identify parts of a plant and animal cell.

E N D
At the end of this unit you should: 1. Be able to identify the parts of the scanning electron microscope. 2. Be able to identify parts of the light microscope and understand their functions. 3. Be able to identify parts of a plant and animal cell. 4. Be able to compare the parts of a plant and animal cell. 5. Understand magnification and how to calculate it.
beams coarse adjustment condenser diaphragm lever eyepiece fine adjustment magnification microscope nosepiece objective lens organism resolution specimen stage stains structure
(a) Take a look at the images in Fig. 01.02.03. Do you think microscopes have changed much over the centuries? What are your first impressions of them?
Stains: Used to highlight a cell or cell part, allowing a clearer view of the image. Resolution: The ability to distinguish two objects as separate things, rather than blurred together in a single smudge.
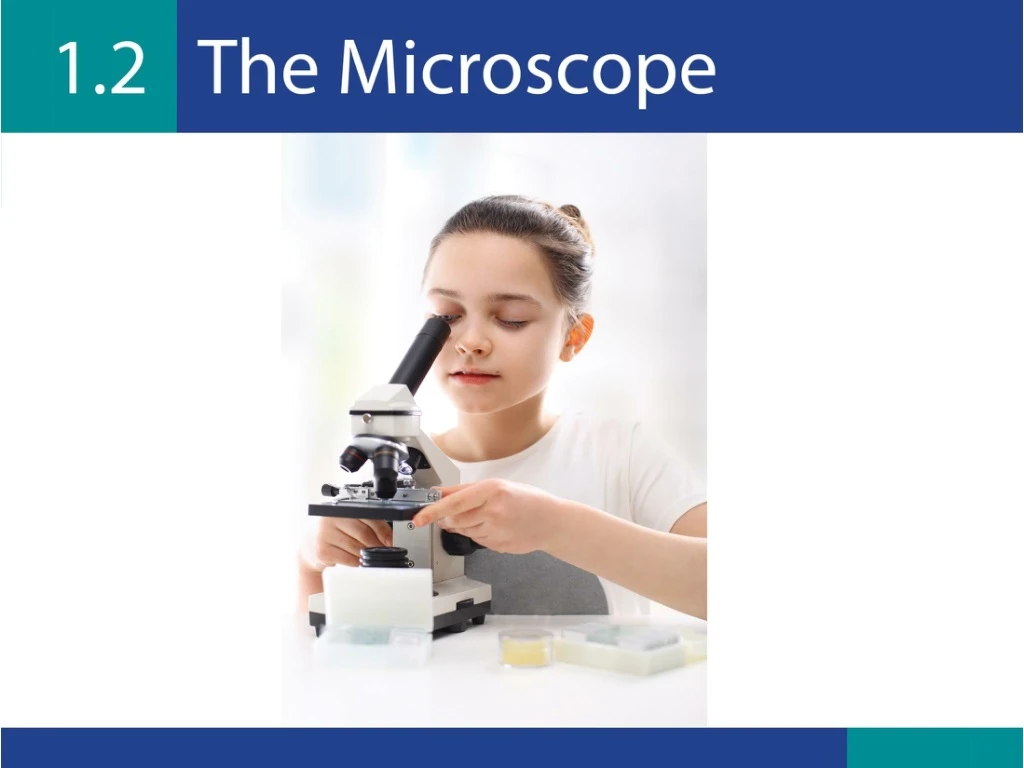
(a) Looking at the microscope in your classroom, or using Fig. 01.02.05, answer these questions: Which parts allow you to see the objects in greater detail? Both the eyepiece and the objective lenses combined allow you to see the object in greater detail. The fine adjustment wheel will also allow you to see the object in greater detail as it can be adjusted when viewing the object.
(a) Looking at the microscope in your classroom, or using Fig. 01.02.05, answer these questions: (ii) Which part allows the amount of light reaching the specimen to be adjusted? The diaphragm lever.
(b) Create a table in your copy listing the parts of the light microscope and their functions. You will need this table later for your investigation of a cell.
(c) Why are stains applied to specimens when viewing them under a microscope? Stains are applied to show up the specimen and allow it to be clearly seen.
(d) We need a source of light to view specimen images under a light microscope. How are images projected using an electron microscope? Electron microscopes use beams of electrons to project images.
Magnification: The use of lenses to see very small objects in greater detail.
(a) When you magnify something, what are you doing to the image? Will the physical size of what you are viewing change, or just its appearance? • Magnification makes an object appear bigger; only the image changes, not the physical object.
(b) What is the symbol for magnification when using a microscope? • X.
(c) How do you calculate the total magnification of the image or of your specimen? • Total magnification = Eyepiecelens magnification x objective lens magnification.
(d) If you have an eyepiece with a magnification power of 10x and an objective lens of magnification 30x, what is your total magnification? • Show your workings. • 10X x 30X = 300X
Investigation 01.02.01: How to use a light microscope Equipment: Microscope, microscope slide or a ready-made sample slide, pencil. Instructions: 1. Make sure the stage is at its lowest point by turning the stage adjustor wheels (this makes sure that you do not break the glass microscope slide when you change the objective lens). 2. Turn the objective lens to the lowest power (e.g. 4x). 3. Place a microscope slide or a prepared microscope slide on the stage and fasten it with the stage clips (move the microscope slide around on the stage until you see an image). 4. Look at the microscope from the side – turn the focus wheel so you see the stage move upward.
Investigation 01.02.01: How to use a light microscope Instructions: 5. Look through the eyepiece and move the focus wheel slowly – if using prepared slides, until an image comes into focus. 6. Adjust the condenser/diaphragm to allow the greatest amount of light in. 7. You may need to readjust the condenser/diaphragm or the focus wheels for the clearest image. 8. When you have a clear image of your specimen with the lowest power objective, change to the next objective lenses. You must remember to adjust the height of the stage. 9. When finished, lower the stage, click the low-power lens into position and remove the slide. 10. Repeat this technique using a pencil, placing it on the slide and starting with the lowest magnification view.
1. Which parts of the microscope allow you to change the magnification of the image? • Nosepiece/objective lens. • 2. Why is it important to always move the stage before you change objective lens? • The stage must be moved before the objective lens is changed to allow for the easy removal of the lens; otherwise, it could break.
3. What do you adjust to get a clearer view of the specimen image? • The course and fine adjusters. • 4. If there wasn’t enough light reaching the specimen, what part would you adjust to increase the light? • The diaphragm or condenser.
Investigation 01.02.02: Preparing a slide for use under a microscope Equipment: Microscope, microscope slide, cover slip, tissue paper, chosen cell, appropriate stain, a dropper, a probe. Instructions: Choose from the list of cells below or use one your teacher gives you. Prepare a slide and apply the technique of using the microscope to view your cells. Your teacher may direct you, or alternatively research how to obtain the cells. Cell list • An onion cell (a plant cell) • A cheek cell (an animal cell) • Stomata/guard cells on the underside of a leaf (plant cell) • Cells from the upper and lower side of a leaf (plant cell)
1. Draw any image you see using the low-, medium- and high-powered lenses.
2. Write an observation that you noticed when changing between the magnifications. • You should observe that the image seen under the low-power lens was smaller than that of the medium- and high-power lenses.
3. What is the purpose of the stain? • To allow a clearer image of the specimen to be seen. • 4. What does the stain do to your cell when applied? • It highlights parts of the cell. • 5. If you did not use a stain, would you be able to see the specimen image under the microscope? • Yes, but not as clearly.
Copy and Complete In this unit I learned that a microscope allows us to see inside parts of cells. The two main microscopes used today are the light microscope and the electron microscope. The light microscope uses light to allow us to see the image; the electron microscope uses beams of electrons. When looking through the microscope you can work out the total magnification used by reading the value on the eyepiece lens and the value on the objective lens and then multiplyingthem. To help us view the images under the microscope we often use stains. The stain highlights parts of the cell and then allows us to see a clearer image.
1. What does a microscope allow us to do that the naked eye cannot? • It allows us to view images in greater detail.
2. How are the light and electron microscopes different? Give a minimum of three points.
3. Number the statements in Table 01.02.02 in order of the correct process of viewing a cell under a light microscope.
4. When preparing a specimen, what is used to allow a clearer view of the image? • An appropriate stain. For example, iodine is used to see the plant cells of an onion more clearly. • 5. What is the function or job of the cover slip, and why should the cover slip be lowered gently onto the slide? • Function: To hold the specimen in place, prevent it from drying out. • Why should it be lowered gently? • Gently lowering the cover slip at an angle prevents air bubbles on • the specimen slide. Air bubbles could interfere with the • clear viewing of the specimen.