Download
1 / 25

E N D
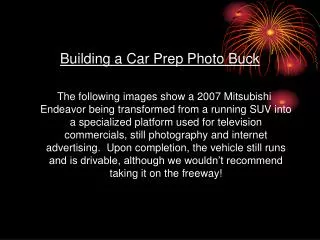
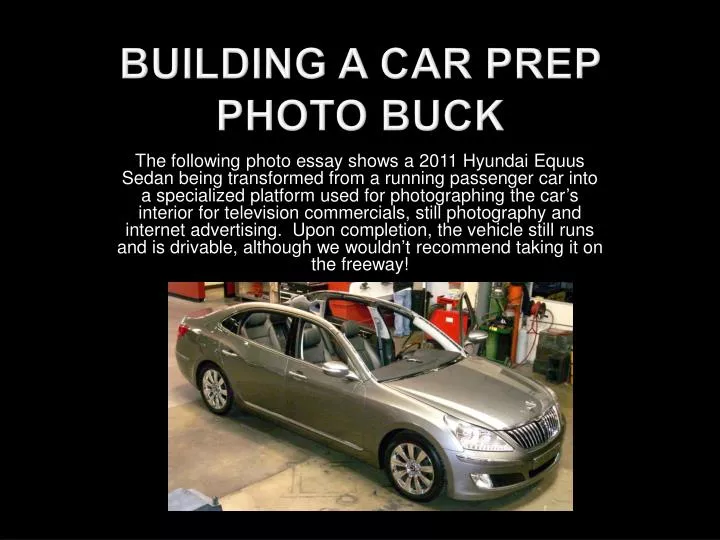
Building a Car Prep Photo Buck The following photo essay shows a 2011 Hyundai Equus Sedan being transformed from a running passenger car into a specialized platform used for photographing the car’s interior for television commercials, still photography and internet advertising. Upon completion, the vehicle still runs and is drivable, although we wouldn’t recommend taking it on the freeway!
The Equus has been prepared for the transformation into a photo buck. The interior has been stripped down to the metal, including the entire dashboard assembly, seating, carpets, all interior panels and assemblies. Major wiring looms are kept in place and visible to avoid being cut.
With the interior stripped and hood and doors removed, the technicians have exposed the areas where they’ll be cutting the body panels apart.
OK, but not before the windshield is removed. The windshield will be replaced into position once the cars has been cut, re-assembled and the interior re-installed. No sense taking any chances on cracking it.
After a careful review of the inner body panels, tape marks are placed along the areas where a reciprocating power saw will be used to segment the car as needed. Each car needs a different plan for cutting, as a sedan is different than an SUV, which is totally unlike a wagon.
Jake starts cutting the roof panel at the top end of the A-pillar, being careful to make the cut as clean and straight as possible. This is important to ensure the segmented body panels will mate up correctly when the panel-joining ‘scabs’ are installed… what’s a ‘scab’? Read on.
A ‘scab’ is a small handcrafted metal plate that helps to locate and join the segmented body panels. Before the panel cut is completed, the scab is situated, holes are drilled and tapped in adjoining body panels, then the cut is completed and the scab is installed to keep the structure intact.
Jake continues cutting the roof panel along the drip rail. • Yes, he should be wearing safety goggles, which he was • reminded of during this photo sequence.
Jim continues cutting body panels, making a critical cut at the C-pillar. This is one of the more difficult areas to navigate with the reciprocating saw, as there are usually multiple layers of structural steel that need to be carefully sectioned apart.
A closer look at the C-pillar after Jim has completed the cut reveals why it was important to carefully plan the angle of attack. The technicians have to take into account how the area will appear once the interior has been re-installed and the pillar is removed for photography.
Jim continues to section off the panels, starting at the top of the B-pillar…
… and finishing the section by cutting the bottom of the B-pillar.
A closer look at the bottom of the sectioned B-pillar reveals the importance of advance planning. The B-pillar is the most difficult area to cut properly due to multiple layers of stamped and folded structural steel. Notice that both sides of the cut have already been secured with ‘scabs’.
With the sectioning completed and some body panels removed, Jim grinds off excess metal from the cut edges, then covers them with gaffer’s tape to protect anyone working with the car during dismantling and re-assembly, or once the car has been configured for photography.
Here’s the car with all the sectioning completed and body panels removed, ready for the final re-assembly process. At this point, it’s important to remember that the car will be fully-operational and drivable once it has been put back together.
Now the fun begins! Thanks to all the care taken during the sectioning process, the body panels are bolted into place with the knowledge that everything has been pre-fitted to avoid problems.
Piece by piece, the car’s roofline begins to once again take shape…
… along with the dashboard assembly, rear seating area console and seating support frame and hardware.
The rear seating surfaces and interior panels are installed…
… as well as trim panels for the front part of the interior.
… rear doors are mounted and more interior components are • set into place…
… and many of the finish trim pieces are also installed. The front seats are usually the final interior components that get fitted back into the car to avoid damage and allow better access to the finished interior.
The re-assembly of the car is now complete. The roof panel is stored for future location use, while the headliner is wrapped in plastic and placed on top of the car during storage. The end result is a fully-operational photo buck that can be deconstructed as needed for interior photography, i.e. the passenger side doors, roof rails and pillars can be removed, while the rest of the car will appear intact to the close-up camera.
CAR PREP INC. • Fountain Valley, CA • (714) 965-9805 • www.carprepinc.com