Download
1 / 10
100 likes | 388 Views
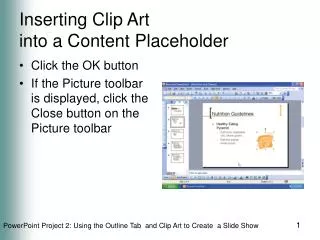
CLIP ART. By: Maggie Painschab. Inserting clip art into a document. Clip art is located in Microsoft Office products. The first step is to go to the insert tab on the ribbon. Under illustrations click on the clip art icon.

E N D
CLIP ART By: Maggie Painschab
Inserting clip art into a document • Clip art is located in Microsoft Office products. • The first step is to go to the insert tab on the ribbon. Under illustrations click on the clip art icon. • When the clip art opens you can put in a search to find what you are looking for or you can choose to scroll through all the pictures. • Instead of inserting clip art you may also insert pictures that are saved on your computer.
The steps to inserting and finding clip art Step 1: click on the insert tab on the ribbon, then click on the clip art button. Step 2: To find the clip art click in the “search for” area and type in a general word or specific thing. Press go and all the available pictures appear.
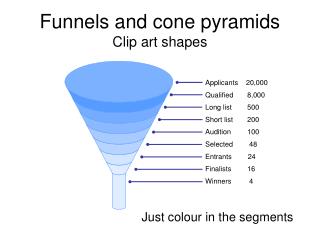
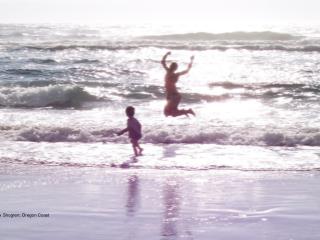
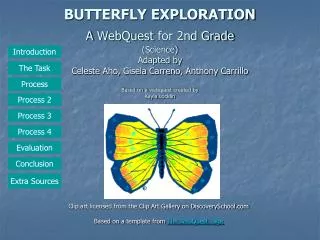
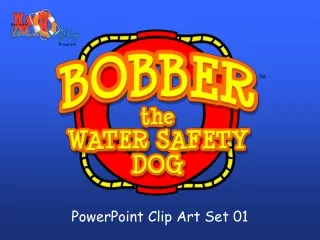
Examples of clip art: Clip art can look like a real photograph or they look like a cartoon or animation picture.
Sizing Pictures can be formatted to any size you want. To avoid them from being distorted use the sizing handle that looks like two arrows and pull from the corners.
Text Wrapping Step 1: click on text wrapping and more layout options. Step 2: click on tight wrap and both sides for the text wrap.
The reason behind text wrapping • Text wrapping allows you to have writing or captions that follow suit with a picture. • The text can cross the picture in front, behind or wrap it and allow the writing to go around the picture. • This makes the paragraph or project have a nicer layout and makes the flow of words and writing work well together.
Inserting personal photographs from folders Follow the same directions as inserting clip art, but instead you are going to click on insert picture. This will bring up the folders on your computer and allow you to browse to the exact location. Pick the picture and then you can resize it and text wrap it to your liking.