Download
1 / 1
90 likes | 342 Views
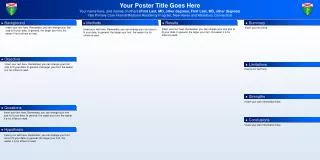
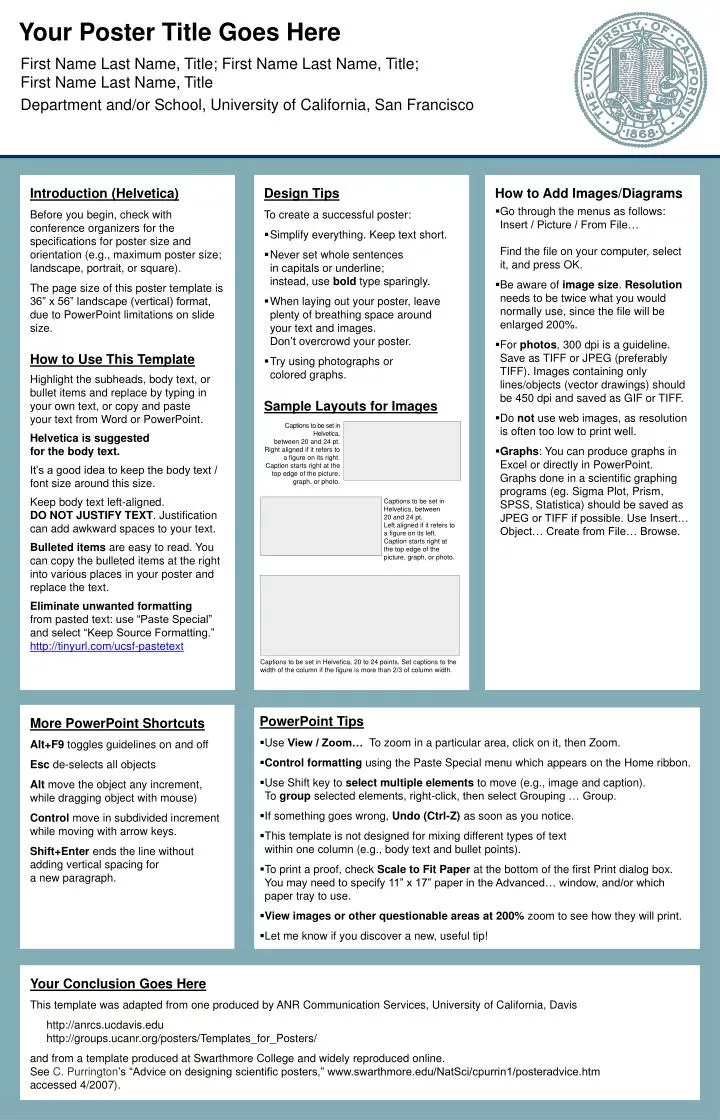
Your Poster Title Goes Here. First Name Last Name, Title; First Name Last Name, Title; First Name Last Name, Title Department and/or School, University of California, San Francisco. Introduction (Helvetica)

E N D
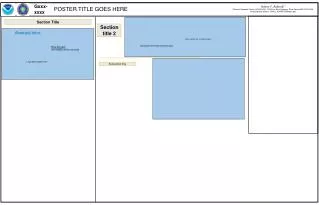
Your Poster Title Goes Here First Name Last Name, Title; First Name Last Name, Title; First Name Last Name, Title Department and/or School, University of California, San Francisco Introduction (Helvetica) Before you begin, check with conference organizers for the specifications for poster size and orientation (e.g., maximum poster size; landscape, portrait, or square). The page size of this poster template is 36” x 56” landscape (vertical) format, due to PowerPoint limitations on slide size. How to Use This Template Highlight the subheads, body text, or bullet items and replace by typing in your own text, or copy and pasteyour text from Word or PowerPoint. Helvetica is suggestedfor the body text. It’s a good idea to keep the body text / font size around this size. Keep body text left-aligned.DO NOT JUSTIFY TEXT. Justification can add awkward spaces to your text. Bulleted items are easy to read. You can copy the bulleted items at the right into various places in your poster and replace the text. Eliminate unwanted formattingfrom pasted text: use “Paste Special” and select “Keep Source Formatting.”http://tinyurl.com/ucsf-pastetext • Design Tips To create a successful poster: • Simplify everything. Keep text short. • Never set whole sentencesin capitals or underline; instead, use bold type sparingly. • When laying out your poster, leave plenty of breathing space around your text and images. Don’t overcrowd your poster. • Try using photographs or coloredgraphs. Sample Layouts for Images • How to Add Images/Diagrams • Go through the menus as follows: Insert / Picture / From File… Find the file on your computer, select it, and press OK. • Be aware of image size. Resolution needs to be twice what you would normally use, since the file will be enlarged 200%. • For photos, 300 dpi is a guideline. Save as TIFF or JPEG (preferably TIFF). Images containing only lines/objects (vector drawings) should be 450 dpi and saved as GIF or TIFF. • Do not use web images, as resolution is often too low to print well. • Graphs: You can produce graphs in Excel or directly in PowerPoint. Graphs done in a scientific graphing programs (eg. Sigma Plot, Prism, SPSS, Statistica) should be saved as JPEG or TIFF if possible. Use Insert… Object… Create from File… Browse. Captionsto be set inHelvetica, between 20 and 24 pt.Right aligned if it refers to a figure on its right. Caption starts right at the top edge of the picture, graph, or photo. Captions to be set in Helvetica, between20 and 24 pt. Left aligned if it refers to a figure on its left. Caption starts right at the top edge of the picture, graph, or photo. Captions to be set in Helvetica, 20 to 24 points. Set captions to the width of the column if the figure is more than 2/3 of column width. More PowerPoint Shortcuts Alt+F9 toggles guidelines on and off Escde-selects all objects Alt move the object any increment,while dragging object with mouse) Control move in subdivided increment while moving with arrow keys. Shift+Enterends the line without adding vertical spacing fora new paragraph. • PowerPoint Tips • Use View / Zoom… To zoom in a particular area, click on it, then Zoom. • Control formatting using the Paste Special menu which appears on the Home ribbon. • Use Shift key to select multiple elements to move (e.g., image and caption). To group selected elements, right-click, then select Grouping … Group. • If something goes wrong, Undo (Ctrl-Z) as soon as you notice. • This template is not designed for mixing different types of textwithin one column (e.g., body text and bullet points). • To print a proof, check Scale to Fit Paper at the bottom of the first Print dialog box. You may need to specify 11” x 17” paper in the Advanced… window, and/or which paper tray to use. • View images or other questionable areas at 200% zoom to see how they will print. • Let me know if you discover a new, useful tip! Your Conclusion Goes Here This template was adapted from one produced by ANR Communication Services, University of California, Davis http://anrcs.ucdavis.eduhttp://groups.ucanr.org/posters/Templates_for_Posters/ and from a template produced at Swarthmore College and widely reproduced online.See C. Purrington’s “Advice on designing scientific posters,” www.swarthmore.edu/NatSci/cpurrin1/posteradvice.htm accessed 4/2007).