Download
1 / 19
190 likes | 198 Views
Smart Response Clickers. 2014 Summer Tech Training. Smart Response System. What is it? Interactive Response System to give real-time feedback Includes Smart Response Receiver and Smart Response Clickers Anonymous Mode or Sign in Mode. Create Classroom.

E N D
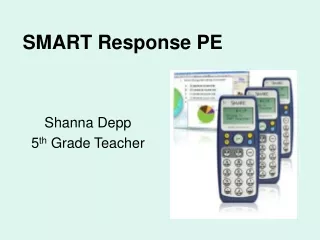
Smart Response Clickers 2014 Summer Tech Training
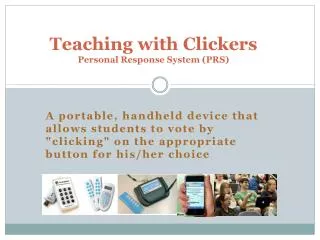
Smart Response System • What is it? • Interactive Response System to give real-time feedback • Includes Smart Response Receiver and Smart Response Clickers • Anonymous Mode or Sign in Mode
Create Classroom Click the Smart Response icon in the Windows Notification area, then select the icon below “Teacher Tools.” Type a classroom name(1-8 characters) then click begin Click “Create a new Smart Teacher File…” Type your information and click “Done”
What’s the difference? Anonymous Sign-in Mode Class must identify each student by name and ID Students must sign in with their ID # Teachers can identify individuals as they connect with their clickers Teachers can use Gradebook to save student results to monitor individual performance Teachers can prevent and disconnect students • Can operate without class list • Can connect Clickers without identifying themselves • Teachers can see number of connected clickers • Teachers can get a feel for class performance but not individual performance • Teachers cannot prevent or disconnect students
Start Anonymous Class To start an anonymous class, click the Smart Response icon in the Windows Notification area, then select “Teacher Tools.” Click the “Start a Class” button, then select “Anonymous Mode” Click “Start Class.” Students should now be able to connect without authenticating.
Connecting Students in Anonymous Mode • Students should be able to power on their clicker. • If the class is not listed, click on “Find Class” and let it search for your class • Once it finds your class, they select to “Join Class.”
Using Sign-in Mode • Create the class • Click the Smart Response icon in the Windows Notification area, then select “Click Here to Start a Class.” • Switch to Gradebook View then click “Add a Class.” • Type your class name and other details then click “Add.”
Using Sign-in Mode • Click on the “Students Tab” at the top of the Window. • Type the student’s name in the box • Type a unique number in the ID box • This is what students will need to know in order to sign-in • Repeat for each student
Start a Class in Sign-in Mode Click the Smart Response icon in the Windows Notification area, then select “Teacher Tools.” Click “Start a Class” button then select the class you want to start
Connect Students in Sign-in Mode • Students should power on their clickers. • If the class is not listed, click on “Find Class” and let it search for your class • Once it finds your class, they select to “Join Class.” • Students will be asked for their ID. This will be the ID you used when you added them(You should have these numbers handy) • Once they have joined, you can keep track of who is logged in and how they are performing during the questions.
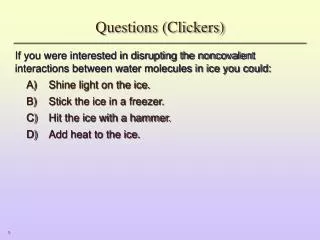
Creating Assessments • Great for Quizzes, Tests, or Assignments(Pre-Planned) • Click on the Smart Response Tab, then click on choose one of the options under “Create Assessment.” • Title Page – The name of your quiz, test, or assignment • Question – The questions you plan to ask
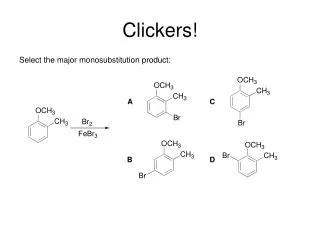
Question Types Y/N Multiple Choice Number/Fraction/Decimal T/F Multiple Answer Text
Questions and Options Once you click on the type of question you want, hit “Next.” You will be given different options based on what type of question you have. Once you have set the question how you want, click “Next. Select the Correct Answer Hit “Finish” or “Add another Question.”
Save your assessment • When you are done adding questions, click “Finish.” • Then save your file as you would a normal Smart Notebook File and you can use it whenever you need it • File-> Save As
Assessment Options • Assessment Delivery Mode • Allow students to answer at own pace • Allow students to answer only the question displayed • Show Results • After you stop collecting • After all questions are answered • After each question is answered • Do not show results
Start Assessment • Once all options are set, click on “Start this assessment now.” • If you haven’t started your class yet, it will ask you which class you want to start. • During Assessment, you can check out • Still Waiting for – Who hasn’t answered yet? • Results Preview – See how the class is answering in real-time
End Assessment Click on End to end the assessment and stop collecting data.
Creating Single Questions • In Smart Notebook, click on the Smart Response Tab. Under Single Questions, choose the type of question you want to ask: • This is for on-the-fly questions. It will not save your results but it will give you an idea of how students understand a subject before moving on to the next topic
Reports Student Performance Class Performance Student Comparison Class Comparison