Download
1 / 38
380 likes | 487 Views
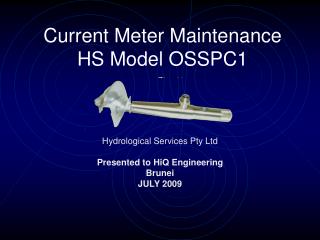
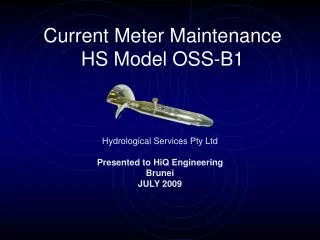
Current Meter Maintenance Model OSS-B1. ‘Hydrographic Basics’ Training Course No. 27743. Section 1 Prior To Discharge Measurements. Prior To Discharge Measurements. Remove fan assembly from carry case Turn fan carrier anti-clockwise. Anti-Clockwise. Prior To Discharge Measurements.

E N D
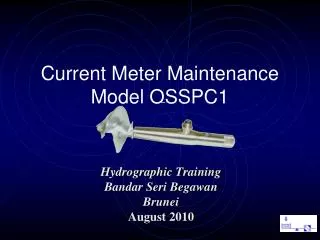
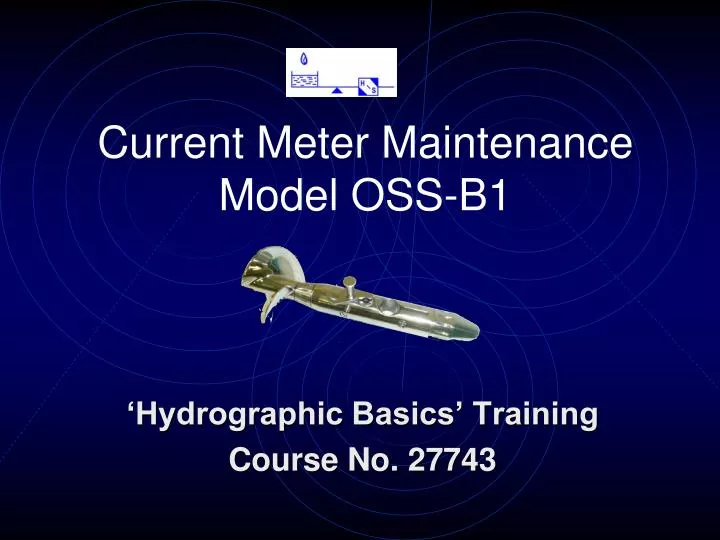
Current Meter MaintenanceModel OSS-B1 ‘Hydrographic Basics’ Training Course No. 27743
Prior To Discharge Measurements • Remove fan assembly from carry case • Turn fan carrier anti-clockwise Anti-Clockwise
Prior To Discharge Measurements • Separate fan carrier from shaft assembly (keep away from contact with any dirt particles) • Hold the fan upright and ‘fill’ with approved HS current meter oil Use Lint Free Tissue
Prior To Discharge Measurements • Replace axle and fan carrier, excess oil will be forced up through the capillary gap around the axle, ensure fan carrier is tightened • Wipe the excess oil of the meter using lint free paper towel Clockwise
Prior To Discharge Measurements • Do not forget to close the oil bottle straight after usage to avoid contamination of the oil • Slide the fan assembly into the body and use the stubby screwdriver to tighten the retaining screw to lock the fan assembly in place
Prior To Discharge Measurements • Prior to spin test hold the current meter in the horizontal position and spin by hand for approx. one minute to get rid of the hydraulic pressure • Spin test the meter against time to test the performance of the shaft and bearings
Prior To Discharge Measurements • Spin test results are dependent on the fan type • Connect your current meter to the counter using the lead provided (this will test that the lead, reed switch and counter are working prior to use) • If the current meter fails the spin test, disassemble and clean all components again. • If the current meter continues to fail the test, replace bearings
During and after Discharge Measurements After every discharge measurement, (or one hour of use), the current meter should be cleaned and refilled with oil, if continuing a discharge measurement.
During and after Discharge Measurements • Undo the cleaning jar cap and ‘¾ fill’ with white spirit • Remove fan assembly from meter body by undoing the retaining screw and separate the body from the fan Cleaning Jar
During and after Discharge Measurements • Remove fan carrier and shaft assembly (do not place in contact with dirt particles) • Empty the old oil in a recycling container and dispose (do NOT re-use)
During and after Discharge Measurements • Put the shaft and bearing assembly into the cleaning jar. • Agitate the jar • Fill up the fan with white spirit, place your thumb over the hole and shake vigorously for a few seconds. • Current meter body should be wiped clean with white spirit (there is no need to immerse)
During and after Discharge Measurements • Blow dry the shaft assembly, fan carrier and fan. • Re-assemble the fan, coat bearings with a small amount of oil if discharge measurement is complete
During and after Discharge Measurements • Wipe box clean and return the fan assembly to the case • If continuing a discharge measurement, refill the fan with oil
During and after Discharge Measurements • Spin test the current meter against time as shown in section 1 • After the spin test is performed connect your current meter to the counter using the lead, to test the lead, reed switch and counter.
Office Cleaning Office cleaning should be performed on a monthly basis or whenever the meter is dirty
Office Cleaning • Separate fan carrier from shaft assembly • Current meter body should be wiped clean with soapy water (there is no need to immerse) Anti-Clockwise
Office Cleaning • Separate fan carrier (1) from shaft assembly (2) 1 2
Office Cleaning Remove Bearing Remove Nut
Office Cleaning Remove Outer Spacer Remove Inner Spacer
Office Cleaning Fan assembly fully dismantled ready to clean Remove Bearing
Office Cleaning Place items in sink, filled with hot soapy water, soak for at least 5 minutes Clean items with a bottlebrush cleaner
Office Cleaning Cleaning Fan Cleaning Fan Carrier
Office Cleaning Cleaning outer spacer Rinse full assembly with tap water
Office Cleaning • Place full assembly on lint free tissue • Ready to dry and re-assemble • Rinse all items in white spirit prior to re-assembly
Office Cleaning Dry Fan Dry Fan Carrier
Office Cleaning Dry Inner Spacer Dry Outer Spacer
Office Cleaning Blow Dry Bearing & Nut
Office Cleaning Assemble Inner Spacer Start Shaft Assembly, Bearing First
Office Cleaning Assemble Bearing Assemble Outer Spacer
Office Cleaning Dip shaft assembly in white spirit to lubricate bearings Assemble axle nut
Office Cleaning Blow Excess White Spirit Assemble Axle With Fan Carrier
Office Cleaning • Re-assemble fan and place in carry case Clockwise
Calibration AS 3778 ‘Measurement of water flow in open channels, Part 6.1, Section 7.6 ‘Recalibration’ states: “Meters shall be recalibrated whenever their performance is suspect. In practice, for individually rated meters, recalibration is sometimes carried out at yearly intervals or after 300 h of use, whichever is the shorter.”