Download
1 / 7
70 likes | 163 Views
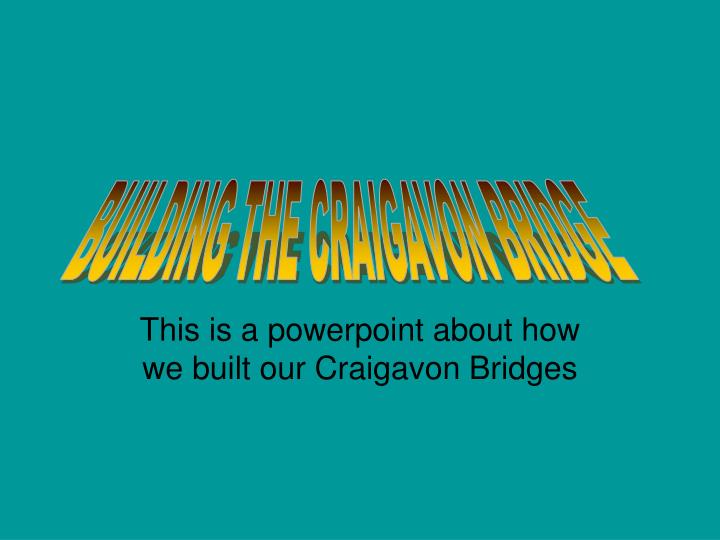
BUILDING THE CRAIGAVON BRIDGE. This is a powerpoint about how we built our Craigavon Bridges. Safety first.

E N D
BUILDING THE CRAIGAVON BRIDGE This is a powerpoint about how we built our Craigavon Bridges
Safety first • While we were building our bridges we had to discuss safety since we would be using saws and glue guns. We first had to learn about using the saw properly. hile using the saw we had to wear safety goggles. We also had to keep our fingers away from the saw while we were sawing. • While using the glue gun we had to wear gloves to protect our skin from the hot glue.
Starting The Bridges • We had G clamps for the wood holders which helped us to saw and holders for the glue guns. We started off by getting the bottom deck done. We had to get the railings on then at the side. We finally got the bottom deck completed.
Middle Of The Bridge • In the middle of the bridge we had to put In triangles for the structure. Triangles keep the bridge strong and protect it from any damage being done to the bridge.
Applying The Top Deck • Next we had to get a large bit of cardboard for the top deck and then we had to either paint the card or put black sugar paper over it.
Finishing off • At the end we had to paint it and then just add the finishing tips.
By Morgan AnD jACK Thank you for listening to our presentation