Download
1 / 20
340 likes | 1.34k Views
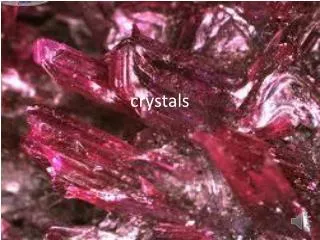
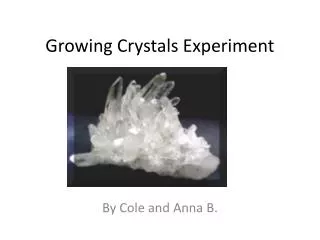
GROWING CRYSTALS LAB. Purpose: To observe the formation and evaluate the shape of crystals and to identify factors that affect the growth of crystals as well as try to identify unknown crystal types. Materials. 150 ml graduated cylinder Wax pencil Seed crystals/paperclip Filter paper

E N D
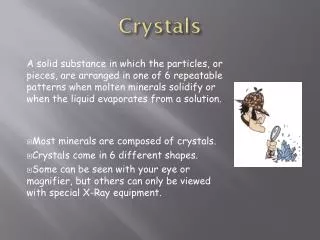
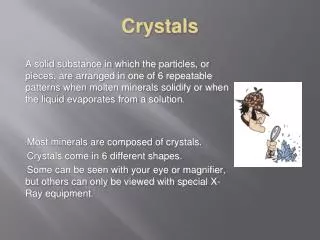
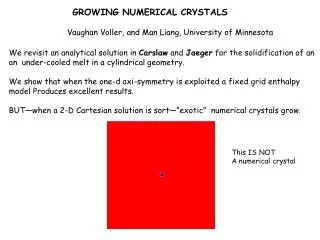
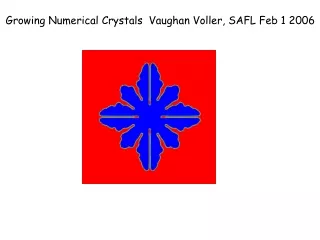
GROWING CRYSTALS LAB • Purpose: To observe the formation and evaluate the shape of crystals and to identify factors that affect the growth of crystals as well as try to identify unknown crystal types.
Materials 150 ml graduated cylinder Wax pencil Seed crystals/paperclip Filter paper Paper towel Scissors Graph paper Tape • 2 beakers • water • salt/sugar/epsom/alum • 10 cm thread • Wood splint • Stirring rod • Balance • Hot plate
Procedure: Label a cup with your group’s names and salt letter, A, B, C, D 1. Measure out 20 grams of the unknown salt. 2. Put this in a glass beaker and add 50 ml of warm water and stir until all salt dissolves. 3. Add 10 more ml of water if the salt is not completely dissolved. Continue to do this until all of the salt dissolves up to a max of 150 ml total volume. 4. Label a stick with your salt letter. Make a stick with a string hanging and tie a paper clip to the end of the string so it does not touch the bottom of the plastic cup. 5. Pour your solution into the cup and place the string into the solution. Set the cup on top of the lab bench and cover it with a piece of paper towel. 6. Make observations today and every day for the next week.
Observe the crystals for 5-7 days • Draw a diagram of the beaker, write a description of the crystals and estimate the size using the graph paper.
Carefully remove your crystals and place them on a paper towel, then on a piece of graph paper. • Observe them under the dissecting scope. • Make a sketch of the crystal, estimate the size and describe the crystal. • If you do not have any crystals to observe, use some from another group. Make sure you observe all 4 crystals, A, B, C, and D. • Label your diagrams of each crystal type.
Conclusion: (do not use the word “I” or “we” in your conclusion; write it in 3rd person) • State the purpose of the lab, use the original purposes and change them into statements of what you actually did. • Example: This experiment provided the opportunity to observe the growth of crystals and identify….. State the results. Any growth? Where? How long did it take to see growth? What shape? How many? • Provide an overall summary of the results. • What do you think the crystal types were? A, B, C, and D. • What errors or factors could have affected the growth of your crystals? What else could you do with this lab to extend or improve on this experiment?
Conclusion • State the purpose of the lab, use the original purposes and change them into statements of what you actually did. Example: This experiment provided the opportunity to observe the growth of crystals and identify….. 2) State the results. Any growth? Where? How long did it take to see growth? What shape? How many? 3) Provide an overall summary of the results. 4) What do you think the crystal types were? A, B, C, and D. 5) What errors or factors could have affected the growth of your crystals? What else could you do with this lab to extend or improve on this experiment?
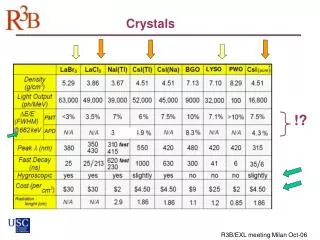
NaCl salt alum Magnesium sulfate sugar
A SUGAR B SALT C MAG SULFATE D ALUM
Sample conclusion • This lab provided the opportunity to observe the formation of crystals from salt, sugar, magnesium sulfate and alum during a 7 day period. • Crystals from solution A never formed. The beaker remained a clear yellowish color for the entire 7 days. • Crystals from solution B started to form on the string after the first day and continued to increase in numbers for the next 5 days but seemed to stop growing after the 7th day.
Crystals of solution C formed the first day and were found on the bottom and the sides of the beaker. There were too many to count. • Crystals of solution D formed on the string and paper clip the second day. There were 3 large ones and several smaller ones.
Variables that affected the growth rate of the crystals were temperature of the solution and of the cooling period, as well as the rate of the cooling and the amount of solute used in the solution. • The crystals seemed to form on any area of the beaker that had debris on it; therefore very clean beakers should have been used. The amount of salt placed in the solution was important because if not enough was used the crystals did not form and if too much was used a slushy solution was produced that did not form crystals.
The crystals formed from salt A were sugar. This is known based on the square appearance of the crystals with rounded corners and by comparison to the photos of sugar crystals. • The crystals from salt B were sodium chloride. This was based on the 90% angles formed by the faces of the crystals and by comparison to the photos of NaCl crystals. • The crystals from salt C were Magnesium sulfate and showed the classic long, thin, rectangular shape with the beveled point at the end as seen in the sample photo. • The crystals from sample D were alum crystals and had the classic 6 sided face as seen in the photo.
Possible explanations for the crystals forming on the bottom of the beaker include; too rapid of cooling due to placing the beaker on a cold surface or pouring the hot solution into a cold beaker. • The debris on the sides and bottom of the beaker contributed to the formation of crystals on the sides of the beaker by providing a “seed” for the crystal to start growing on. • The possibility of the beakers being disturbed or moved may contribute to the crystals not forming well.
There were many factors in this lab that could have been controlled to produce a more consistent result, such as, temperature of the solution, amount of solute used, size of the beaker, seed crystals, cooling rates and …………………..