Download
1 / 8
80 likes | 184 Views
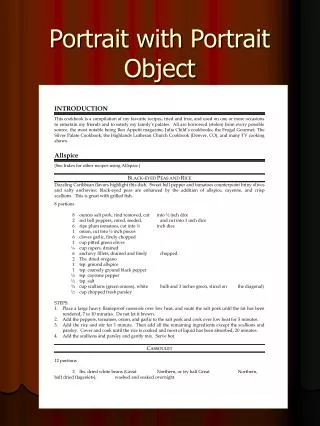
Recycled Portrait WIP. Martyn Bishop. Step 1: Shadow Outline. First I started by using black paper on the outside area of the portrait to outline the face and clothing in the darker areas such as the border of the picture. With that I was able to picture what paper went where in the portrait.

E N D
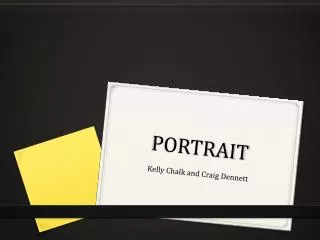
Recycled Portrait WIP Martyn Bishop
Step 1: Shadow Outline First I started by using black paper on the outside area of the portrait to outline the face and clothing in the darker areas such as the border of the picture. With that I was able to picture what paper went where in the portrait.
Step 2: The Face Next I filled in the face with paper with text on for the mid-tones of my face. With my face being slightly darker I used a lot of mid-tone paper on my face area.
Step 3: The Eye Next was the tricky bit, the eye. I started off by outlining where my glasses are and started to work on the shadows of my eye before adding white paper for a few highlights on my eye and forehead.
Step 4: Beard and Moustache Now it was time to work on my facial hair sections. To do this I used strips of black paper to mark out the outline of each part and the text paper for the skin underneath the hair. With my beard I rolled up small tubes of black paper of different sizes and placed them over the text paper to create the hairs of my beard.
Step 5: The Hair Now for my hair. To do this as I have light brown hair I used the text paper to fill in where my hair is and small strips of black paper for strands of hair over the text paper.
Step 6: Ears The final part of this portrait was the ears. To do this I used black paper to determine where the earhole and bridge of my ears were and with my left ear it was facing the light so I filled it in with white paper and the other with text paper.