Download
1 / 22
330 likes | 1.22k Views
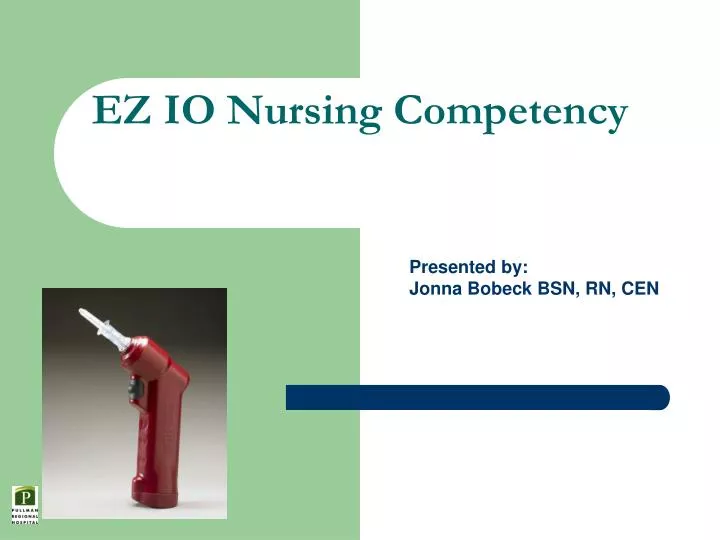
EZ IO Nursing Competency. Presented by: Jonna Bobeck BSN, RN, CEN. Objectives. Identify who benefits from IO Describe contraindications List indications Discuss acceptable drugs and fluids Discuss proper steps for insertion Discuss proper medication administration

E N D
EZ IO Nursing Competency Presented by: Jonna Bobeck BSN, RN, CEN
Objectives • Identify who benefits from IO • Describe contraindications • List indications • Discuss acceptable drugs and fluids • Discuss proper steps for insertion • Discuss proper medication administration • Discuss care and removal
Introduction • What is EZ IO • Advantages - time - risk - efficacy - patient friendly - evidence based - endorsed by professional associations
Needle Sets • 15mm (3 -39kg) – pink • 25mm (40 and greater) – blue • 45mm ( excessive tissue) - yellow
Indications For Use • Adults - proximal humerous - proximal tibia - distal tibia • Pediatrics - proximal tibia - distal tibia
Contraindications For Use • Fracture • Excessive tissue • Infection • Previous orthopedic procedure
Insertion Steps 1- 3 1. BSI/PPE 2. Aseptic technique 3. Locate insertion site (Figure 2)
Insertion Step 4 4. Prepare insertion site (Figure3) - tibial site shown for clarity
Insertion Step 5 - 7 5. Prepare infusion system 6. Ensure the driver and needle set are securely seated (Figure 4) 7. Remove and discard needle safety cap (Figure 5)
Insertion Step 8 8. Insert EZ-IO needle set • Handle set by the hub • Control patient movement • Position at 90 degrees (Figure 6)
Insertion Step 8 • Penetrate bony cortex • Release trigger - note: gentle steady pressure, do not force
Insertion Step 9 - 10 • Remove driver and stylet (Figure 8) • Confirm catheter stability
Insertion Step 11 11. Attach EZ-Connect extension set (Figure 9)
Insertion Step 12 12. Flush with 10mL of normal saline Important: aspirate consider patient’s responsive to pain anesthetics NO FLUSHE = NO FLOW frequent monitoring
Removing EZ-IO • Remove catheter from patient (Figure 10) • Dress appropriately
Acceptable Medications and Fluids • Medications • Fluids
EZ-IO Pearls: Usage Tips
References • Vidacare, . "Vidacare." Vidacare ez-io. Vidacare, 2010. Web. 21 Dec 2010. <http://www.vidacare.com/ez-io/index.html>.