Download
1 / 11
110 likes | 116 Views
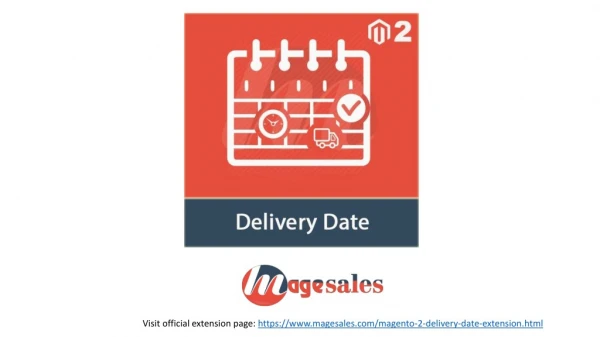
Magneto 2 Advanced Delivery Date Extension by MageComp allows the admin to configure multiple delivery options according to the business needs such as same day delivery, next day delivery or scheduled delivery.<br><br>Grid to manage multiple Locations, Delivery Types, Time Slots Costs<br>Customer can choose their convenient delivery options from the frontend<br>The admin can set custom unavailability error message if needed<br>Displays selected delivery options in all Magento generated Docs and PDFs<br>for more information visit this: https://magecomp.com/magento-2-advanced-delivery-date.html

E N D
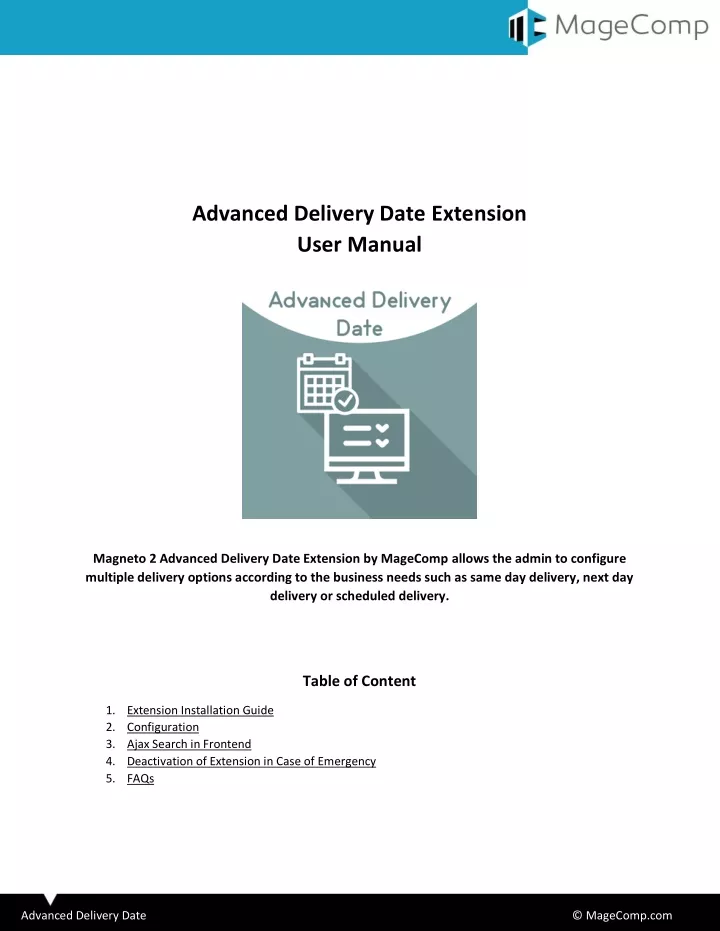
Advanced Delivery Date Extension User Manual Magneto 2 Advanced Delivery Date Extension by MageComp allows the admin to configure multiple delivery options according to the business needs such as same day delivery, next day delivery or scheduled delivery. Table of Content 1.Extension Installation Guide 2.Configuration 3.Ajax Search in Frontend 4.Deactivation of Extension in Case of Emergency 5.FAQs Advanced Delivery Date © MageComp.com
1.Extension Installation Guide Go to My downloadable products. The file that you download normally is a zip file. Use FTP client (such as Filezilla, WinSCP, cuteFtp) to upload or copy all folders in the zip package to your Magneto site root folder. This will not overwrite any existing files, just add new files to the folder structure. Open Command line in folder root of Magento and run following command respectively: ophp bin/magento setup:upgrade ophp bin/magento setup:static-content:deploy ophp bin/magento indexer:reindex ophp bin/magento cache:flush Navigate to Stores/Configuration, if you can see the extension tab, it is installed properly. If you need professional help regarding Magento Extension Installation, Feel free to contact us any time. 2.Configuration Once you have successfully installed the extension, go to Stores configure the extension for use. Configuration to Advanced Delivery Date: Enable or disable extension from here. Unavailability Message: Option to set custom error unavailability error message from here. Frontend Title: Option to set frontend title. Advanced Delivery Date © MageComp.com
3.Manage Delivery Locations: In Backend, the admin can use grid to manage multiple delivery locations. Also, the admin can add new delivery location by clicking button located on right side. Status: Enable or disable delivery location from here. Location: Set location title from here. Advanced Delivery Date © MageComp.com
4.Manage Delivery Types: In Backend, the admin can use grid to manage multiple delivery types. Also, the admin can add new delivery type by clicking button located on right side. Status: Enable or disable delivery type from here. Delivery Type: Set delivery title from here. Advanced Delivery Date © MageComp.com
5.Manage Delivery Timeslots: In Backend, the admin can use grid to manage multiple delivery timeslots. Also, the admin can add new delivery timeslot by clicking button located on right side. Status: Enable or disable delivery type from here. Delivery Type: Select delivery type for which you want to set this timeslot. Timeslot: Set Delivery time from here. Advanced Delivery Date © MageComp.com
6.Manage Delivery Costs: In Backend, the admin can use grid to manage multiple delivery costs. Also, the admin can add new delivery cost by clicking button located on right side. Status: Enable or disable delivery type from here. Cities: Select the cities for which you want to set this delivery cost. Delivery Type: Select the delivery method for which you want to set this cost. Costs: Set delivery cost that you want to charge. Advanced Delivery Date © MageComp.com
7.Delivery Options in Frontend: Once you configured the extension from the backend, your customer will able to find delivery options in the frontend product view page. From here they can select their convenient delivery options as per their need. Advanced Delivery Date © MageComp.com
8.Selected Delivery Options in Order View: Once you configured the extension from the backend, you can view all customer selected delivery options in backend order view section. Advanced Delivery Date © MageComp.com
Also, your customer will able to see their selected delivery options in their frontend order view section. Advanced Delivery Date © MageComp.com
Also, the extension will display all selected delivery options in Magento generated emails that will be send to the customers. Advanced Delivery Date © MageComp.com
9.Deactivation of Extension in Case of Emergency Go to app etc config.php and find 'Magecomp_Advanceddeliverydate=> 1, and replace 1 with 0. If something goes wrong, please contact us at support@magecomp.com 10.FAQs: What if I get “Access denied” error after installation of the extension? Whenever you get Access denied error while clicking on the extension tab after installation, log out admin panel and re-login. Advanced Delivery Date © MageComp.com


![[Date] [Location]](https://cdn4.slideserve.com/661054/date-location-dt.jpg)