Download
1 / 12
140 likes | 400 Views
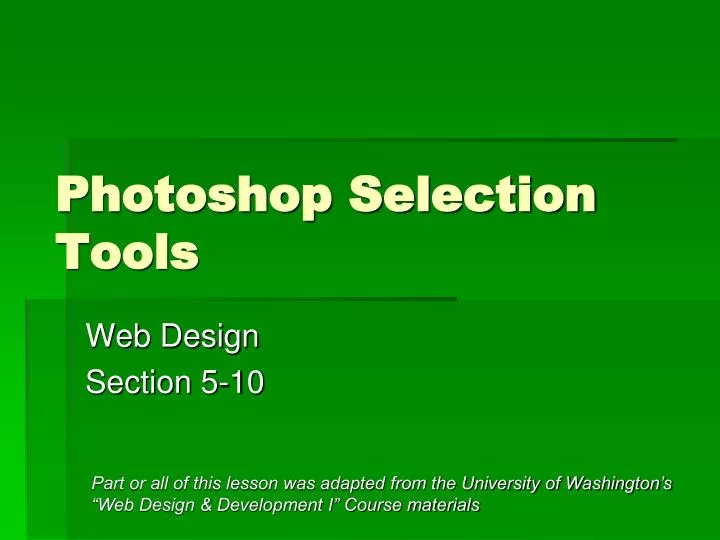
Photoshop Selection Tools. Web Design Section 5-10. Part or all of this lesson was adapted from the University of Washington’s “Web Design & Development I” Course materials. Objectives. The student will Understand the different selection tools and when to use them

E N D
Photoshop Selection Tools Web Design Section 5-10 Part or all of this lesson was adapted from the University of Washington’s “Web Design & Development I” Course materials
Objectives The student will • Understand the different selection tools and when to use them • Use selection tools to select part of an image and copy that image to another picture • Use feathering to soften image boundaries • Understand the use of “opacity” to make layers transparent
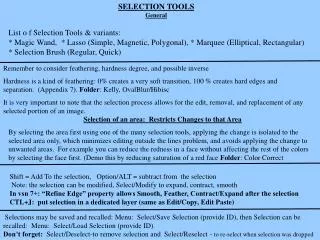
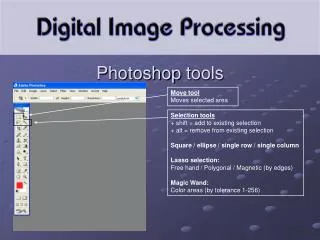
Selection Tools • There are many tools for selection of parts of a picture: • Marquee tools • Lasso tools and Mask tools • Quick Selection tools • Pen Tools
Marquee Tools • The marquee tools select areas of different shapes • Hold the space key down to move your selection around (do not let go of the mouse!) (earth)
Lasso Tools • Lasso tools allow you custom surround any area. Give you a rough outline of the area. • You can then use the quick mask tool to refine your selection. (cow)
Quick Select Tools • Quick Select tools try to find the edges of objects. Once you have selected an object you can: • Hold the Shift key down and add to the selection • Hold the Alt key down and subtract from the selection • (face)
Feathering • To make a selection have a less “cropped” look you can set a mask and then “feather” your mask • Do the selection • Click on the mask button in the layers panel
Feathering • Click on the Mask tab • Set the “Feather:” up until the edges of the picture look good to you
Magic Wand Tool • The magic wand tool works by selecting a consistently colored area (e.g. background). • You set the tolerance for the changes in color. • Note: You can invert the selection (select just the hand) by clicking Select > Inverse (hand)
Opacity • Changing the “opacity” of a layer changes how transparent that layer is. • The higher the opacity the more solid the image appears.
Layering Images to Create a Banner • Once you have your images is easy to use the move tool to bring them together as layers in a single file. • Set the order the layers appear on the screen by changing the order in the layers panel.
Rest of today • Create a new document (600 x 150) or if you want a thicker banner 600 x 200 • Use the rectangle tool to create a background (use gradients etc if desired) • Find at least 3 images from the web or from the selection_practice.zip file on the Hancock webpage • Practice making selections and moving those images to your new picture. • Use feathering and opacity to change how the images blend together.