Download
1 / 11
110 likes | 209 Views
Dreamweaver – Setting up your Page. The first way to ensure that you have a consistent design is to use table to set up your page Tables create a grid and into this grid you can put your picture in one cell and the text in another

E N D
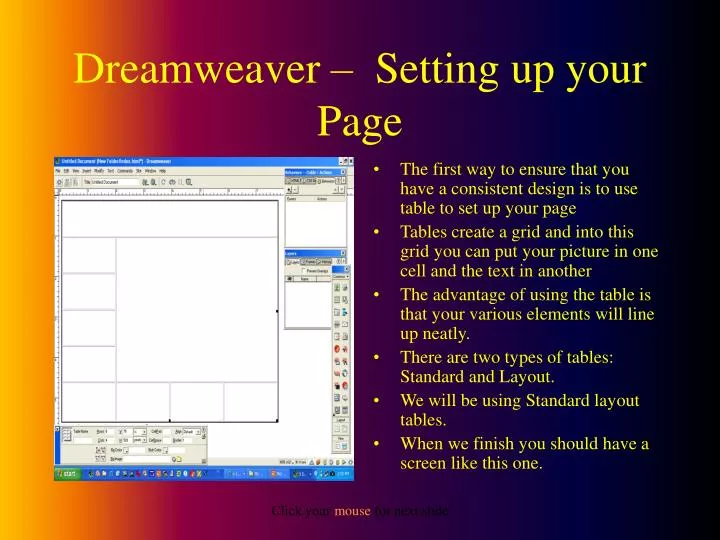
Dreamweaver – Setting up your Page • The first way to ensure that you have a consistent design is to use table to set up your page • Tables create a grid and into this grid you can put your picture in one cell and the text in another • The advantage of using the table is that your various elements will line up neatly. • There are two types of tables: Standard and Layout. • We will be using Standard layout tables. • When we finish you should have a screen like this one. Click your mouse for next slide
Dreamweaver – • The first step is to start up Dreamweaver and go to the Site menu. • Open up the site you created in the first lesson. • When you see your files in the pane on the right hand side, double click the index file Click your mouse for next slide
Dreamweaver – • Your page should open up but all that should be visible are the links you created in that first lesson or two. • Go to the Insert menu and choose table. Click your mouse for next slide
Dreamweaver – • You will get a dialogue box which asks you to set a bunch of options. • The ones you should set are the number of rows (horizontally) and the number of columns you will need vertically. • To do this it is wise to map out your page on a piece of paper ahead of time. • You FST thoughtfully used a drawing program because he is so artistically challenged!! • For this type of web page I would need 3 rows and two columns. • You always need the maximum number of columns and then you can get rid of the ones you don’t need. Click your mouse for next slide
Dreamweaver – • So I enter 5 rows and 2 columns in the dialogue box. • The Borders value should be 1 to make a visible border or 0 to make an invisible border which Dreamweaver will represent with some dotted lines which don’t get printed in the web version. • So here’s what I get when I click OK. • Now we have to make some changes in the cells. Click your mouse for next slide
Dreamweaver – • The first drag across the top two cells • Then look at the Property Inspector bar at the bottom of the screen. • If your Inspector is not visible hold Ctrl and press F3 Click your mouse for next slide
Dreamweaver – • Now click the merge columns button • This is the itsy bitsy little button in the lower left hand corner of the screen your see pictured here • Poof! Now you have merged the top two columns and have your single bar going across the top. • Don’t worry about it being so skinny, it will grow to fill whatever is put in it. Click your mouse for next slide
Dreamweaver – • Now let’s make one bar going down the right hand side • We will do it the same way except now we will merge the second, third and the fourth cells on the left Click your mouse for next slide
Dreamweaver – • Now re-arrange the size of the cells. • To do this place your mouse on the wall of a cell and drag it until it has the space you want • Here I have already adjusted the wall on the bottom line and I am dragging the middle wall to the left. • You know you are ready to drag when your mouse cursor changes to a little double line either horizontally or vertically Click your mouse for next slide
Dreamweaver – • Hoo-oo-wee, wasn't that fun? • Now we are ready to put stuff into the table • But that’s enough for now. • Click here for the big fun assignment. Click your mouse for next slide
Super Giant Big Fun Assignment • On a sheet of paper with your own little pen or pencil, draw a diagram of how you want your web page to look. You don’t have to pick my design – I won’t be offended or flattered. Choose one you like – you’re going to have to live with it. • Then insert an index page into your index page so that it is in roughly the same shape as your diagram. • Proudly display both to FST so he can TICK YOU OFF! Click your mouse for next slide