Download
1 / 28
280 likes | 416 Views
At the end of the last class, you should have ended up with something like this drawing:. But it looks bland – something is missing – what can it be…. The Details!.

E N D
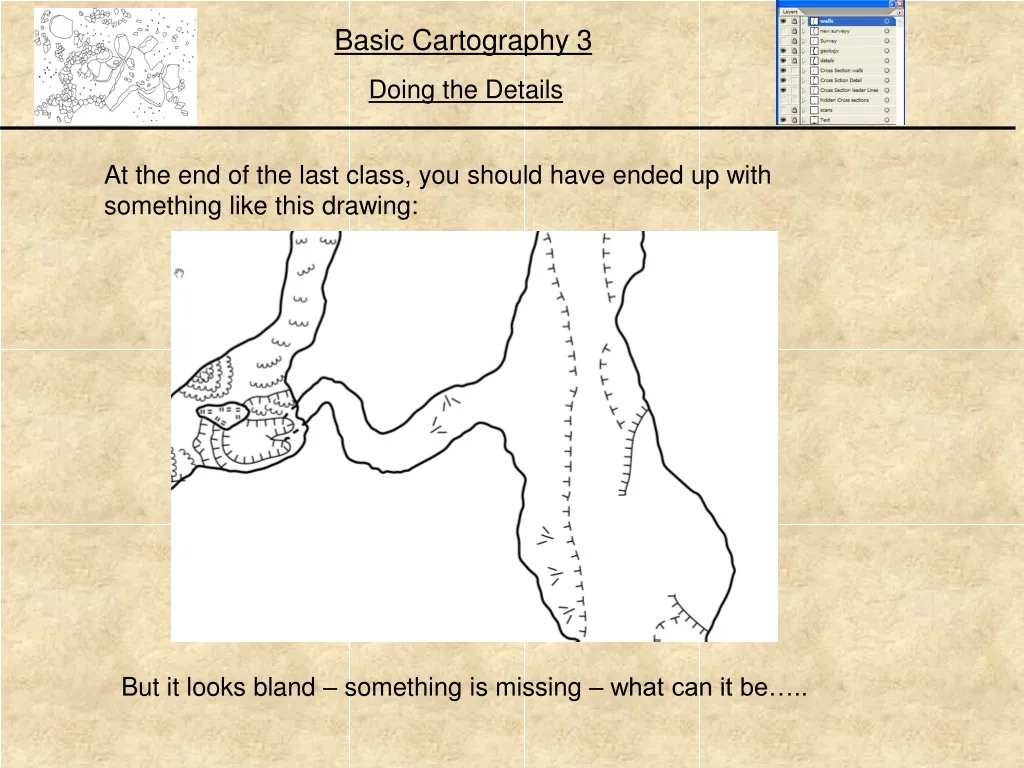
At the end of the last class, you should have ended up with something like this drawing: But it looks bland – something is missing – what can it be…..
The Details! The rocks, the cobbles, the dirt. All those things we wish were sometimes missing from a cave, but are really there and need to be shown on the map
Drawing in Details usually means sketching over the details that you (or your sketcher) have drawn in-cave
This can be quite easy if the in-cave sketches are accurate and clear
Or less easy, if the details are less then clear Leading to some interpretation of the details Work with your sketchers to help them understand the Drafting Process
Just like with the survey and the Geology I will form a new layer – I call it details Make sure it is tagged with a color that will be easy to see as you edit
Basic Settings Don’t Forget to turn your transparency down to about 50% to help see what you are drawing Set the Stoke to black with no fill I usually set the weight to .5 point for details
Doubleclick the pencil tool to bring up the preferences Make sure both the fill and the keep selected options are turned off
About the Keep Selected Option When we were drawing walls – we want the keep selected on – this keeps the active line selected and allows us to keep adding on to that line However, when drawing details, if we keep selected and then try to draw another line to add an additional detail – the program may think you are trying to add to the original shape and distort the detail With keep selected off, as soon as you are done , the detail unselects, allow you to add another line without distorting the first
Now it is just an exercise of drawing over your sketch Doesn’t have to be perfect – but try to keep the shapes correct
When you are drawing a lot of closed shapes you can hit the ALT key WHILE drawing and it will automatically close the shape But you have to be careful – it will close the shape with a straight line, and it might look strange – get as close to the complete shape before lifting your pencil
Practice piles of rocks – both when sketching and when drawing it up Start with the highest rock and then move downward – adding rocks onto the side – this makes it look like a pile Even complex piles can be rendered well!
A Big Caution about details – you shouldn’t draw any more detail then looks good at 300% zoom Or you can start to add so much detail at high zoom that it starts to run together at your printing size
However hard you may try, you are going to make some mistakes and ugly lines. You can ask yourself if this matters, in most prints you cannot see this 200 800 I like to go back and correct for this if possible
Hit Control-A to select all and then put your pencil at the end of a line you want to extend to correct Draw to extend and correct
Over long lines can be corrected as well Leave it if it looks ok Draw the line off to the side Or redraw it to the original location, taking care not to Overshoot This method works quicker then cutting a line
Floor Detail All cave floors have some type of details – we need to make sure that the map reflects this in a way that is easy to read, and does not clutter up the details
Cave passage without any type of floor detail is obvious and detracts from the map
Even if there is nothing present on the floor other then bedrock, this too has a symbol that can be drawn in
For complex maps – I will often split floor detail off into its own layer – to help keep track of it and turn it off when working other details
Dirt/ Cobbles/ect The hardest thing to make look natural as a symbol Use of a symbol for a floor is often repetitive and eventually obvious, as it is used many times and often in close proximity
Solution #1 – Use a Brush! Instead of using a symbol – use a specifically set up brush! Use the same kind of base as a symbol – but make it a scatter brush Randomize the size and rotations to have it slightly change each time
Because of these minor differences, it is much harder for the eye to pick up the repeated use of the same symbol As a result, you can fill in a lot of floor space efficiently and quickly. But you must take care not to place any part of the symbol within any other type of symbol (such as rocks)
Set the tablet up to work with Illustrator! Make sure the pressure sensitive Settings are active
Use a calligraphic brush Set a small Dot (1-3 pts) Set pressure variation Set the amount of variation to the diameter
This technique allows for easy variation of cobble size, in tighter passages, or smaller maps