Download
1 / 23
230 likes | 416 Views
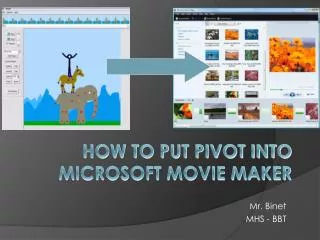
Introduction to Microsoft Movie Maker 2. Adapted from Windows Movie Maker 2: Zero to Hero by Jon Bounds, John Buechler, and Jen deHaan. Why Use Movie Maker 2?. Versatile in terms of exporting options Can be easily shared or distributed Format is readily viewable on any PC.

E N D
Introduction to Microsoft Movie Maker 2 Adapted from Windows Movie Maker 2: Zero to Hero by Jon Bounds, John Buechler, and Jen deHaan
Why Use Movie Maker 2? • Versatile in terms of exporting options • Can be easily shared or distributed • Format is readily viewable on any PC
What Can You Do With Movie Maker 2? Examples: Rainforest Mother Earth George W. Deal Eleanor Roosevelt Children
Analog vs. Digital Media • Analog – records footage as waves of information • Digital – records information as 0s and 1s
Advantages Of Digital Media • Easy to capture with a computer • Do not degrade or lose quality as you copy them • Easy to share and distribute
Linear vs. Nonlinear Editing • Linear – Lay down edits sequentially without the capability of inserting footage • Nonlinear – Cut, copy, and paste or insert clips anywhere, like text in word processing
Nonlinear IS Nondestructive • Original files are never destroyed or altered during the editing process • Instead, an Edit Decision List (EDL) stores references to the original materials and how they are arranged in a movie project
EDLs: How They Work • When you export your final movie file, the computer copies all the information it needs from the source files using the EDL, and renders a completely new video file
What Is Rendering? • Rendering – the process of building a movie from source files so that it can be viewed on another system, such as a PC or a DVD player From Microsoft Windows Movie Maker 2: Do Amazing Things by John Buechler, p.37
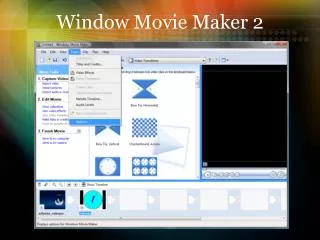
Importing vs. Inserting • Files must first be imported into Movie Maker from your computer before they can be inserted into the Movie Maker timeline/storyboard for editing
Importing vs. Capture • Importing – pulling digital media from your computer into Movie Maker (anything you import must already be on your computer) • Capture – pulling media from a device either onto your computer or directly into Movie Maker
Capturing From Analog Devices • You must first convert or digitize analog materials using a Media Converter • Digitized analog materials must be saved on your computer before they can be imported into Movie Maker
Importing: How It Works • All of the materials that you import into Movie Maker are not physically copied into Movie Maker • Movie Maker stores shortcuts to these “source files” in its Collections, which point to wherever they are saved on your computer
Importing: a Word Of Caution • You cannot move source files around on your computer after you have imported them, or Movie Maker will not be able to find them for your project in order to render your movie • BEFORE YOU BEGIN, it is good to copy all of the files into one permanent “project folder,” and to then import them into your project
Importable File Formats • Video files: .asf, .avi, .mlv, .mp2, .mp2v, .mpe, .mpeg, .mpg, .mpv2, .wm, and .wmv • Picture files: .bmp, .dib, .emf, .gif, .jfif, .jpe, .jpeg, .jpg, .png, .tif, .tiff, and .wmf • Audio files: .aif, .aifc, .aiff, .asf, .au, .mp2, .mp3, mpa, .snd, .wav, .wma
Importing Audio Files • If you are going to import audio from a cd, then you must first save the audio tracks to your computer using the Windows Media Player, which automatically converts the standard cd .wav file to a smaller .mp3 file
Projects vs. Movies • Project – the file you create to edit a movie together, which can be saved and reopened to the same state of edit. Project files have the .MSWMM extension • Movie – the video file that is rendered when you export your project once that project is complete
Saving vs. Exporting • Saving – stores a project in its current state of editing SAVE OFTEN! • Exporting – reads the EDL instructions from your completed project file and renders a movie file: your final product
Exporting • You can export your project to a number of compression settings, determined by the purpose of your project and the planned method of distribution • It is possible to import a movie file that has been exported back into Movie Maker for further editing
Exportable File Types • WMV (Windows Media Video) – which can be set to a variety of compression standards • AVI (Audio-Video Interleaved) – which is lossless
Compression: What It Does • Makes a file smaller so that it takes up less space on your computer or a CD • Allows a file to be more easily copied from one place to another, which is useful for transferring files across the Internet
Types Of Compression • Lossless – finds patterns in the data and uses that information to squeeze it into a smaller space (i.e., a Zip file) • Lossy – discards information that it calculates the human eye (or ear) won’t notice is missing. This can be extra color information or sounds outside hearing range (i.e., an MP3)
For help with Movie Maker 2, visit the Microsoft Movie Maker 2 web site at: http://www.microsoft.com/windowsxp/moviemaker/default.asp