Download
1 / 24
240 likes | 719 Views
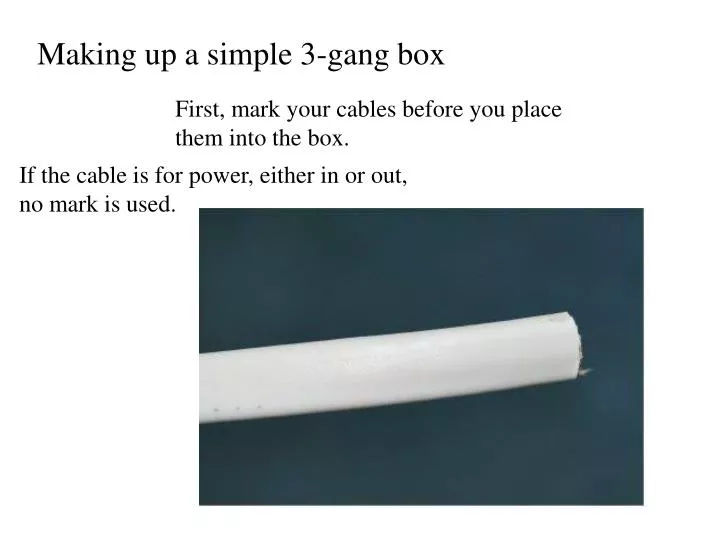
Making up a simple 3-gang box First, mark your cables before you place them into the box. If the cable is for power, either in or out, no mark is used. If the cable is to a light fixture, then use your strippers or cutters to ‘crimp’ the end of the cable to identify it’s location in the box.

E N D
Making up a simple 3-gang box First, mark your cables before you place them into the box. If the cable is for power, either in or out, no mark is used.
If the cable is to a light fixture, then use your strippers or cutters to ‘crimp’ the end of the cable to identify it’s location in the box. For example, if the cable you just pulled to the switch box is the first switch from the door, then mark it with one ‘crimp’.
For the second, third, etc. switches, mark each cable with the appropriate number of crimps to correspond with that cable’s final location in the box.
If there are four or more switches in the box, switch legs can be continued to be marked using Roman Numerals. In this case, the cable is marked ‘17’.
Once all the cables are pulled to the switch location, begin removing the sheaths and placing them into the box. If you crimped the cables with enough pressure, they will transfer on to the insulation.
As you insert the cables into the box and notice the insulation is not crimped, you simply duplicate the number of the crimps with ‘folds’ or ‘bends’ in the wire. First switch Second Switch Third Switch
Once all the cables are in place, it’s time to start doing some actual make-up. I’ll use this 3-gang switch box in a bathroom as an example. There are 3 cables in the box, a 14/2 to feed power to the switches, a 14/2 that goes to the vanity light, and a 14/3 that goes to a fan/light combo.
The first thing I do is to push all the insulated wires to the top, leaving the grounds along the bottom.
A Buchanan ground crimp then goes on….. Using the correct tool for the job, not smashing it with a pair of linesmans!
The grounds are then pushed to the back of the box. There’s no reason to ever need to access them again.
Then I place one ground wire for each switch along the bottom of the box and fold it over.
When the neutrals are made up, they’re placed in the back of the box as well.
When I have that done, I have all the wires needed for all three switches.
I push the hot make-up to the back of the box next. Then, just like the ground wires, I put a hot wire at the bottom of the box for each switch.
I take the switch leg for the first switch (I always use the door opening as a basis for laying out switches) and wrap it around the other wires for that switch. If this was a 3-way, I’d wrap the common around the other 3.
Now that the wiring for the first switch is done, I fold the set of wires back into the box, in the same place that switch is going to go at trim time. The second switch leg is then wrapped around the other two wires for the next switch.
The third switch (exhaust fan motor) is done the same way….. Wrap the switch leg…..
When done, every switch location has the wires needed for that particular switch, and no guess-work is needed to trim out. If troubleshooting needs to be done, everything is marked as to it’s purpose. No labels. No NM sheath. No Sharpie lettering. Yet everything is identified.
Maybe not neat enough to go on the cover of an electrical magazine, but neat enough to do the job quickly and efficiently, not to mention safely.