Download
1 / 31
310 likes | 370 Views
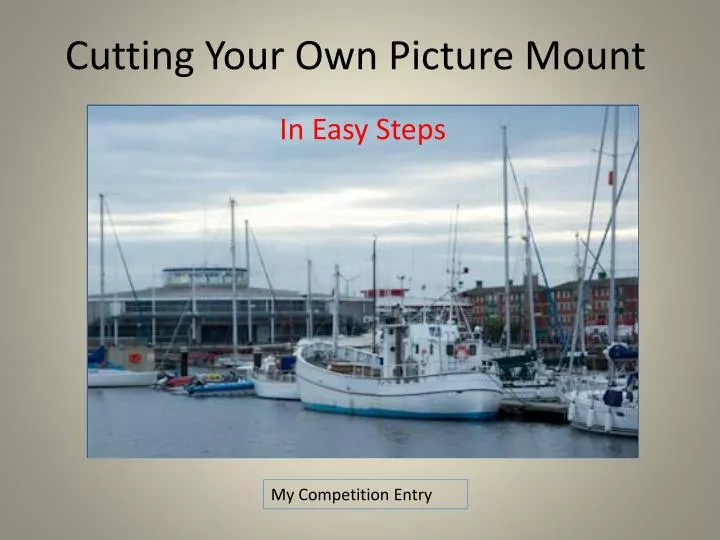
Cutting Your Own Picture Mount. In Easy Steps. My Competition Entry. Cutting Your Own Picture Mount.

E N D
Cutting Your Own Picture Mount In Easy Steps My Competition Entry
Cutting Your Own Picture Mount The club own a number of Mount Cutters for presentation of Club and National Photography Entries which are available for your use or ask a friendly club member who may be able to help or advise you My Competition Entry
Cutting Your Own Picture Mount Mount Board or Card which can be purchased from the club are supplied in a small number of colours Normally Black, White, Light Blue, Green, Red and Cream My Competition Entry
Selecting Your Picture To Mount Select your print from your portfolio Maximum print size allowed is 20” By 16” or 508mm By 406mm My Competition Entry
Sizing Your Picture Your print can be any size up to the maximum and any shape ……… My Competition Entry
Sizing Your Picture Portrait….. My Competition Entry
Sizing Your Picture Landscape….. My Competition Entry
Sizing Your Picture Square….. My Competition Entry
Sizing Your Picture or Letterbox The choice is yours My Competition Entry
Mounting Your Picture My Competition Entry
Measure Your Picture Measure the extent of the print you want to show For example 420mm by 300mm My Competition Entry
Measure Your Picture To mount our 300mm by 420mm print.. 300mm 420mm My Competition Entry
Measure Your Mount The Mount is 508mm By 406mm Your Print is 300mm By 420mm so… My Competition Entry
Measure Your Mount We subtract 6 from 300 for the overlap then subtract the 294 from 406 giving us spare of 112mm which we divide by 2 giving us 56mm 297mm 56mm Now we have our height so on to the width……… My Competition Entry
Measure Your Mount Again We subtract 6 from 420 for the overlap then subtract the 414 from 508 giving us spare of 94mm which we divide by 2 giving 47mm 414mm 47mm 47mm Now we have our width so on to the mounting……… My Competition Entry
Lay Out Your Mount We are now going to mark out your mount ready to cut 56mm 56mm 47mm 47mm 56mm 56mm56mm My Competition Entry
Reverse Your Mount Now we have all of the dimensions we need we can cut the mount Turn the mount over and mark the reverse of the mount so…. 56mm 56mm 47mm 47mm 56mm 56mm My Competition Entry
Cut Your Mount Move slowly towards the right maintaining pressure Line the marks up on the mount cutter and using your thumb press the blade into the card 2mm before the point where the lines intersect My Competition Entry
Cut Your Mount Push the cutter forward until you reach the point 2mm beyond the point where the lines intersect and release the blade My Competition Entry
Cut Your Mount Repeat the cutting procedure on each side My Competition Entry
Mount Your Print Now we can remove and keep the waste My Competition Entry
Mount Your Print Offer the print face down and secure with a small length of masking tape on the top. My Competition Entry
Mount Your Print Place the picture in the mount secured at the top by a small amount of tape. Use good quality tape as cheap tape loses it adhesion quickly and can peel off marking yours and other prints My Competition Entry
Check Your Mount Check the print for position and that it is square in the frame and adjust if required using another small piece of tape on the bottom to hold the print in place My Competition Entry
Mount Your Print Reverse picture and complete taping the print in place My Competition Entry
Strengthen Your Print Now position the piece of card you removed over the print and tape that in place reinforcing the print and completing the mounting procedure My Competition Entry
Finally Strengthen Your Print If your print is for an NCPF entry you will need an identifying label on the rear with required information filled in. See a committee member for details NCPF Entry Name Title etc My Competition Entry
Complete Your Mount Your mount is complete and ready to be entered into the competition If it’s a NCPF entry don’t forget the detailed label. Good Luck! My Competition Entry
Triptych Triptych Show Your Artistic FlairNot for Competition Entries But Useful To Display Several Related Prints Triptych My Competition Entry
Diptych Diptych Show Your Artistic FlairNot for Competition Entries But Useful To Display Several Related Prints My Competition Entry