Download
1 / 11
110 likes | 234 Views
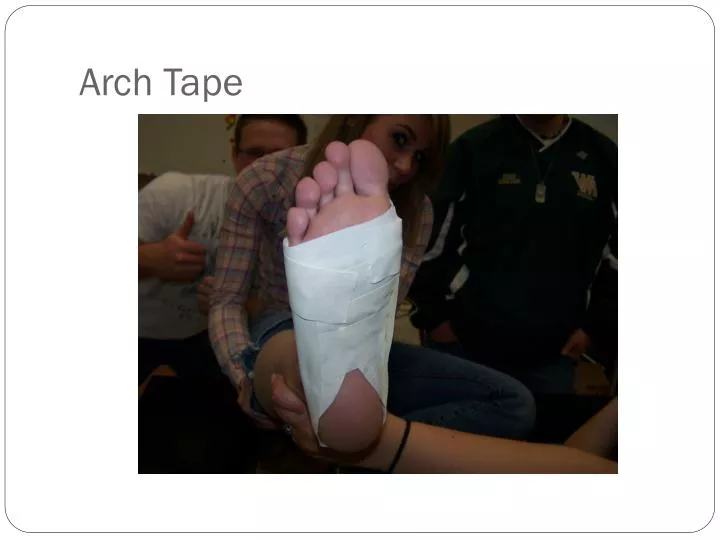
Arch Tape. Beginning. Clean and Dry Foot at about 90˚ Shaved foot may not require pre-wrap. Beginning. Use a light layer of pre-wrap just behind the toes. Anchor Strips. Start just under the toes Divide the first strip to avoid causing the foot to cramp. Anchor Strips.

E N D
Beginning Clean and Dry Foot at about 90˚ Shaved foot may not require pre-wrap
Beginning Use a light layer of pre-wrap just behind the toes
Anchor Strips Start just under the toes Divide the first strip to avoid causing the foot to cramp
Anchor Strips Add a long horseshoe This prevents blisters from forming on the heel Provides an anchor for later Support Strips
Support Strips Split the tape for the next step Keep the tape near the roll
Support Strips Tear-Drop 1 Tear-Drop 2 (overlap slightly)
Support Strips Half-Moon Strips Overlap down the foot (use about 4 strips)
Closure Strips Apply another long horseshoe to hold down tape ends – this stops unraveling Also makes the end tape look neater
Closure Strips The last strip goes ⅔ to ¾ of the way around the foot The ends should be on the bottom of the foot This allows the body weight to stop unraveling and keep the foot from cramping by using a complete strip